Tesla Air Suspension Acting Up? Let’s Talk Height Sensors.
Alright, let’s get straight to it. If you’re seeing that dreaded message on your Tesla’s screen – maybe “Suspension Adjustment Disabled” or “Air Suspension Needs Service” – and your Model S or X is sitting like a broken shopping cart, with one corner dragging, you’re probably looking at a bad ride height sensor. And believe me, after 25+ years wrenching on everything from classic muscle to these high-tech Teslas, I’ve seen hundreds of these. They are, without a doubt, one of the most common failures in the early and mid-generation adaptive air suspension systems.
Here’s the deal: a bad height sensor doesn’t just reduce performance. It throws the whole system into a tailspin. The car’s computer has no idea where it actually sits, so it either tries to overcompensate wildly or just gives up entirely. It’s like trying to drive blindfolded – the car simply can’t maintain proper ride height.
Target: 2.5V
The symptoms are usually pretty clear. Besides the warning on the screen, you’ll see that odd stance – maybe the front end is dragging, a rear corner is sagging, or the whole car has a diagonal tilt. Sometimes, I’ve seen them get stuck in “High” mode and just refuse to lower, even though you can hear the air compressor running and the valves clicking away. And here’s a big red flag: if your car is constantly adjusting itself while parked or driving, cycling up and down repeatedly, that’s a sure sign the control module is getting inconsistent or flat-out false data from a sensor.
Diagnosing It Right: Is It the Sensor, or Something Else?
Now, it’s easy to jump to conclusions and assume a height sensor is bad just because the car looks crooked. But the air suspension control module only acts on the information it’s given. If a sensor says “low,” the system assumes a leak and tries to compensate. So, before you start replacing parts, you absolutely need to isolate the problem. Is it truly a sensor issue, or is it an actual air delivery failure – like a leaking strut, a faulty valve block, or a compressor that’s on its last legs?
The key here, folks, is live data from a capable scan tool. You need to get into that air suspension control module and look at the real-time voltage output from each of the four ride height sensors. In my experience, these sensors typically output between 0.5V and 4.5V, depending on the suspension’s position. A healthy sensor will show smooth, linear changes as you move the suspension up and down.
My Diagnostic Process:
-
First, if one corner consistently reads “low” in the data (say, stuck near 0.5V), I’m immediately suspecting a worn potentiometer inside the sensor or physical damage to its linkage. But always rule out a collapsed air strut first – that’s a common misdiagnosis.
-
Next, I manually move the linkage arm on the suspect sensor while watching that voltage. If the signal doesn’t change smoothly, or if it jumps erratically, you’ve found your culprit: the sensor is failing internally.
-
Now, if the voltage changes correctly but the car still won’t adjust that corner, the problem is downstream. We’re talking a leak in the air strut itself, a clogged valve in the valve block, or a blockage in the air line.
-
If the readings are unstable but not completely dead, I always check for connector corrosion or wiring damage. A simple “wiggle test” on the harness while monitoring the data can often pinpoint a loose connection or a broken wire.
-
Finally, if the car just refuses to leave “High” mode, don’t forget to physically inspect the sensor linkage. I’ve seen binding, kinking, or even a seized ball joint fool the system into thinking it’s always at max height.
Why Do These Things Fail Anyway?
In my shop, I see two main culprits for these sensors giving up the ghost: mechanical wear and environmental damage. Inside each sensor, there’s a rotary potentiometer – basically, a carbon track with a little wiper arm that translates suspension movement into a voltage signal. Over time, with thousands of micro-adjustments from every bump and dip, that carbon track just wears down. That creates dead spots or, worse, erratic signals that confuse the car’s computer.
The Real Killer: Road Grime
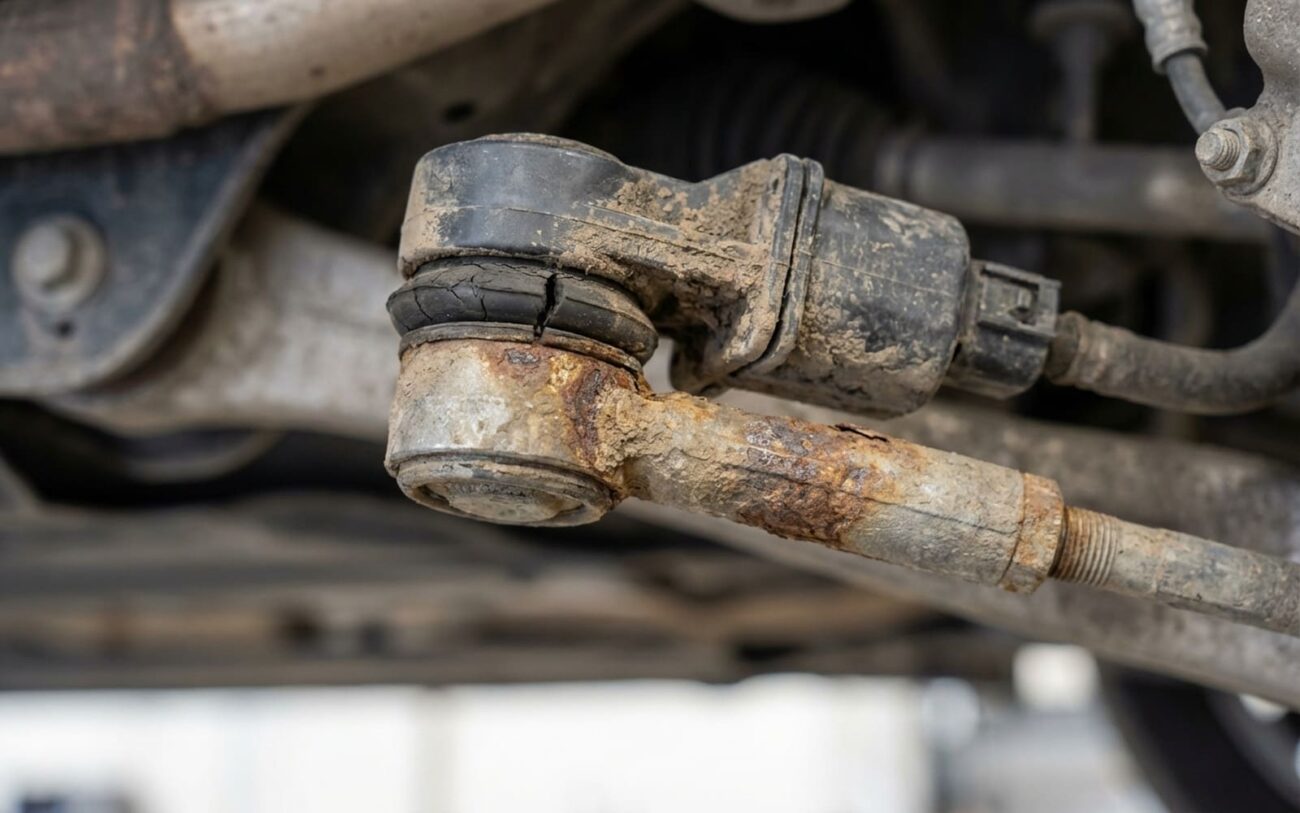
These sensors are mounted low in the wheel wells, right in the splash zone. They’re constantly exposed to road salt, water, and mud. Once moisture gets past the seals, it corrodes those delicate potentiometer contacts. Tesla even issued service guidance for early Model S and X vehicles, noting this exact pattern of internal corrosion causing unstable sensor signals. It’s a design vulnerability, plain and simple.
Fixing It: Your Options and What I Recommend
Calibration is NOT Optional.
Let me be clear: replacing the hardware is only half the battle. After you install a new sensor, you must perform a ride height calibration using a compatible scan tool. This teaches the system the new sensor’s range and ensures it knows where “level” actually is. Skip this, and you’ll still have problems.
Replacing the Sensor DIY-FEASIBLE
Wiring & Connector Repair Professional Only
“Temporary” Operation LAST RESORT (NOT RECOMMENDED)
How to Know You’ve Really Fixed It
Replacing a height sensor isn’t just about bolting on a new part. You need to validate the repair fully. Here’s my three-step verification process:
-
1. Mechanical Check: Double-check that the new sensor is absolutely secure, the linkage moves freely without binding, and the electrical connector is fully latched. A loose connection or binding linkage will undo all your work.
-
2. Software Calibration: Run the official ride height calibration procedure with your scan tool. Then, re-scan for codes. You should see no active suspension codes. If you get something like a B2915 (circuit fault), you still have an electrical issue.
-
3. Functional Test: Command the suspension through a full cycle, from “Low” to “High” and back. Then, measure the actual ride height at the factory-specified points. You can find these in the Tesla repair manual. Don’t eyeball it; use a tape measure.
What’s This Going to Cost You?
Alright, let’s talk brass tacks. Here’s a general idea of what you’re looking at for this repair. Remember, prices can vary wildly based on your location and the shop.
| Repair Option | Part Cost | Labor / Tools | Total Estimate |
|---|---|---|---|
| OEM Sensor Replacement | $120–$180 | $100–$180 | $220–$360 |
| Aftermarket Sensor | $60–$100 | $100–$180 | $160–$280 |
| Wiring Repair (Pro) | $20–$50 | $150–$250 | $170–$300 |
| Mobile Tech (Full) | $120–$180 | $200–$300 | $320–$480 |
My Advice: Proactive Care Pays Off
You can’t eliminate failure entirely, but you can definitely extend the life of these sensors by years with a little proactive care. Once a year – especially if you’re in one of those salt-belt states like me – get under there and inspect all four height sensors. Wash off any accumulated grime, and apply a light silicone-based grease to the ball joints. It’s cheap insurance. If you notice your car frequently adjusting itself when parked, or one corner seems to sag just a bit overnight, don’t wait. Address it before it leaves you stranded or burns out your compressor. For more on general suspension health, check out how I inspect suspension bushings and common suspension noises.
