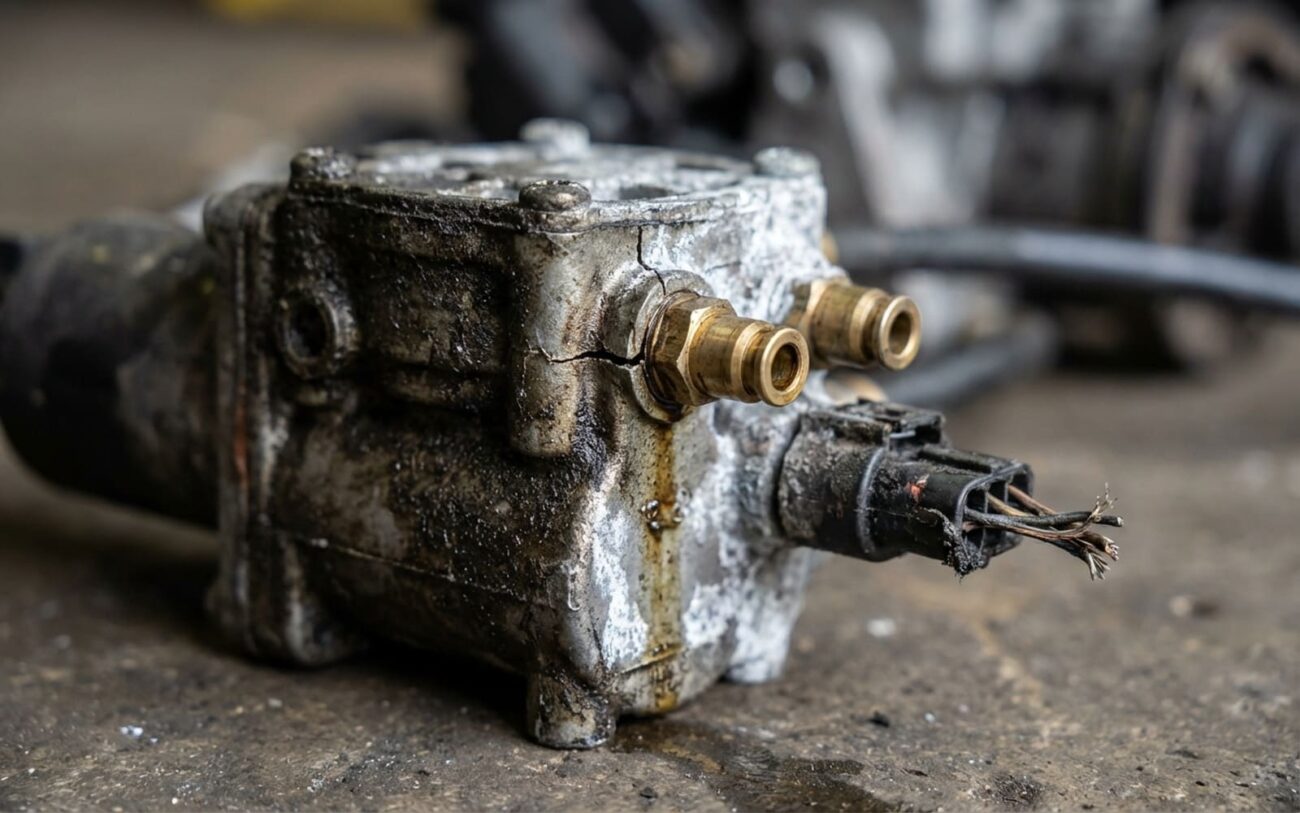
Alright, let’s talk about air suspension faults where the whole front end of the car is acting up, but the rear seems perfectly fine. I’ve seen this countless times over the years, and it’s a pretty clear indicator that you’ve got an issue isolated to the front axle’s air circuit. We’re not talking about one corner sagging here; this is both front air springs either stuck sky-high or completely bottomed out, while the back end is still doing its job, adjusting height like nothing’s wrong.
What I typically see is the front end lifting fully at startup and then just refusing to come down. Or, just as common, the front sags completely and won’t even try to lift. The key diagnostic clue here is that the rear suspension responds exactly as it should. That immediately tells me the problem isn’t the compressor itself or the main air supply line from the compressor to the valve block. It’s something specific to how the system manages air for those front two corners.
SUSPENSION MONITOR
Delta: +45mm
Why This Matters (And What It Isn’t)
Look, this isn’t just about ride comfort; it’s a safety issue. If your front end is stuck way up high, you’re overextending those air springs, putting undue stress on your upper strut mounts, CV joints, and even your wheel bearings. More critically, you’ve just raised the vehicle’s center of gravity, which fundamentally changes how the car handles. Steering can feel vague, and in an emergency maneuver, that car can feel downright unstable. I’ve seen folks try to drive like this for weeks, and it just leads to more expensive problems down the road.
Now, don’t confuse this “both front corners” scenario with a single-corner issue. If only the driver’s side front is low, you’re looking at a failed air spring, a broken height sensor link, or maybe a clogged air line to that specific corner. But when both front corners are equally high or equally low, the problem is almost certainly upstream—think the valve block, the front height sensor (or sensors, if it’s a two-sensor front axle), or their control circuitry. This is where the valve block analogy comes in handy:
The Concept
“Think of the valve block like a traffic controller for your air lines. If the guy in charge of the front axle falls asleep or gets stuck, that whole intersection grinds to a halt while the rest of the city (the rear axle) keeps moving just fine.”
My Diagnostic Flow: Isolating the Real Problem
Alright, so you’ve confirmed both front corners are acting up. Now, don’t be that tech who just starts throwing expensive parts at it. I’ve seen too many valve blocks and compressors replaced when the real issue was a cheap sensor or a corroded connector. You absolutely need a proper scan tool that can talk directly to the air suspension control module. This isn’t a job for a generic OBD-II reader; you need live data, the ability to command components, and to read manufacturer-specific fault codes.
| What I See (Symptom) | My First Suspect | Common Red Herrings | The Definitive Test |
|---|---|---|---|
| Front axle stuck high, rear normal | Usually, it’s the front axle vent valve in the valve block that’s seized shut, or its solenoid has shorted out. It can’t release air. | A faulty front ride height sensor (telling the system it’s too low) or a relay stuck closed in the fill circuit. |
Use your scan tool to command the front axle to lower. Listen for the vent valve exhausting air and check its current draw. If it’s commanded open but no air moves and current is off, you’ve found your problem. |
| Front axle stuck low, rear normal | Here, I’m looking at the front fill valve in the valve block being seized closed, or the front height sensor sending a falsely high signal, making the system think it’s already at ride height. | A failing air compressor (though the rear works, so less likely) or, less commonly, dual front air spring leaks (but usually you’d hear these). |
Check the live height sensor reading with your scan tool. Then, manually lift the front of the car a bit (with a jack, carefully!) to see if the system responds by trying to vent air. If the sensor reads high when the car is low, that’s a huge clue. |
| Erratic front height adjustments | This screams faulty front height sensor to me, especially if it’s giving noisy or inconsistent output. Could also be a valve in the block sticking intermittently. | A loose connector, corroded terminals, or a mechanical issue with the sensor linkage (like it’s binding up). |
Graph the height sensor values in live data while you’re manually bouncing each front corner. You want to see a smooth, linear trace. If it’s jagged, jumping around, or has flat spots, that sensor is probably toast. |
A quick word of caution: A leaking air spring, a split air line, or a dead compressor is NOT a valve block failure. And a failed control module isn’t the same as a bad sensor. Each component has its own distinct way of failing. Misdiagnosing one for another is the fastest way to waste your time and the customer’s money. Always confirm the specific component before ordering parts.
Getting It Fixed: Repair Steps & Critical Safety
High-Pressure Warning: Don’t Skip This!
You’re working with high-pressure air, sometimes over 200 PSI, and sensitive electronics. Cutting corners here isn’t just bad practice; it’s dangerous and leads to expensive comebacks. ALWAYS follow the OEM depressurization procedures using your scan tool before you even think about disconnecting any air lines. If you don’t, you risk injury and damaging new components.
Once you’ve pinpointed the culprit, here’s how I approach the repair:
Valve Block – Solenoid Replacement Professional Only
Valve Block – Complete Unit Professional Only
Level Sensor Replacement
Don’t Skip This: Post-Repair Validation
You can’t just bolt on a new part and call it a day. Validation is non-negotiable. For a valve block repair, I expect the front and rear axles to reach their commanded ride heights within about 60 seconds of startup. The compressor should run, build pressure, and then shut off. If it’s running continuously, you’ve still got a leak or a sticking valve somewhere. For a height sensor replacement, get that scan tool back out. Use the graphing mode to monitor the sensor’s output as you manually raise and lower that corner of the suspension. You should see a clean, linear trace—no jitters, no flat spots. If it’s anything but smooth, something’s still off.
My Advice: Prevention & Early Monitoring
-
Maintain that compressor’s desiccant system. This is huge. I tell all my customers to replace the dryer bag or cartridge every 3–5 years. It’s cheap insurance compared to a new valve block. If that desiccant gets saturated, wet air hits your valve block, and that’s when things start seizing up.
-
Listen to your compressor. It shouldn’t be running constantly. If you hear it kicking on for more than 45 seconds regularly, especially when the car isn’t actively adjusting height, investigate immediately. That’s a sign of a slow leak or a valve that isn’t fully closing. Catch it early.
-
Check your stance every morning. Park on level ground and just take a quick look at your vehicle. Is one corner sagging? Is the whole front end sitting lower than usual? Catching a small leak or a minor height deviation early prevents those cascading failures that leave you stranded and with a much bigger repair bill.
The Bottom Line: Cost, Risk & When to Say When
Let’s be honest, air suspension repairs aren’t cheap. Here’s a general idea of what you’re looking at, including parts and labor, based on what I see in my shop. Keep in mind, these are averages, and your specific vehicle or location might vary.
Front Level Sensor
This usually has a high success rate (95%+). If you’re a DIYer, parts alone might run you $75–$250. Just remember, it absolutely requires calibration with a proper scan tool.
Serviceable Solenoid
Moderate success rate, maybe 80%. The biggest risk here is contamination during installation, which can cause internal leaks and lead to another failure pretty quickly. Be meticulous.
Complete Valve Block
This is usually a high success rate repair, assuming you follow all the depressurization and cleanliness steps. Parts alone can be $300–$900. It’s the only option for most modern sealed systems.
Here’s my rule of thumb: If the total repair costs start to creep up towards 40% of your car’s current market value, it’s time to seriously consider a coil spring conversion kit. It eliminates the air system entirely, and while it changes the ride, it also eliminates future air suspension headaches.
