Car Sits High or Low After Spring Replacement? Here’s What I See in the Shop
You just had new coil springs put in, and now your car looks like it’s riding on stilts—or worse, it’s squatting like it’s carrying a ton of bricks. Your gut feeling is right: something’s off. I’ve seen this countless times in my 25+ years in the shop, and it’s almost always down to the wrong springs being installed. And no, it’s not always the mechanic’s fault; parts databases are notorious for mixing up specs, especially with all the trim levels and options on modern vehicles.
But regardless of how it happened, incorrect ride height is more than just a bad look. This isn’t just about cosmetics; it throws off your suspension geometry, chews up tires, prematurely wears out CV axles and wheel bearings, and can make the car handle dangerously, especially if you have to swerve suddenly. We need to get this sorted.
GEOMETRY MONITOR
Max Delta: 0.5″
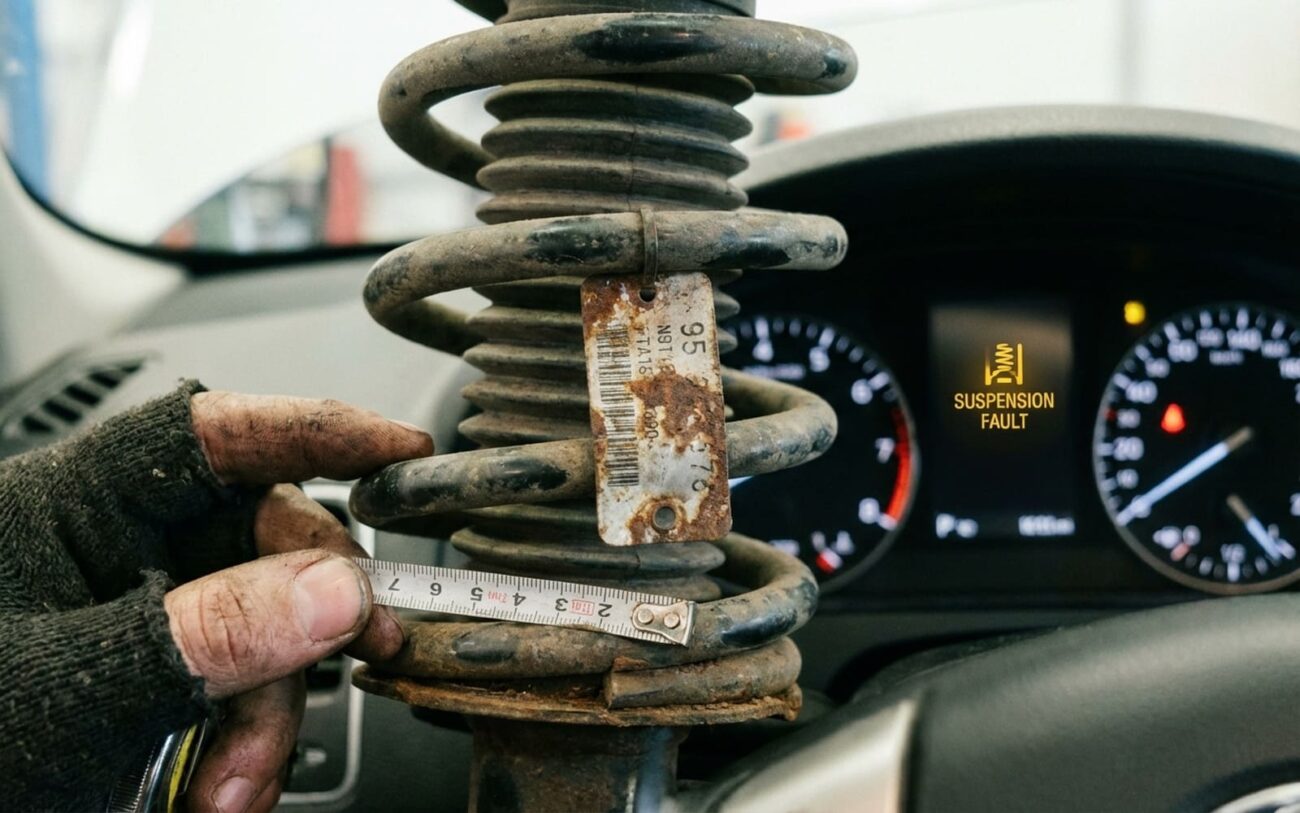
The first thing I do, before I even think about tearing anything apart, is get some hard numbers. Visuals can be deceiving. Grab a tape measure and check the ride height properly. The best way is from the center of the wheel hub straight up to the fender lip. That’s what the factory specs usually refer to. You can measure from the ground to the fender, but remember tire pressure and tread wear will skew that number, so stick with the hub-to-fender if you can. Always do this on level ground and check all four corners. If you’re seeing more than a half-inch difference side-to-side, or if it’s more than half an inch off the factory spec (yes, you’ll need to dig out the manual or a reliable service database for those numbers), then you’ve got a real issue.
For trucks or SUVs, I often double-check by measuring from the lower control arm to the frame; it gives a consistent reference point, especially if the fender lip is inconsistent. If it’s a MacPherson strut setup and one side is low, I’m already thinking about a collapsed strut mount or a spring not seated right, but we’ll get to that.
Beyond just the height, how does it feel? If the ride is harsh, bouncy, or just plain wallowy, that’s a big red flag. A spring that’s too stiff will make the car skip over bumps instead of absorbing them, almost like it’s fighting the road. Too soft, and you’ll get excessive body roll in corners, bottoming out over dips, and a general sloppy feeling in the steering. These aren’t just comfort complaints; they mean your whole suspension is working outside its design limits. That’s how you prematurely wear out everything from your CV axles to your suspension bushings, and it’ll trash your alignment in no time.
Diagnosing the Real Problem: Is It the Spring or Something Else?
Alright, so you’ve got ride height issues or the car feels wrong. Before we jump to blaming the spring itself, we need to rule out installation errors or other worn components. I’ve seen plenty of guys pull a spring, only to find the real problem was a collapsed strut mount or the spring wasn’t seated correctly in its perch. It’s easy to miss, especially if you’re rushing.
Incorrect Ride Height
What I suspect first: The wrong spring was installed – either the free length is off, or the spring rate isn’t right for your vehicle.
But don’t forget: It could be a spring that wasn’t seated properly during installation, a collapsed strut mount, or even just old, settled suspension bushings.
How I check: First, I confirm the part number on the actual spring against the OEM catalog using the car’s VIN. That’s non-negotiable. Then, I visually inspect how the spring is sitting in both its upper and lower perches. Any gap or twist, and you’ve found a problem.
Harsh or Bouncy Ride
What I usually see: The spring rate is too high. It’s just too stiff for the car’s weight or damping.
Could also be: Over-tightened suspension links (yes, this matters, especially on bushings), or a damper (shock/strut) that’s seized or just plain incorrect for the spring.
My quick test: The old ‘bounce test.’ Push down firmly on the fender. If the car bounces more than once before settling, you’ve likely got a bad damper. If it stops almost instantly and feels rock-hard, that points to an overly stiff spring.
Excessive Body Roll or Bottoming Out
Often means: The spring rate is too low. The spring just can’t support the vehicle’s weight or handle dynamic loads.
Don’t rule out: Worn sway bar links or a completely failed shock absorber.
How I confirm: A static load test. Measure the ride height, then add about 300 pounds (or whatever’s appropriate for the vehicle, simulating passenger/cargo weight) to that corner or axle, and remeasure. Excessive deflection – meaning it sags a lot – strongly points to weak or incorrect springs.
Pro Tip on Diagnostics:
And just a quick word of advice: don’t get sidetracked by other issues. A clunk from a worn ball joint or an engine jerking under acceleration is a different beast. The coil spring is the foundation of your suspension. If that’s wrong, nothing else will work right, no matter how many other parts you throw at it.
Why the Wrong Springs Got Installed
So, why does this even happen? In my 25+ years, it’s almost never a defective spring from a reputable brand like Moog, Eibach, or Bilstein. Those guys make good stuff. What I see constantly is a mismatch in part selection. Parts catalogs, especially aftermarket ones, sometimes simplify their fitment lists. They’ll list one spring for a dozen different trims of a vehicle, even when the factory had specific springs for towing packages, sport suspensions, or even just different engine sizes. I’ve seen a heavy-duty truck with a factory tow package end up with standard-duty springs, and the rear end just sags the moment you put anything in the bed. It’s a mess.
The Reality
“I’ve seen cases where a truck with a factory tow package got standard-duty springs—causing the rear to sag under load even when new.”
And yeah, mis-boxing happens too. I once spent an hour scratching my head over a car that was still sitting wrong, only to find the new springs, same brand, were in a box for a completely different, heavier model. The label was wrong. This is why your VIN is your best friend. Always cross-reference the physical part number on the spring itself against an OEM parts catalog using your full 17-digit VIN. It’s the only way to be absolutely sure you’ve got the right part.
How to Fix It: Only One Safe Solution
No Safe Shortcuts
Let me be crystal clear here: there are no safe shortcuts. If the spring is wrong, it has to come out and be replaced with the correct one. Period. Don’t even think about cutting coils, welding in spacers, or trying to “adjust” preload to compensate. Cutting a coil changes the spring rate in unpredictable ways and creates stress points that can lead to catastrophic failure. I’ve seen the aftermath, and it’s not pretty – or safe.
Replacing a spring properly means using the right tools. If it’s a MacPherson strut, you must use a high-quality spring compressor. I prefer the wall-mounted or heavy-duty threaded rod types that lock securely. Never, ever try to use cheap, flimsy compressors or makeshift tools. A slipping spring compressor can easily kill you or take off a limb. I’m not exaggerating. This isn’t a job for a beginner or for cutting corners.
And pay attention to torque. Every single nut and bolt in that suspension assembly – the top strut mount nut, control arm bolts, axle nut (if you separated the knuckle) – has a specific torque spec. Follow it. I’ve seen control arm bushings get ruined in a matter of weeks because the bolts were torqued with the suspension hanging free, instead of at ride height. Always follow the manufacturer’s procedure for loaded versus unloaded suspension torquing. It makes a huge difference in component longevity.
Validating the Repair: Don’t Skip These Steps
So, you’ve got the correct springs installed. Don’t just slap the wheels on and call it a day. Validation is absolutely critical. Here’s the three-step process I always follow:
Measure Ride Height (Again)
Inspect for Noises
Four-Wheel Alignment
Cost and Practicality: Is the Fix Worth It?
Let’s talk about the cost. If you’ve got the wrong springs, you’re looking at another round of labor. Trying to replace just one spring is usually a bad idea; springs wear and settle as a pair, so you really should replace them as an axle set, or even all four. And trying to “adjust” a wrong spring? That’s a zero-dollar fix with a near-zero success rate and a sky-high risk of failure and injury. Don’t even consider it. Here’s a quick look at what you might be facing:
| Repair Type | DIY Cost | Shop Cost | Success Rate | Secondary Risk |
|---|---|---|---|---|
| Replace One Spring | Not Recommended | $300–$600 | 99% | Alignment wear, repeat labor |
| Full Spring Set | Not Recommended | $1200–$2500 | 99% | N/A (Complete repair) |
| Attempt “Adjustment” | $0 | $0 | <5% | Sudden failure, injury |
How to Prevent This Next Time
Nobody wants to do this job twice. So, how do you prevent this headache from happening again? Here’s what I always tell my customers and my newer techs:
-
First, always cross-reference the physical part number on the spring itself with an OEM parts catalog using your full VIN. This is your absolute best defense against getting the wrong part.
-
If you’re going with aftermarket performance springs, make sure you verify the advertised spring rate and free length. Does it match what you’re trying to achieve for your vehicle’s intended use?
-
If a shop is doing the work, ask them to document the part number and where they sourced it from before they install anything. It gives you a paper trail if there’s an issue.
-
And finally, once new springs are in, measure your ride height right away. Then, check it again after about 500 miles. This helps you monitor for any abnormal settling or if something is still off.
