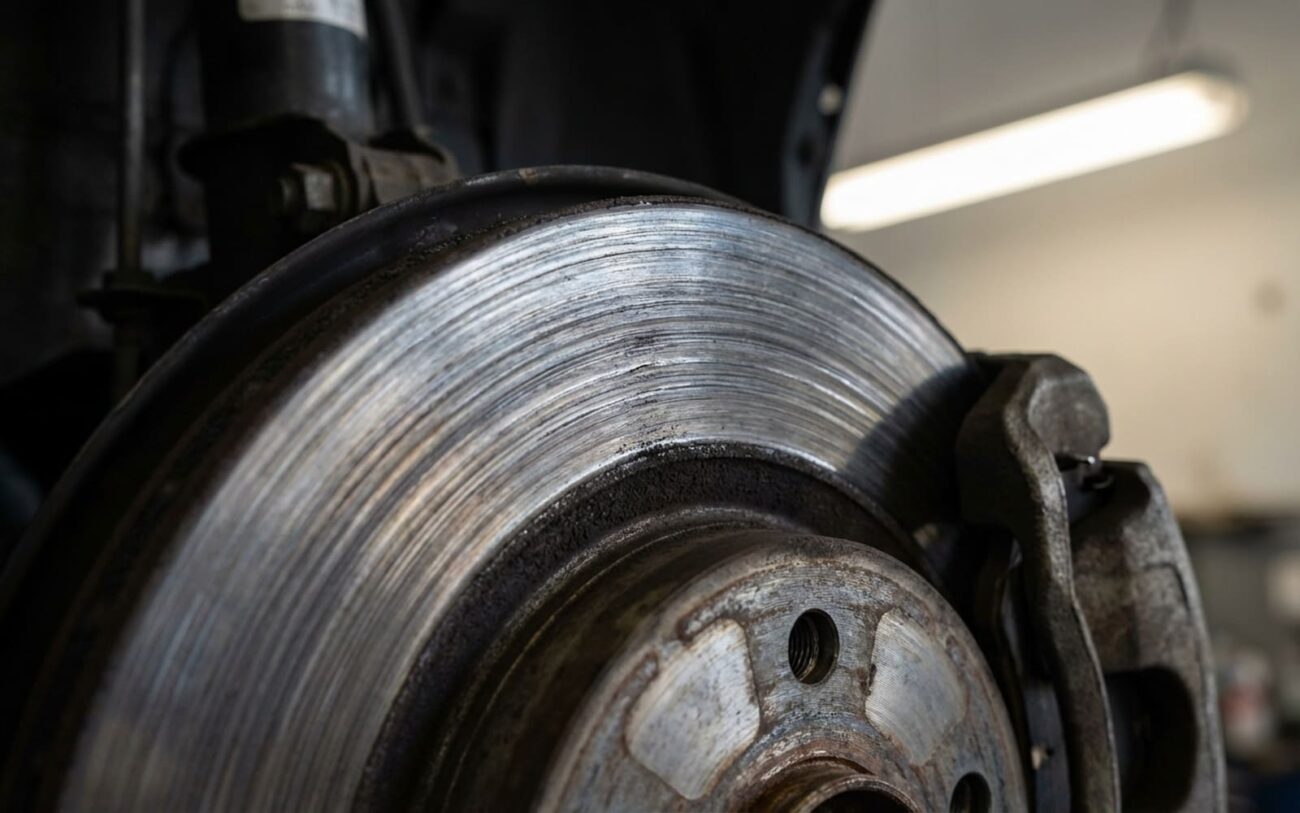
Alright, let’s talk about regenerative braking. If you’ve got a hybrid or an EV and you’re noticing your regen isn’t what it used to be, most folks immediately jump to thinking there’s a problem with the electric motor or the high-voltage battery. But based on my 25+ years in this business, what I typically see is that it’s not the electric drivetrain acting up at all. More often than not, it’s the vehicle’s brake control system reacting to a fault in the foundation (friction) brake system.
Think about it: the car’s safety logic is pretty clear. If the hydraulic brakes might be compromised, even slightly, the system will limit or disable regen. Why? To make darn sure you’ve still got full friction braking available when you hit that pedal. Worn brake pads are one of the most common triggers I see for this.
What You’ll Notice: The Symptoms
When regen starts to drop off, there are a few tell-tale signs. You don’t need a scan tool to pick up on these first clues:
1. Reduced Regenerative Braking Force
This is usually the first thing a driver notices. You’ll see it on your energy flow display or instrument cluster – less of that green “charging” animation. When you lift off the accelerator, especially if you’re used to one-pedal driving, the car just won’t slow down with the same authority. That’s because many EVs and hybrids will disable or scale back regen when the brake control module detects a fault. A common one? A closed circuit from a brake pad wear sensor. Even if the pads aren’t completely gone, the system treats it as a potential risk and defaults to safety mode.
2. A Change in Brake Pedal Feel
In a properly functioning blended braking system, regen handles the initial deceleration – usually the first 0.2 to 0.3g of stopping power – before the friction brakes even get involved. When regen is limited, the hydraulic system has to kick in earlier and often harder to make up the difference. This makes the pedal feel softer, or you’ll find you need more travel to get the same stopping power. Drivers often describe it as “mushy” or “delayed.” It’s not usually air in the lines, though that’s a common guess. It’s the system compensating for that lost regen.
3. Noise from the Brakes
This is a classic. A high-pitched squeal during light braking is almost always the wear indicator tab scraping against the rotor. It’s a built-in alert, telling you the pad thickness is nearing its end. If you ignore that and it turns into a grinding sound, you’re likely hearing metal-on-metal contact between the pad’s backing plate and the rotor. That’s not just damaging; it can over-extend the caliper piston, leading to seal failure, fluid leaks, and a potential loss of brake pressure. I’ve seen several cases where ignoring a simple squeal turned a $300 pad job into a $1,000+ repair, needing rotor replacement and even caliper rebuilds.
My Diagnostic Approach: Don’t Just Guess
These symptoms can trick you. They can mimic other issues, so you can’t just assume it’s worn pads. The brake control system is complex, taking input from wheel speed sensors, brake pressure sensors, pedal travel switches, and even the 12V electrical system. A fault in any of those can present just like a pad problem. That’s why a methodical diagnostic approach is essential. Here’s how I break it down:
| Symptom | Most Likely Pad-Related Cause | Other Common Culprits (The Mimics) | How I Confirm It (My Go-To Tests) |
|---|---|---|---|
| Reduced Regen Force | Pad wear sensor circuit closed (due to wear), or pad thickness below the system’s programmed threshold (usually 2–3mm). | Faulty wheel speed sensor, failing brake pressure sensor, low 12V battery voltage (yes, this matters for control modules), or a software glitch in the brake control module itself. |
First, I hook up the OBD2 scanner for Diagnostic Trouble Codes (DTCs, B12xx/C0xxx range). Then, I physically measure pad thickness against OEM specs. No guessing here. |
| Altered Pedal Feel | Excessive pad wear means the caliper piston has to travel further, requiring more fluid volume and delaying that initial hydraulic engagement. | A brake fluid leak, air in the brake lines, a failing brake booster, or an internal bypass in the master cylinder. |
I’ll do a thorough visual inspection for any leaks. If nothing obvious, a pressure test on the system. If the hydraulics are solid, then I’m back to measuring those pads. |
| Audible Squealing or Grinding | The wear indicator tab is contacting the rotor, or (worst case) the metal backing plate is scraping the rotor surface. | A rusty or bent brake shield rubbing, seized caliper slide pins, or some road debris caught between the pad and rotor. |
Wheel off, plain and simple. Visually inspect the pad material, check that wear tab, and make sure the slide pins move freely. |
Root Causes: When It Is the Pads
Once you’ve isolated the issue to the brake pads themselves, there are really three main ways they can fail:
1. Normal Wear
This is the most common, obviously. Friction material is designed to erode over time. Once it drops below the manufacturer’s minimum thickness – usually 2–3mm – the system may disable regen. This prevents caliper over-extension or damage to the rotor. It’s just expected wear, not a defect.
2. Brake Pad Wear Sensor Failure
Many modern vehicles use a simple circuit-interrupt sensor embedded in one pad per axle. As the pad wears down, the wire breaks, triggering a warning light. But these sensors aren’t infallible. I’ve seen them fail prematurely due to corrosion, moisture ingress, or even mechanical damage during installation. On some European models, in particular, I’ve encountered sensors that failed while the pads still had 4–5mm of material left. In those cases, a physical inspection is absolutely necessary to avoid replacing good pads. There are even service bulletins from various manufacturers advising technicians to confirm pad thickness before assuming the sensor is accurate.
3. Delamination (Rare)
This is where the friction material separates from the steel backing plate. It’s a manufacturing defect, not wear-related, and it’s pretty rare. It can cause sudden vibration, noise, and uneven braking force. If you find chunks of material missing, inspect the backing plate bonding quality. But here’s a crucial point: what often looks like pad failure (like uneven wear) is actually caused by another component, like a seized caliper slide pin or a frozen piston. Those issues lead to uneven pad wear and must be addressed before you install new pads, or you’ll be repeating the problem in a few thousand miles. Don’t just slap new pads on a bad caliper.
Getting It Fixed: Resolution Pathways
[DIY-FEASIBLE with proper tools and safety procedures] Pads Only
[DIY-FEASIBLE / PROFESSIONAL-ONLY] Pads and Rotors
[PROFESSIONAL-ONLY] Caliper Mechanical Failure
Post-Repair Validation: Don’t Skip This!
Replacing brake components is only half the job. You’ve got to verify that both the friction system and the regenerative braking are functioning correctly. This is where many DIYers fall short, and it’s why I always do a thorough check:
For Pad-Only Replacements:
- Before bleeding, confirm the new pads move freely in the caliper bracket and that the slide pins operate smoothly. If they don’t, you’ve got drag.
- After bleeding, start the vehicle and apply light pedal pressure. The brake pedal should feel firm and return properly.
- Check for leaks at all connections – master cylinder, calipers, lines.
- On the road test, perform several moderate stops from around 50 mph. The vehicle should stop straight, without pulling or any new noises.
- Most importantly, watch that regen display: regenerative braking force should return to normal levels during deceleration.
If Rotors Were Replaced (or Caliper Work):
- Add a high-speed test: perform several medium-to-firm stops from highway speeds (e.g., 70 mph). There should be absolutely no pedal pulsation or steering wheel vibration.
- After a normal drive (not aggressive braking, just regular driving), use an infrared pyrometer to check rotor temperatures at the hub center. All four should be within 20°C (about 36°F) of each other. A significantly hotter wheel indicates drag – likely a stuck caliper or an improperly seated piston. This is a crucial check that tells you if everything is working freely.
Cost, Risk & The Bottom Line
Understanding the financial implications helps you make informed choices. These estimates reflect typical market rates; actual costs vary by region and vehicle model, so take them as a general guide.
| Repair Type | DIY Cost (Parts) | Shop Cost (Est.) | Success Rate (If Done Right) | My Take on Secondary Risks |
|---|---|---|---|---|
| Replace all brake pads (Axle Set) | $80 – $250 | $300 – $600 | 99% | Improper installation can lead to brake drag, uneven wear, or reduced regen function. You might also damage the caliper piston or boot if you’re not careful. |
| Replace pads and rotors (Axle Set) | $200 – $500 | $500 – $1,000 | 99% | Improper rotor installation (e.g., not cleaning the hub) can cause immediate vibration, noise, or accelerate wear on the new pads. |
Here’s a key consideration for older hybrids or high-mileage EVs: if the repair cost for all four corners approaches or exceeds 40% of the vehicle’s current market value (check KBB or NADA), it’s worth evaluating long-term ownership. While brake work is routine, it may signal that other wear items are nearing end-of-life, and you might be throwing good money after bad.
Prevention & Monitoring: My Best Advice
The best way to maintain regenerative braking performance and avoid bigger headaches is proactive maintenance. Don’t wait for the dashboard warning light to come on. Make it a habit to inspect brake pad thickness every 5,000–7,500 miles – ideally during tire rotations. On many vehicles, you can actually see the pad through the wheel spokes. You’re looking for at least 3–4mm of friction material. When you hear that first intermittent squeal – especially one that stops when you apply more brake pressure – that’s the wear sensor doing its job. It’s designed to activate with about 2–3mm of pad life remaining, giving you plenty of time to schedule service.
My Maintenance Best Practices
-
Always use OEM or high-quality equivalent pads with the correct friction formulation. Using cheap or incorrect pads can confuse the brake control module and affect regen performance.
-
Ensure wear sensors are replaced when pads are changed. Reusing old, damaged, or corroded sensors is just asking for false warnings down the road.
-
Regular brake pad inspection keeps your friction brakes ready, protects your rotors from unnecessary damage, and ensures your regenerative braking system works as intended – maximizing efficiency, safety, and driving comfort. A little attention goes a long way.
