The Battery Light Isn’t Lying: What It Really Means
Alright, let’s cut to the chase. When that little battery-shaped warning light pops up on your dash and stays on after the engine’s fired up, that’s not some random glitch. That’s your car’s computer yelling at you, telling you the charging system isn’t doing its job.
See, when your engine’s off, a healthy battery sits around 12.6 volts. The second you crank it up, the alternator should kick in and boost that voltage. I expect to see it jump up to anywhere from 13.8 to 14.8 volts. That extra juice is what keeps your battery charged and powers everything else in the car. If that voltage doesn’t climb, or if it drops below 13.5V once the engine’s running, the light comes on. Simple as that.
You can confirm this yourself with a cheap multimeter. Hook it up to the battery terminals with the engine idling and warmed up. Note the voltage. Now, give it some gas, hold it around 2,000 RPM. If your charging system is healthy, you’ll see a steady 13.8 to 14.8 volts. If it’s below 13.5 volts, even at higher RPMs, your alternator isn’t pulling its weight. As you keep driving, you’ll start to notice other things: headlights dimming, the radio cutting out, maybe your HVAC fan slowing down. Eventually, the battery just gives up. And while your engine won’t explode, letting that voltage drop too low—especially below 9 volts—can corrupt data in your ECU, transmission module, or ABS unit. Or worse, it can actually damage them. That’s why ignoring this light is a gamble, not just an inconvenience. I’ve seen too many people learn that lesson the hard way.
Beyond the Alternator: The Real Culprits
Now, don’t go yanking out the alternator the second that light comes on. I’ve been doing this for over 25 years, and I can tell you, I’ve seen countless alternators and batteries replaced when the real problem was something simple: a corroded ground, a blown fuse, or even just a loose connection. The trick is to figure out if the alternator itself is bad, or if something around it is causing the issue. Always start with the easy stuff.
Here’s how I break it down in the shop:
| What You’re Seeing | Often Points To | Don’t Forget These | My Go-To Test |
|---|---|---|---|
| Battery warning light is on | Internal alternator issue (regulator, diode trio) | Broken serpentine belt, blown fuse (excitation circuit), loose plug |
First, check the belt. Is it even there? If so, with the engine running, probe the small field/ignition wire at the alternator connector. You should see battery voltage (~12.6V). No voltage? The problem’s in the car’s wiring, not the alternator itself. |
| Low system voltage (below 13.5V) at battery | Alternator isn’t producing enough (worn brushes, bad stator, shorted diodes) | Corroded battery terminals, damaged main output cable, poor engine/body grounds, weak battery |
This is where a voltage drop test shines. Measure between the alternator’s main output stud and the battery positive post. Anything over 0.5V means there’s too much resistance in that cable or its connections. Do the same for the ground side: alternator body to battery negative. |
| Intermittent charging or overcharging (above 15.0V) | Faulty voltage regulator, failing brushes, internal short | Poor engine ground, faulty battery current sensor (on newer cars), corroded body ground strap |
With the engine running, gently wiggle the alternator harness and all ground cables while watching your multimeter. Any fluctuations? You’ve found a loose connection. On modern cars, a scan tool can show you what the battery sensor is reporting—that can be a common culprit for weird charging behavior. |
Inside the Box: What Actually Breaks
If you’ve ruled out all the external stuff, then yeah, it’s probably the alternator itself. Most internal failures come down to predictable wear and tear, or just plain old heat stress. Here’s what I typically see fail inside:
-
Brushes: These are small carbon blocks that ride on slip rings to send current to the rotor. They just wear down over time, like brake pads. Once they’re too short, they lose contact, and the alternator stops generating power. This is probably the most common internal failure, and it often happens gradually.
-
Bearings: There are two of these, front and rear, supporting the rotor shaft. When they start to go, you’ll hear it—a growling, grinding, or high-pitched whine, especially when you put a load on the electrical system. A bad bearing can seize up or cause the belt to misalign, which can take out the whole unit.
-
Diode Trio / Rectifier Bridge: Alternators make AC current, but your car runs on DC. These diodes convert it. If even one diode fails—either open or shorted—it reduces output or, worse, lets AC ripple into your DC system. That ripple can cause weird electrical gremlins: radio noise, flickering lights, or false sensor readings. Overheating or voltage spikes are usually the culprits here.
-
Stator: This is the stationary coil of wire where the power is actually generated. If the insulation breaks down from heat (which happens a lot), the windings can short out to each other or to ground. When that happens, your output drops, and the alternator can get seriously hot.
-
Voltage Regulator: This is the brains of the operation, a solid-state unit that controls how much current goes to the rotor. If it fails, the alternator might not charge at all, or it could go the other way and overcharge, pushing voltage above 15 volts. That’s a quick way to fry sensitive electronics. Jump-starting errors, water intrusion, or just plain old age are common causes.
Just remember, a dead battery or a broken serpentine belt can look exactly like an alternator failure. Always rule those out first. Don’t just throw parts at it.
Getting It Fixed: Your Options
Once you’ve nailed down the diagnosis, the fix usually falls into one of these categories. My advice? Don’t skip steps and don’t guess.
Cleaning Up Corroded or Loose Connections
Complete Alternator Replacement
Internal Repair (Regulator, Brushes, Bearings) Professional Only
Proving the Fix: Don’t Guess, Test
Don’t just start the car and pat yourself on the back. You need to validate the repair. Here’s how I do it:
With the engine running, bring it up to about 2,000 RPM. All accessories off. Check the voltage at the battery terminals. It should be rock-solid between 13.8 and 14.8 volts. Now, hit it with everything you’ve got: high beams, A/C blower on max, heated seats, rear defroster—maximum electrical load. The voltage should still hold above 13.2 volts. If it sags below that, either your alternator isn’t putting out enough, or you’ve still got a connection issue somewhere.
Listen carefully for any unusual noises—a new whine or grind means you’ve got a failing bearing, either in the alternator itself or maybe a tensioner you disturbed. I also like to use an infrared thermometer to check the alternator case after it’s been running for a bit. A hot spot can indicate internal friction or an electrical overload. And after a few days of normal driving, your battery should stay fully charged. If it doesn’t, you might have a parasitic draw (something draining the battery when the car’s off) or, honestly, the battery itself might have been damaged from being deeply discharged too many times. An aging battery can definitely mimic charging system failure, especially if it’s been through the wringer.
The Bottom Line: Cost and Common Sense
Repair cost isn’t just about parts and labor; it’s about the value you’re getting. Here’s a realistic look at what you’re facing:
| Repair Type | DIY Cost (Parts) | Shop Cost (Parts & Labor) | Success Rate | Secondary Risk if Failed |
|---|---|---|---|---|
| Clean connections | <$20 | $50–$100 | High, if you actually found the problem | None |
| Complete alternator replacement | $150–$400 | $500–$900 | Very High (with a quality part) | Low; possible core charge issues |
| Internal component repair | $50–$100 (kit) | $200–$400 | Medium (depends heavily on skill) | High; repeat failure is common if misdiagnosed |
Here’s the tough talk: if the total repair cost—and remember to factor in towing, maybe a new battery, and the alternator itself—starts to creep up to or exceed 40% of what your car is actually worth, and you’ve got other big repairs looming (brakes, suspension, transmission), it’s time to seriously ask if it makes financial sense to fix it. Putting $1,200 into a $2,500 car with 180,000 miles on it might not be the smartest use of your hard-earned money. Sometimes, the best repair is knowing when to walk away.
Keeping It Running: Prevention is Key
While alternators do wear out, a lot of failures are actually sped up by things you can prevent. The biggest culprit? Your serpentine belt. If it’s loose, cracked, or glazed, it’s slipping. That means your alternator isn’t spinning fast enough, it’s working harder, and it’s going to die sooner. I tell all my customers to inspect that belt every oil change. Look for cracks, glazing (a shiny, smooth surface), or fraying. Replace it according to your manufacturer’s schedule, or sooner if it looks worn.
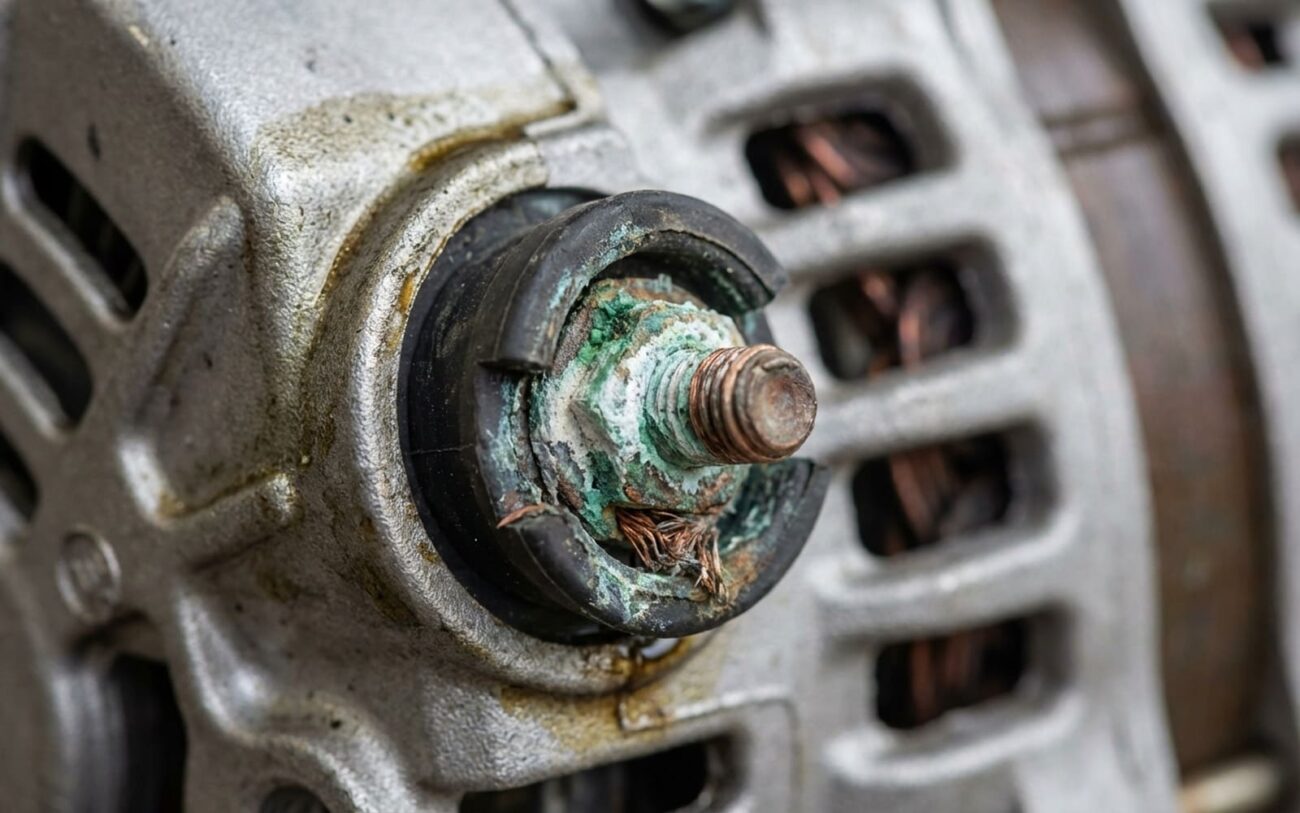
And those connections I talked about earlier? Keep your battery terminals and that main alternator output terminal clean and tight. Corrosion adds resistance, which messes with the voltage regulator and kills charging efficiency. Don’t forget engine and body ground straps either, especially on older vehicles. I’ve seen specific Chrysler and GM models where a corroded ground strap near the transmission causes repeated, unexplained alternator failures. It’s not always a TSB item, but it’s a known issue among experienced techs. Make it a habit to verify your dashboard lights at startup. The battery light should illuminate with the key on, then extinguish immediately after the engine starts. If it flickers or stays on, investigate early.
Finally, consider an annual charging system test. Most reputable shops or parts stores do it for free, and it’s cheap insurance. And if you’re running an AGM (Absorbent Glass Mat) battery—which is common in a lot of newer vehicles—make absolutely sure any replacement alternator is compatible with it. Mismatched components can lead to undercharging or overcharging, and that’ll shorten the life of both your new alternator and your expensive AGM battery.
