You know that feeling when your temperature gauge is acting squirrely? Maybe it’s bouncing around, taking forever to warm up, or worse, showing “normal” while you can practically smell the coolant boiling? Believe me, you’re not imagining things. After 25+ years under the hood, I can tell you that nine times out of ten, these phantom overheating issues or weird gauge readings come down to one sneaky culprit: an air pocket in the cooling system.
Air is a terrible conductor of heat. When a bubble gets trapped around your engine coolant temperature (ECT) sensor, it insulates that sensor from the actual hot coolant. So, the sensor reads low, or it reads erratically, and your computer (and you) get a false sense of security. I’ve seen cylinder heads scorching hot on an infrared thermometer while the dash gauge still sat dead-center. That’s a classic air pocket trick.
Recognizing the Symptoms & What They Really Mean
Air pockets don’t just mess with your gauge; they can cause a whole host of problems. Here’s what I typically see in the shop:
Erratic or Inaccurate Temperature Readings
This is the most common one. Your gauge might jump around, stay low even after the engine’s warm, or, as I mentioned, show normal when things are clearly getting too hot. On a scan tool, you’ll see the ECT value fluctuating wildly or lagging way behind the engine’s actual warm-up. Sometimes the ECU even throws a code for the ECT sensor circuit, but the sensor itself is usually fine – it’s just reading wrong because it’s surrounded by air, not hot coolant.
Overheating Shortly After a Coolant Service
You just had a flush, or you refilled the system, and now the car is overheating? The reservoir looks full, but the engine is cooking. This is a dead giveaway for trapped air. It’s not a failed part; it’s a fill error. Air gets stuck in high points like the thermostat housing, heater core, or cylinder head passages, blocking proper coolant circulation. Left unchecked, this can lead to localized boiling, steam pockets, and eventually warp or crack aluminum components. Trust me, it’s a serious issue.
No Heat from the Heater Core
If your engine is warming up (or overheating) but you’re getting cold air from the vents when the heater’s on, an air pocket is often the culprit. The heater core is usually a high point in the system, and air loves to get trapped there, preventing hot coolant from circulating through it. It’s like a big bubble blocking the flow.
Don’t Guess, Test: Isolating the True Source
A lot of other problems can mimic air pockets: a failing ECT sensor, a wiring fault, a water pump with a slipping impeller, or even a blown head gasket. You can’t just assume it’s trapped air and start bleeding. You need to rule out the obvious first with a methodical approach. Here’s how I break it down:
If the Temperature Gauge is Acting Up:
First, grab your infrared thermometer. Once the engine hits operating temperature, point the IR gun at the engine block or housing right where the ECT sensor is located. Then, check your scan tool for the ECT value. If there’s more than a 10°C (18°F) difference between the two readings, you’ve either got air insulating the sensor or the sensor itself is bad. To confirm the sensor, pull it out (carefully, when the engine is cool) and test its resistance with a multimeter, comparing it to factory specs. If the sensor tests good, it’s almost certainly an air pocket.
If the Engine Overheats After a Coolant Fill:
This is where you need to be careful. While it often points to trapped air, it could also be something much worse, like combustion gases leaking into the coolant. My first step is always a static pressure test. Get your cooling system pressure tester, attach it to the radiator cap neck, and pump it up to the system’s rated pressure (usually 15–18 psi). Let it sit for at least 20 minutes. If the pressure holds steady, you’ve ruled out major external leaks. If it drops, you’ve got a leak somewhere. But if it holds, and you’re still overheating, then it’s time for a block tester (combustion leak tester). With the radiator cap off, run the engine and test the air above the coolant. If the fluid changes color (from blue to green or yellow), you’ve got exhaust gases in the coolant, which means a head gasket leak or a cracked head. That’s a whole different ball game than just air.
If There’s No Heat from the Heater Core:
With the engine fully warmed up and the heater blasting on max, feel both heater hoses where they go through the firewall. Both should be hot to the touch. If one is significantly cooler than the other, you’ve got restricted flow. An IR thermometer can confirm this: a temperature difference greater than 15°C (27°F) between the two hoses points to poor circulation, usually from an air pocket or a clogged heater core. If it’s a sudden onset after service, it’s almost always air.
Why Does Air Get Trapped Anyway? (Root Cause Analysis)
When you’ve confirmed it’s an air pocket, the root cause is almost always one of two things: a procedural error during a coolant fill or, less commonly, an underlying leak.
Improper Coolant Fill Technique: The #1 Culprit
This is by far the most common reason. Pouring coolant too quickly into the reservoir or radiator just traps air in the high spots. Modern engines have complex coolant paths, and without a proper bleed procedure or vacuum fill, you’re just moving air around, not getting it out. It’s a common mistake, even for experienced DIYers.
Engine Design Quirks
Some engines are just more prone to trapping air. Take certain GM and Chrysler V6 engines, like the 3.6L Pentastar – I see these weekly. They often have high-mounted thermostat housings or crossover passages where air loves to hide. There are service bulletins for these models recommending specific “burping” steps. It’s not a defect, but a design quirk that demands extra attention during service.
Underlying Leaks: The Air That Keeps Coming Back
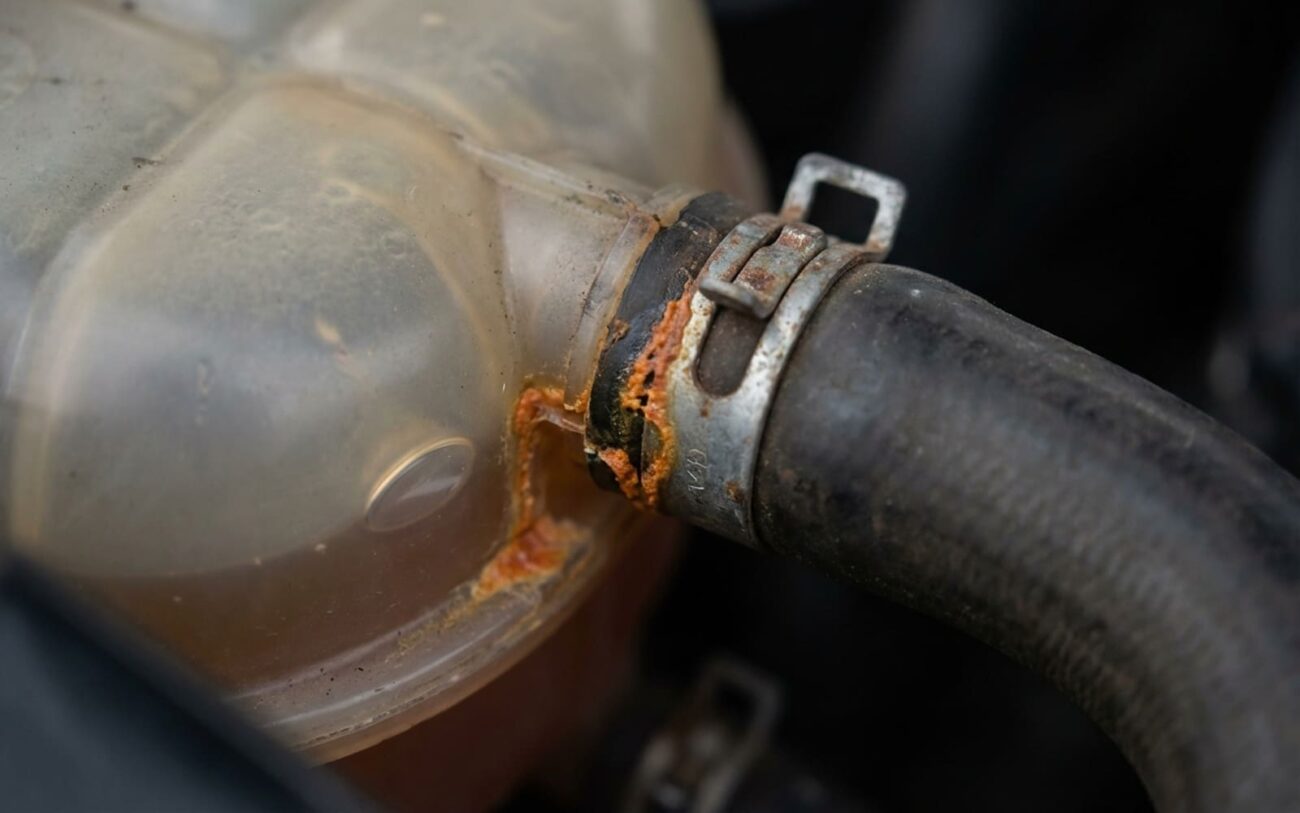
If you keep getting air pockets even after a proper bleed, then you’ve got a leak. It might be a tiny leak that doesn’t drip coolant but allows air to be sucked in as the system cools and creates a vacuum. Think failing water pump seals, a loose hose clamp, or a hairline crack in a hose. This is why a pressure test is so important – it helps find these sneaky leaks.
Critical Distinction:
A head gasket leaking combustion gases into the cooling system can look like an air pocket – you’ll see bubbling, maybe even false ECT readings. But it’s fundamentally different from trapped air from a refill. One is a mechanical failure requiring major engine work; the other is a service error. Don’t confuse them.
Getting the Bubbles Out: Your Resolution Pathways
Fixing an air pocket isn’t always a one-size-fits-all job. Some are simple, some demand specialized tools. Choose your path wisely.
Professional Territory Only
Look, cooling systems are critical. If you’re dealing with persistent air pockets, leaks you can’t find, or complex engine designs, you’re in professional territory. Specialized tools like vacuum fillers and pressure testers, plus a deep understanding of how these systems work, are essential. Trying to shortcut this can lead to serious engine damage or safety risks. Don’t cheap out here.
Standard Air Pocket Removal (DIY Friendly)
Stubborn Air in Complex Systems Professional Only
Air Pockets Caused by an Underlying Leak Professional Only
A word on cooling system additives: Some products claim to help release trapped air. While some OEMs approve specific formulations for minor vapor pockets, these are NOT a fix for mechanical leaks or severe air locks. They can also alter coolant chemistry or compatibility over time. I use them cautiously, if at all, and only after confirming no mechanical issues.
Did You Actually Fix It? (Post-Repair Validation)
Don’t just assume the problem is solved because the gauge reads normal. You have to validate the repair. This is where a lot of DIYers (and even some less experienced techs) fall short.
After any bleed, here’s my checklist:
- Heater Performance: From a cold start, the heater should produce hot air within 2–3 minutes at idle. If it’s still blowing cool, you’ve still got air.
- Scan Tool Monitoring: Use a scan tool to watch your OBD2 live data. The ECT should rise steadily and stabilize near the thermostat’s rated opening temperature (usually 88–93°C or 190–200°F). It shouldn’t jump around, drop suddenly, or stall.
- Drive Cycle: Take the car for a mixed drive cycle – city and highway. Confirm no overheating, no warning lights, and stable temperature readings.
- Pressure Test (If Leak Suspected): If you repaired a leak, validation is more involved. Perform a cold static pressure test: pressurize the system to the cap’s rating and monitor for 20 minutes. A drop of less than 1 psi is acceptable. Any more, and you’ve still got a leak.
- UV Dye (For Stubborn Leaks): For added assurance on a leak repair, add UV dye to the coolant, run the engine through three full heat cycles (hot to cold), then inspect with a black light. Leaks will glow.
These tools – scan tool, IR thermometer, pressure tester – aren’t luxuries; they’re essential for confidence in your repair. Don’t skip these steps.
The Bottom Line: Cost, Risk & When to Walk Away
Understanding the cost and risk helps you make smart decisions, especially if this issue keeps coming back. Here’s my take:
Proper Bleed Procedure
DIY: $15–$30 (just coolant). Shop: $120–$200 (includes labor & coolant). Success Rate: 95%+, assuming no underlying issues. Risk: Minimal. If air remains, you just repeat the process.
Vacuum Fill Procedure
DIY (tool investment): $150+ for a decent tool. Shop: $150–$250. Success Rate: 99%+. This is the gold standard for stubborn systems. Risk: Low, but improper tool use can cause vacuum leaks or seal damage if you’re not careful.
Leak Repair
DIY (parts): $100–$400 (for hoses, clamps, maybe a water pump). Shop: $500–$1,200+ (labor-intensive, especially for things like thermostat housings buried under intakes). Success Rate: Varies greatly depending on the leak. Risk: High. Recurring leaks will lead to overheating, head warpage, and eventually, engine failure. Don’t put this off.
Cost-Saving Tip (and Reality Check)
Here’s how I tell customers to think about it: if your car has a known design flaw that requires repeated vacuum fills or upgraded parts, and the repair costs start to creep up towards, say, 30% of the car’s current value, you need to weigh the long-term cost. Some owners choose to live with it, carefully managing the issue. Others see it as a clear sign to start planning for a replacement. Either way, know the trade-offs. Don’t throw good money after bad, but don’t ignore a cheap fix that prevents a catastrophic failure, either.
Prevention & Monitoring: Keep It Running Cool
The easiest way to deal with air pockets is to prevent them. It sounds obvious, but it’s true.
- Use the Right Coolant: Always use the coolant type and mix ratio specified in your owner’s manual. This isn’t just about corrosion; the wrong chemistry can cause foaming or cavitation, which introduces air and reduces cooling efficiency.
- Stick to Service Intervals: Factory coolant service intervals are there for a reason. Sludge or corrosion restricts flow and creates pockets where air can hide.
- Monitor After Service: After any cooling system work – even just topping off – monitor the car for the first 50 miles. Watch that temperature gauge and pay attention to heater performance. If you have a basic OBD2 scanner, check live ECT data during warm-up; it should climb smoothly, not jump or stall.
- Understand Modern Systems: Modern cooling systems are complex. Some Ford EcoBoost engines, for example, have active grille shutters that affect warm-up rates and airflow, which can influence how air behaves after service. It’s a reminder that these systems are integrated and dynamic. A little attention after service goes a long way in preventing big problems later.
Ultimately, a properly bled cooling system is a happy cooling system. Take the time to do it right, and your engine will thank you.
