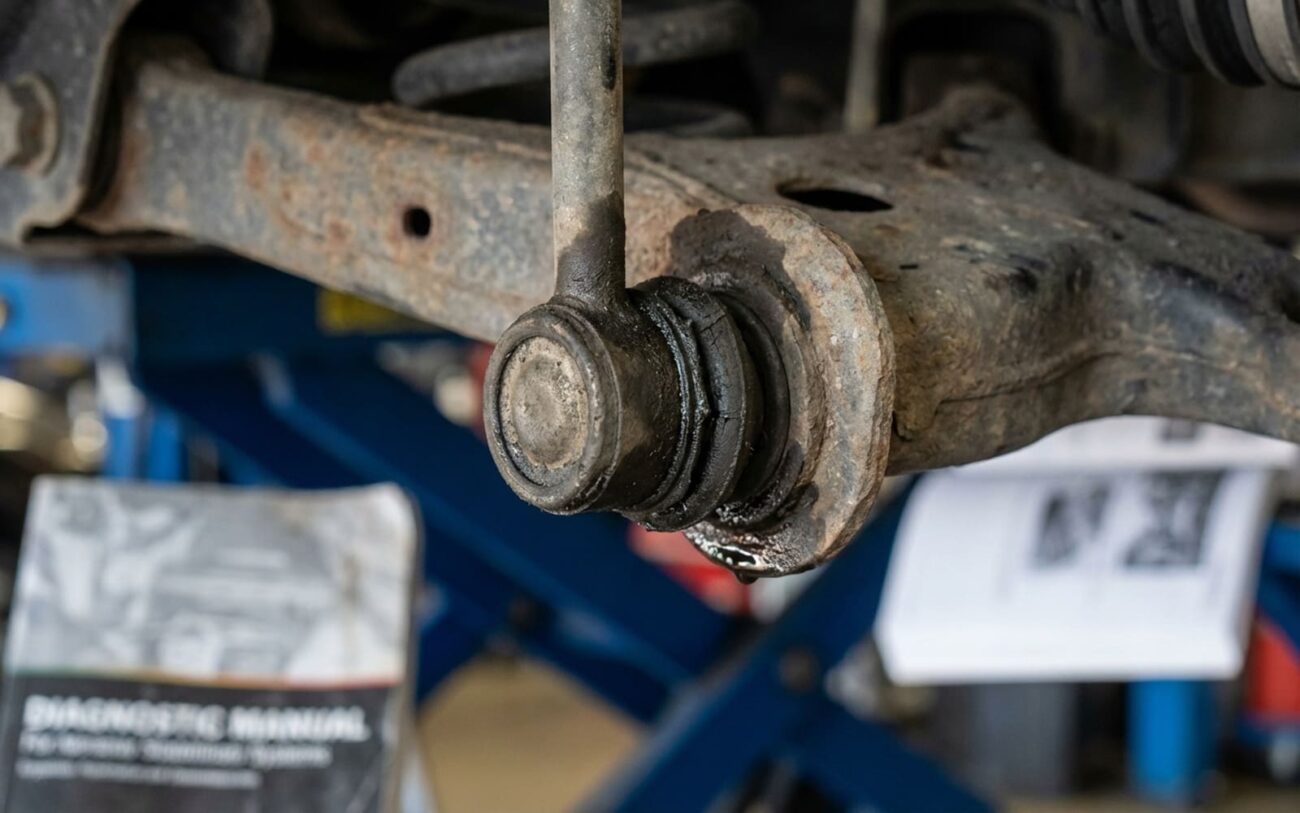
Alright, let’s talk about that infuriating knocking sound. You know the one. You just swapped out a sway bar link – maybe you did it yourself, maybe a shop did – and now, just a few weeks or a few thousand miles later, that same damn clunk is back. It’s enough to make you pull your hair out, I get it. I’ve seen it countless times in my 25+ years under the hood.
That sharp, metallic “clunk” or “knock” you hear? It happens when one wheel hits a bump, a pothole, or even just a driveway curb. It’s not a squeak, not a rattle. It’s a single, distinct impact sound, precisely when the suspension compresses unevenly. That’s the classic signature of a stabilizer link issue, and it’s frustrating as hell when it’s a brand-new part.
The Real Risk
“A knocking link isn’t just annoying; it’s a failure in progress. If it breaks, that bar can swing free and take out a brake line. I’ve seen it happen.”
Here’s the deal: a knocking stabilizer link isn’t just an annoyance – it’s a failure in progress. If the ball joint inside that link wears out completely, the link will separate. When that happens, the stabilizer bar is left dangling, free to swing around and smack into anything nearby. And by “anything nearby,” I mean critical components like brake lines, CV axle boots, or suspension arms. I’ve personally seen cases where a broken link caused a brake line rupture – turning a $50 part into a $600+ repair, not to mention the immediate safety hazard. Without a functioning stabilizer bar, your car will also lean excessively in corners and respond poorly during emergency maneuvers. That’s not a risk worth taking.
Is It Really The Link? My Diagnostic Approach
Before you rip into another replacement, stop. Take a breath. Ask yourself: is the noise actually coming from the new link? It’s easy to assume the worst about the part you just installed, but in my experience, the real culprit is often something else in the front suspension. That knock can be mimicked by worn control arm bushings, loose strut mounts, or even a failing ball joint. We need to test carefully to avoid replacing good parts – again.
| Symptom | Most Likely in Stabilizer Link | Common Mimics | How I Test It |
|---|---|---|---|
| Front or rear knocking on single-wheel bumps | Worn or defective ball socket joint, even in a new link. | Loose stabilizer bar bushings, worn control arm bushings, failed strut mount. |
With the car on the ground, have an assistant rapidly turn the steering wheel 20–30 degrees left and right. I’ll place my hand on the link body; a failing link transmits a sharp, distinct knock right into your palm. |
| Excessive body roll or vague cornering feel | Excessive play in the link’s ball joint, sometimes right out of the box. | Worn shock absorbers, sagging springs, or misaligned suspension. |
I lift the vehicle and let the wheel hang, taking the load off the suspension. Then I grab the link and try to move it radially (side-to-side) and axially (in and out). Any detectable play means that joint is compromised. |
If your tests point away from the link, don’t waste time replacing it again. A worn control arm bushing or a cracked strut mount can produce nearly identical symptoms. The key difference? The location of the movement. A control arm issue usually shows play at the frame side, while a strut mount knock will often echo through the firewall. And if you’re hearing a crunching noise specifically during tight turns, that’s almost never suspension – it’s likely a CV joint. See: Crunching Sound When Turning: Inner or Outer CV Joint?. Likewise, if the clunk happens while coasting straight, I’d tell you to check: Knocking Noise When Coasting: Is It a CV Axle or Driveshaft Problem?.
Why a New Link Fails: The Root Causes I See
Okay, so your tests confirm it: the knock is coming from the new link itself. Yes, it happens. This isn’t a case of misdiagnosis or installation error. It’s a component failure, and it’s more common than most people realize. Let’s break down why a brand-new stabilizer link can fail prematurely.
Manufacturing Realities:
First off, material and design flaws. The rubber or synthetic boot that seals the ball joint might be torn right from the factory, or it could be improperly bonded. Once that seal is compromised, dirt and moisture rush in, and that joint starts wearing out fast. I’ve seen a small breach turn a brand-new joint into a loose, noisy one in under 1,000 miles.
Then there are metallurgical issues. The threaded stud or the ball socket itself might have poor heat treatment, leading to microfractures under load. I’ve cut open links where the stud cracked at the shoulder due to weak tempering – no overt damage, just sudden, inexplicable play. And don’t forget poor assembly. Some budget links are press-fit or crimped incorrectly, leaving internal clearance that turns into movement and noise under stress.
And yes, there are known patterns. Certain model years of popular vehicles – like some mid-2010s trucks and SUVs – have documented issues with early stabilizer link wear. In some cases, manufacturers even issued service bulletins recommending upgraded, reinforced links. True root-cause analysis means isolating the failure to the component itself, not the surrounding suspension.
Getting It Fixed: Your Options & My Advice
Know Your Limits
While a straightforward swap is DIY-friendly, dealing with seized links or diagnosing repeated failures involves high-torque applications, specialized heat tools, and a deep understanding of suspension geometry. Damaging the stabilizer bar threads can turn a simple fix into a massive expense, quickly.
Standard Replacement DIY Feasible
Seized or Corroded Link Professional Only
Repeated Failure Professional Diagnosis
Temporary Fix (Last Resort Only): Some folks try injecting grease through the boot with a needle. Don’t do it. Grease can degrade the rubber, and it absolutely does not fix the metal-on-metal wear already underway. This is only acceptable if you’re driving straight to a shop and have no other choice.
Don’t Skip This: Post-Repair Validation
Never assume it’s fixed just because you installed a new part. You need to validate the repair properly. For the operational test, drive over the exact same roads that triggered the noise before. That known speed bump, that driveway lip – hit them again. The knock must be completely gone. Even a faint tick suggests residual play or another underlying issue.
For the static test, lift the vehicle safely and let the wheels hang. Grab that stabilizer link and try to move it by hand, just like we did during diagnosis. There should be zero radial play in the ball joint. The joint should pivot smoothly under hand pressure, but it shouldn’t feel loose or gritty. If it passes both tests, then you’re truly good to go.
The Bottom Line: Cost, Risk & Quality
| Repair Type | DIY Cost (Parts) | Shop Cost (Total) | My Observed Success Rate | Secondary Risk I’ve Seen |
|---|---|---|---|---|
| Standard Link Replacement (Pair) | $40 – $150 | $200 – $400 | Over 95% (if diagnosed correctly and quality parts used) | Improper torque can lead to link detachment and brake line damage. |
| Seized Link Removal | $40 – $150+ | $250 – $500+ | ~80% DIY (high risk of complications) | Thread damage on stabilizer bar, potentially requiring expensive bar replacement. |
Keeping It Quiet: Prevention & Monitoring
-
Inspect those boots during every oil change. Look for cracks, tears, or any grease leakage. That’s your early warning sign.
-
Listen for a faint “click” on small bumps. Catching it early prevents it from becoming a “clunk” and saves you from collateral damage.
-
Avoid the absolute lowest-priced options. I’ve seen them fail in months. Stick to OEM or trusted aftermarket brands like Moog or Mevotech.
Expert Tip on Quality
I’ve seen cheap, no-name links fail in under six months, sometimes even sooner. Some aftermarket brands offer greaseable links, which can definitely extend life if you actually maintain them. You’re not just buying a part here – you’re buying peace of mind and safety.
