Brake Warning Light On in Your EV? Don’t Panic, But Don’t Wait.
Alright, you’re driving your EV, and suddenly that dreaded yellow or red “BRAKE” or “BRAKE SYSTEM” light pops up on the dash. Your first thought? “Oh no, am I about to lose my brakes?” I get it. It’s a scary sight. But let me clear something up right away: if it’s a faulty brake pressure sensor, your hydraulic brakes aren’t going to just fail on you. You’ll still have stopping power.
What does happen, and this is crucial, is that the sophisticated electronic brain of your EV can’t trust the brake system’s pressure data anymore. Modern EVs rely heavily on precise pressure readings for things like regenerative braking coordination, Anti-lock Braking System (ABS), and Electronic Stability Control (ESC). When that sensor goes wonky, it’s like a conductor losing their sheet music – the orchestra (your brake system) can still play, but it’s not going to be a symphony, especially in an emergency.
This loss of accurate data means your car’s computer will often disable those advanced safety systems. So while you can still physically stop the car, you lose the ‘intelligence’ that helps you stop safely in tricky situations, like a sudden panic stop or on a slippery road. The car might feel different, the pedal response could change, and you’ll definitely see more warning lights.
BRAKE SYSTEM MONITOR
Delta: 315 psi
The Concept
“Think of it like a digital scale that’s lost its zero: it still weighs things, but the numbers can’t be trusted.”
What You’ll See and What the Computer Says
When a brake pressure sensor starts acting up, it’s rarely subtle. You’ll almost always see a cluster of warnings, not just one light. The big ones are usually the ABS (Anti-lock Braking System) and ESC (Electronic Stability Control) warning lights, often alongside a clear message in your instrument cluster like “Brake System Fault,” “Brake Performance Reduced,” or “Service Brake System.”
Behind those dashboard lights are Diagnostic Trouble Codes (DTCs). These are the computer’s way of telling us exactly what’s wrong. For brake pressure sensor issues, I typically see codes in the C1233, C1234, C1241, or C1238 range. These aren’t just generic codes; they’re common across many EVs using Bosch iBooster systems, like Tesla Model 3/Y or Volkswagen ID.4. When I pull these codes, I’m looking for descriptions that mention “plausibility,” “range/performance,” or “circuit” faults – that’s usually the tell-tale sign.
How I Pinpoint a Bad Sensor (And Rule Out Everything Else)
A lot of things can make your brake system act funny. A soft pedal could be air in the lines, or a master cylinder issue. A hard pedal might point to a failing iBooster. That’s why I don’t just throw parts at it. My definitive test involves a good professional scan tool and a mechanical pressure gauge.
-
1. Scan for Codes & Live Data:
First, I hook up my scan tool. If I see codes like C1241 (often “Brake Pressure Sensor 1 Plausibility”) or C1233/C1234 (“Range/Performance”), that immediately puts the sensor on my radar. Then, I watch the live data stream for the brake pressure sensor. I’m looking for erratic readings, frozen values, or a reading that doesn’t match what I’m doing with the pedal.
-
2. Mechanical Pressure Test (The Gold Standard):
This is where we confirm. I’ll connect a mechanical pressure gauge directly into the brake system, usually at the master cylinder or an accessible caliper. Then, I compare that real-world pressure to what the scan tool is reporting from the sensor. If the sensor’s reading is way off from the mechanical gauge, or if it’s stuck at a high value (say, over 200 psi) even when the pedal isn’t pressed, then I know for sure the sensor itself is faulty. A mismatch confirms the failure.
Pro Tip: If you’re seeing a hard brake pedal and a C1238 code (“Brake Pressure Sensor 1 Stuck High”), check that sensor reading at rest. Any reading significantly above zero (like that >200 psi) is a dead giveaway for a stuck sensor, disabling your assist.
-
3. Rule Out Imposters:
Before condemning the sensor, I always consider the usual suspects:
- Soft Pedal with ABS/ESC Light: Could be air in the lines, a leaking master cylinder, or even just worn-out pads. I’ll bleed the system thoroughly to rule out air, then re-evaluate the sensor output under load.
- Hard Pedal (No Sensor Codes): If the pedal is hard but the sensor codes aren’t showing a stuck-high condition, I’ll look at the iBooster unit itself, hydraulic control unit (HCU) valves, or even low system voltage affecting the assist pump.
- Intermittent Warnings: Sometimes a loose wire or a corroded connector can mimic a sensor fault. I always check the wiring harness and connections for damage or poor contact.
Why These Sensors Give Up the Ghost
After 25+ years, I’ve seen a few common reasons why these pressure sensors fail. Most often, it’s the internal silicon diaphragm or strain gauge. These tiny components are what convert the physical brake pressure into an electrical signal the car’s computer can understand. Over time, especially with all the heat cycling and vibration they endure, they can develop microscopic cracks or just degrade, leading to inaccurate signals or complete failure.
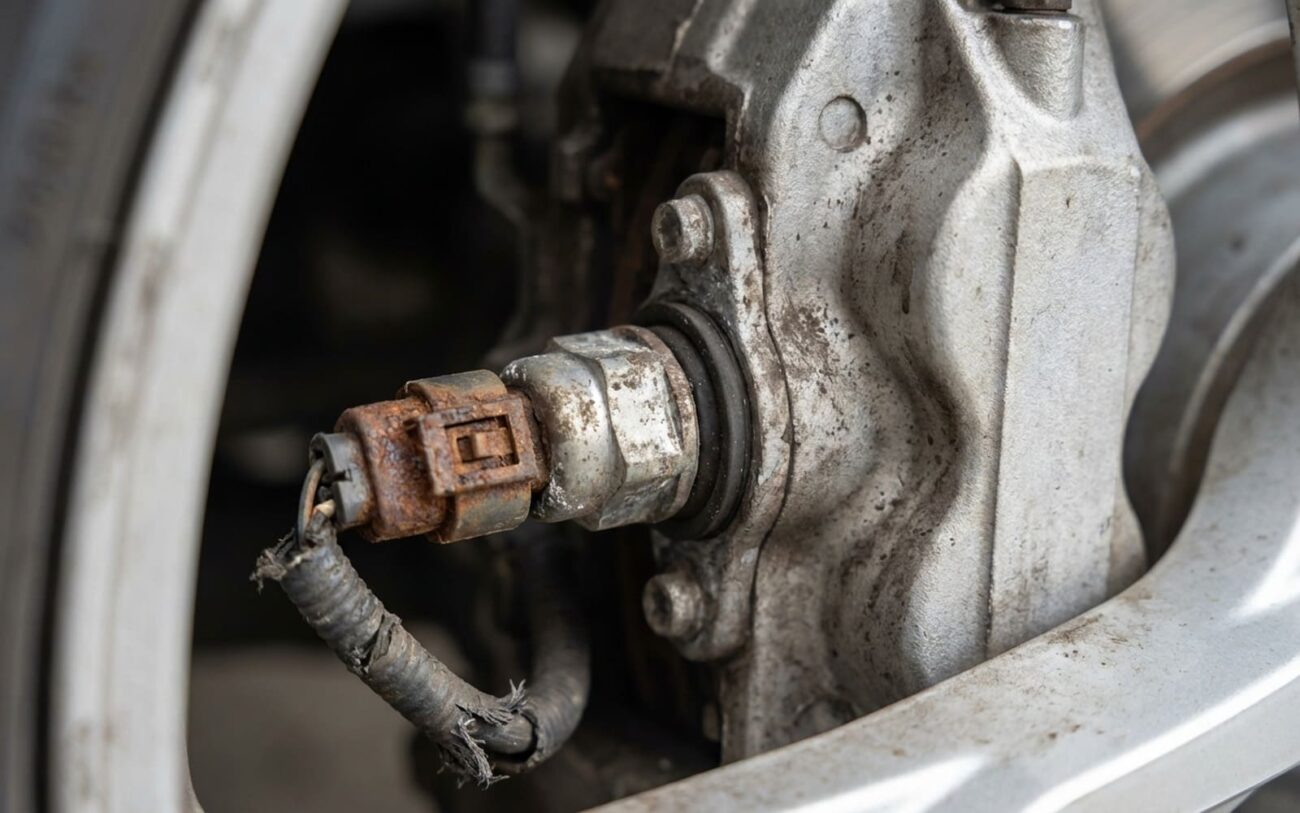
Physical damage is another big one. If someone overtightened the sensor during a previous repair, it can crack the housing. That crack then lets brake fluid seep in, which can short out the internal electronics. And trust me, brake fluid and electronics don’t mix well.
A Note on Brake Fluid Contamination:
This is a silent killer. Brake fluid is hygroscopic, meaning it absorbs moisture from the air. If the fluid hasn’t been flushed in, say, three years or more, that water content can lead to internal corrosion within the sensor’s tiny fluid passages. This corrosion often causes false readings and is a leading cause of premature sensor failure. Don’t skip your brake fluid flushes!
The Fix: Two Paths, Both Professional
Safety First: This Isn’t a DIY Job
There’s no safe workaround for a faulty brake pressure sensor. Trying to bypass it means disabling ABS, stability control, and regenerative braking – critical safety features. This is definitely professional-only territory. Don’t mess with your brakes unless you know exactly what you’re doing and have the right tools.
External Sensor Replacement Professional Only
HCU Assembly Replacement Non-Repairable
What’s This Going to Cost? (And Is It Worth It?)
When it comes to costs, there’s a pretty wide range depending on whether it’s an external sensor or the whole HCU. Here’s what I typically see in my shop:
Diagnostic & Bleed
This covers hooking up the scan tool, performing the mechanical pressure test, and any initial system bleeding needed to confirm the fault.
External Sensor
This includes the cost of the OEM sensor part (which can run $80-$250) plus the labor for replacement and the crucial calibration. This is usually a high success rate repair, well worth it.
HCU Assembly
This is the big one. It involves the full hydraulic unit, extensive programming, and significant labor. While expensive, it’s almost always worth it for safety and to restore full functionality to your EV’s braking system.
How to Keep This Headache Away
My Maintenance Checklist:
-
Flush your brake fluid every 2–3 years. I can’t stress this enough. Moisture in the fluid is a primary enemy of these delicate internal sensor components. It leads to corrosion and premature failure.
-
Use ONLY the specified brake fluid. For EVs, this often means DOT 4 ESP or DOT 5.1. Standard fluids can react poorly with EV-specific seals and components, leading to bigger issues down the road. Check your owner’s manual!
-
Treat ABS/ESC lights as urgent. Don’t ignore them. Early diagnosis of a minor sensor issue can prevent it from cascading into a more complex and expensive HCU replacement.
Pro Tip from My Shop
For major repairs like an HCU replacement, don’t be afraid to get quotes from independent EV specialists. They often have the same diagnostic tools and expertise as dealerships but can perform the work for 30-50% less. And while we’re talking brakes, check out my other guides on why rotors warp early and fixing sticking calipers.
