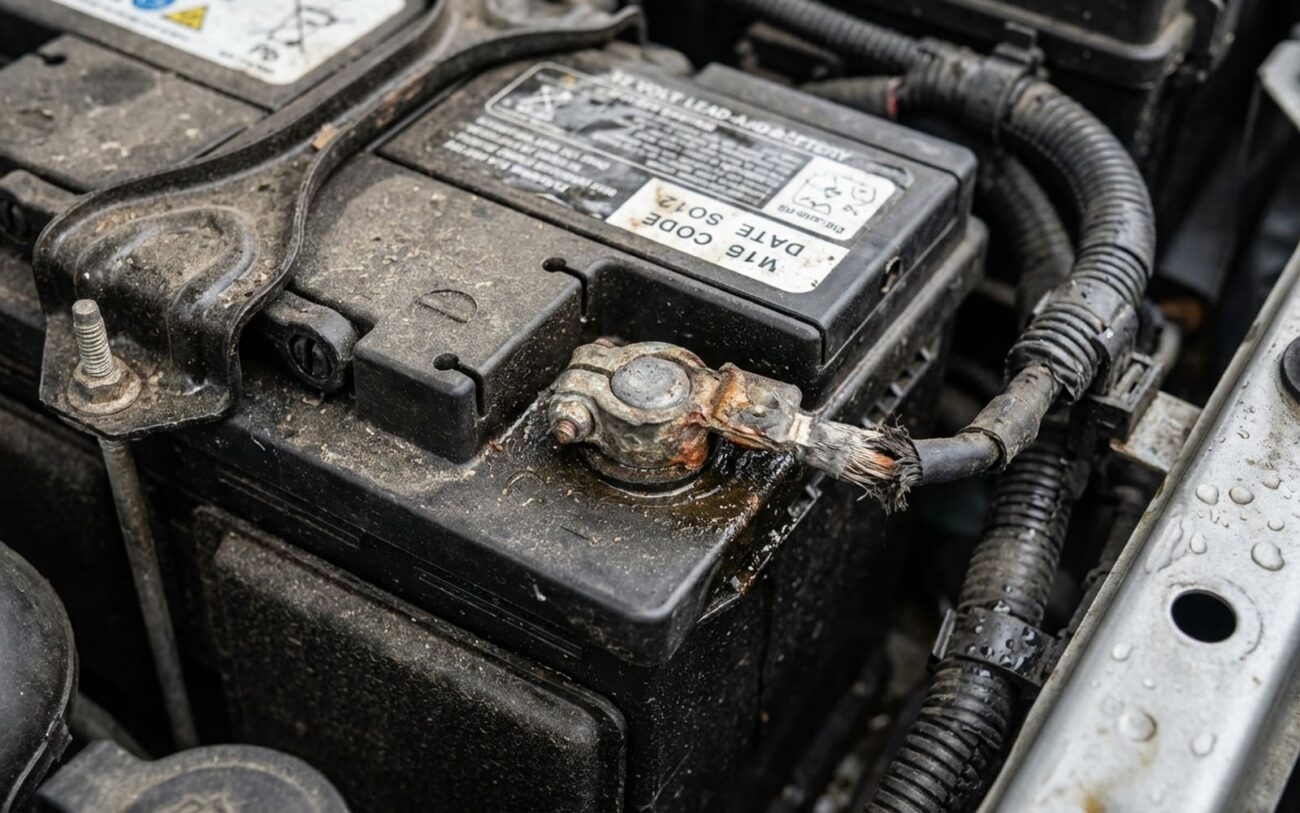
Alright, let’s talk about early Tesla Model S brakes. If you’ve popped the frunk on one of these and scratched your head at that little standalone battery tucked away just for the braking system, you’re not the first. Trust me, it looks odd until you get why it’s there.
Why That Separate Brake Battery Is Even There
See, in a regular gas car, the engine’s always running, and that creates vacuum to power your brake booster. Easy. But an EV like the Model S? No running engine, no vacuum. So, Tesla had to get creative, and that’s where the Bosch iBooster comes in.
The Bosch iBooster & Redundancy
Tesla went with an electro-hydraulic booster, the Bosch iBooster. This thing uses an electric motor to generate all that brake assist pressure. Now, here’s the kicker: to make sure you can always stop, even if the main 12-volt system decides to take a nap, the engineers added a second, completely isolated 12-volt battery. It’s pure safety redundancy, plain and simple.
This isn’t just a backup; it’s a failsafe. This dedicated battery runs completely independently from the car’s main 12-volt auxiliary battery. It gets its charge from the DC-to-DC converter, just like the main one. So, even if your primary 12-volt battery kicks the bucket or the high-voltage system disconnects, that brake booster still has power. That’s what we call true safety redundancy – it’s built right into the car’s core safety architecture.
How You’ll Know That Brake Battery Is Giving Up
When this dedicated brake booster battery starts to go, it’s not subtle, and you absolutely can’t ignore it. The biggest giveaway is a sudden, dramatic increase in brake pedal effort. Most folks describe it as a “rock-hard” pedal, especially when you first get in after the car’s been sitting for a few hours, completely asleep. What’s happening is the iBooster just can’t get enough juice to run its electric pump and give you that assist.
What You Might Hear
And listen closely – you might also hear a rapid clicking or chattering sound coming from the frunk. That’s usually a relay trying to engage, but it’s failing because the voltage is just too low.
Now, it’s crucial to tell the difference between this and a general 12-volt system meltdown. If you’re seeing a whole Christmas tree of warnings – “Power Steering Fault,” “Door Latch Issues,” “Climate Control Off” – along with that hard brake pedal, then you’re probably looking at the main 12-volt auxiliary battery or a problem with the DC-to-DC converter. But if everything else in the car seems to power up just fine, and it’s only the brake assist that’s gone missing, then yeah, the dedicated brake booster battery is almost certainly your culprit.
My Go-To Method for Diagnosing This (Is It the Booster Battery or Not?)
Alright, diagnosis. First thing I do is isolate the problem. The absolute best way to check this is to measure the voltage of that dedicated brake booster battery after the car has gone into full sleep mode – give it at least 15 to 30 minutes after you shut it down. You’ll find that battery in the front subframe, usually an AGM type. Pull off any covers, grab your digital multimeter, and check the voltage right at the terminals.
Here’s a quick rundown of what I look for:
| What You See | What I Suspect | What It Might Mimic | My Definitive Test |
|---|---|---|---|
| Hard brake pedal at startup, but everything else electrical works fine. | That dedicated brake booster battery is weak or completely dead. | Could look like a faulty booster pump; a bad control module; or even a parasitic drain. |
Measure voltage at the battery terminals after 15+ minutes of sleep. If it’s below 12.0V, you’ve found your problem.
|
| Hard pedal and a bunch of other 12V system warnings (steering, door latches, etc.). | Main 12V auxiliary battery is shot, or the DC-to-DC converter is acting up. | Sometimes a failed DCDC converter or a poor high-voltage connection can look like this. |
Check the main 12V battery voltage (should be 13.8–15.0V when charging). Also, scan for any DCDC-related diagnostic trouble codes (DTCs).
|
So, Why Do These Batteries Give Up the Ghost?
There are a few reasons these dedicated brake batteries tend to fail, and most of it comes down to where they live and what they do. Being mounted in the front subframe, they’re constantly exposed to road salt, moisture, and extreme temperatures. Even though AGM batteries are pretty tough with vibration, that constant exposure to corrosion and thermal cycling just beats them up over time.
And their job? It’s demanding. Every time that brake booster kicks in, it pulls a big, high-current pulse to get that pump motor spinning. You do that enough times, those repeated partial discharges start to cause sulfation in the lead-acid cells, and that kills capacity. Plus, if the car sits for weeks, that battery can self-discharge past the point of no return.
My Step-by-Step for Replacing That Brake Booster Battery
Safety Protocol Required
Hold on a second – this isn’t your average battery swap. The iBooster and its control module are incredibly sensitive to voltage spikes. You have to disable the 12-volt system properly before you touch anything. I always use Transport Mode through the service menu, or the manual disconnect if I have to. Don’t skip this step, seriously.
Preparation & Safety
Battery Replacement
How I Confirm the Job’s Done Right
After you’ve got that new battery in, verification is absolutely critical. Power up the car and just pump the brake pedal a few times. You should hear the iBooster pump activate smoothly with a brief hum, and that pedal effort should feel totally normal – light and consistent, just like it should. No warning lights on the dash, either.
For a real long-term check, let the car go into full sleep mode, then monitor that booster battery voltage over the next 12 to 24 hours. A healthy system shouldn’t lose more than 0.2 volts. And finally, grab your scan tool, clear any diagnostic trouble codes (DTCs) that might be hanging around, and then take it for a drive. Make sure those codes don’t come back.
What This Repair Will Cost You (And What Happens If You Mess It Up)
| Repair Type | DIY Cost | Shop Cost | Success Rate | Secondary Risk |
|---|---|---|---|---|
| Replacing the dedicated brake booster battery | $150 – $400 (if you DIY) | $300 – $600 (at a shop) | Very High (if done correctly) | Mess up the disconnection, and you could fry the iBooster module itself. That’s a $1,000+ mistake, easily. |
How to Keep This From Happening Again (And Catch It Early)
My Maintenance Checklist
-
Keep that main 12-volt system healthy. A weak primary battery often means inconsistent charging for the booster battery, and that shortens its life.
-
Pay attention to early signs: if the brake pedal feels even slightly stiffer on that very first press after the car’s been parked, that battery is probably starting to lose capacity.
-
If you know the car’s going to sit for more than a couple of weeks, hook it up to a battery maintainer. That keeps the DC-to-DC converter active and helps keep both 12-volt batteries topped off.
Pro Tip
Look, regenerative braking is great for saving your brake pads, and it’s why EV pads last so long. But remember, the hydraulic system is still your absolute final safety net. So, if you ever get a brake-related fault in an EV, don’t ever, ever ignore it. Get it checked out immediately.
