AC Compressor Won’t Engage? Here’s How I Diagnose It.
Nothing’s more frustrating than hitting the AC button on a hot day and getting nothing but warm air. You hear the blower fan ramp up, but under the hood, there’s no click, no engagement from the compressor, just… silence. I see this issue all the time, and after 25+ years in the shop, I can tell you: the key isn’t to guess, it’s to diagnose. Don’t just throw parts at it.
In my experience, when an AC compressor won’t kick on, it almost always boils down to one of three things:
- The compressor’s magnetic clutch itself. This is the part that physically engages the compressor.
- A problem with the refrigerant pressure. Too high or too low, and the system won’t run.
- A fault in the control system. We’re talking relays, switches, or the computer module that tells everything what to do.
Let’s walk through how I approach these problems, starting with what your car is trying to tell you.
First Clues: What You See, Hear, and Smell
Your senses are your first diagnostic tools. Pay attention.
If you hit the AC button and hear absolutely no click from the compressor, and the center hub of the pulley isn’t spinning with the belt, that’s a complete non-engagement. This doesn’t automatically mean the clutch is bad, though. It could be a failed coil, sure, but it’s just as likely that a pressure switch, relay, or control module is blocking the signal. I’ve seen plenty of cases where the clutch looks fine, but the car’s computer is deliberately preventing engagement because the refrigerant is low.
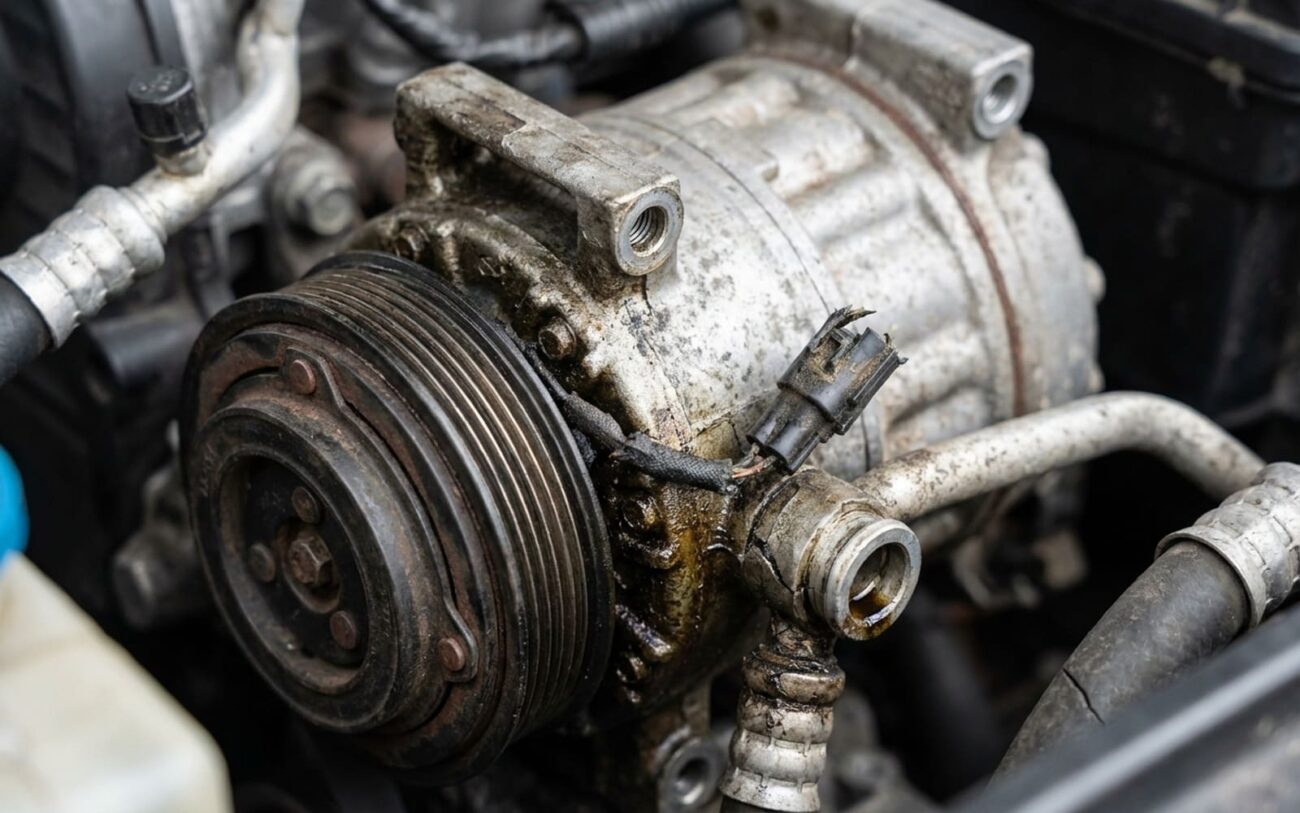
Take a good look at the clutch itself. Visible wear—like a cracked hub, a glazed friction surface, or black dust around the pulley—points to a mechanical failure or contamination. Oil leaking from, say, the valve cover or power steering system can coat the clutch face, causing it to slip. Slippage generates a ton of heat, which damages the coil and eventually leads to total failure.
But often, the compressor isn’t the problem at all. Modern AC systems are smart; they’re protected by high- and low-pressure switches that prevent operation if conditions are unsafe. If your scan tool shows the low-pressure switch is “open,” the system is likely low on refrigerant. Running that compressor without enough refrigerant means no oil circulation, and that can destroy internal components in minutes. On the flip side, an overcharged system or a blockage (like a clogged condenser) can cause dangerously high “head pressure,” triggering the high-pressure switch. In both scenarios, the system is doing exactly what it’s supposed to do: protecting itself from catastrophic damage.
Then there’s the control side. In most vehicles, the HVAC module or Body Control Module (BCM) decides when the compressor runs. If that module isn’t communicating over the CAN bus, or if it’s commanding the clutch ON but the relay isn’t activating, you’ve got an electronic control issue. These can mimic mechanical failures but actually stem from deeper network or power problems—similar to what happens when modules are alive but not communicating. I’ve chased my tail on these more than once.
My Diagnostic Approach: Finding the Real Problem
Diagnosis starts with a plan. Don’t replace parts based on guesses. Use a systematic approach to isolate the fault. Here’s how I typically go about it:
1. Testing the Compressor Clutch Itself
For a non-engaging clutch, the most definitive test is a direct power bypass. First, disconnect the electrical connector at the compressor clutch. Then, using a fused jumper wire (and I mean fused, don’t skip that part), apply 12V directly to the clutch terminal and ground the other side. If you hear a crisp click and see the clutch plate pull in, the clutch and its coil are functional. That tells you the problem lies upstream—somewhere in the fuse, relay, pressure switch, or control module circuit.
If it doesn’t engage, you need to dig deeper into the clutch itself. Grab your multimeter and check the coil’s resistance. A healthy coil typically reads between 2 and 5 ohms. If you get infinite resistance, that means an open circuit—the coil is dead. If the resistance is good but it still won’t engage with direct power, the issue might be mechanical. Check the air gap between the clutch plate and the pulley face using feeler gauges. Most specs call for 0.020″ to 0.040″ (about 0.5 to 1.0 mm). If that gap is too wide, the magnetic field just can’t pull the plate in.
2. Verifying Refrigerant Pressure
If your scan tool indicates a pressure switch is “open,” don’t assume the switch is faulty—verify the actual system pressure. Connect a manifold gauge set (you’ll need one for R134a or R1234yf, depending on your car). With the engine off, compare the static pressure to a Pressure-Temperature (P-T) chart for your specific refrigerant. This chart tells you what the system pressure should be at the current ambient temperature. If the pressure matches the ambient temperature but the switch still reads open, then the switch is bad. If the pressure is near zero, you’ve got a refrigerant leak. If it’s excessively high, you need to look for an overcharge, poor airflow through the condenser, or a restriction in the system. Replacing a switch without fixing the underlying pressure issue will just lead to the same failure again, trust me.
3. Diagnosing the Control System
For suspected control module problems, I always test the basics first. Check power and ground at the module using a digital multimeter. Look for voltage drop under load, which can reveal a poor ground connection that might not show up with a simple voltage check. Confirm the HVAC module is active on the CAN bus using a capable scan tool—you should see it communicating. If power, ground, and communication are all good, but the clutch relay still doesn’t activate, the module’s internal driver circuit has likely failed. Keep in mind that moisture intrusion—like what can cause intermittent ECU faults—can also affect HVAC modules, especially if the vehicle has a history of water leaks. I’ve seen modules corrode from a leaky windshield seal or a clogged sunroof drain.
Why These Parts Fail (And What to Watch For)
Understanding why something fails helps prevent it from happening again. It’s not just about swapping parts.
Clutch coils fail primarily from heat and electrical stress. Normal cycling generates heat, but sustained high loads—like running AC on max in stop-and-go traffic for hours—can really accelerate coil degradation. A seized or binding compressor forces the clutch to work harder, drawing more current and overheating the windings. Road grime, salt, and moisture can also corrode coil insulation, leading to shorts. And if engine oil or power steering fluid leaks onto the clutch face, the friction material loses grip, causing slippage and heat buildup. Remember this: if the compressor shaft is locked, the clutch isn’t the root cause—it’s the symptom. You’re just putting a band-aid on a bigger problem if you only replace the clutch.
Pressure switches and sensors fail from mechanical fatigue and corrosion. The internal diaphragm can rupture over time, or electrical contacts can corrode, especially in humid or salty environments. The connector is often the weak point—exposed to road splash and temperature swings. But here’s a critical point I can’t stress enough: replacing a pressure switch because it’s “open” without checking system pressure is a rookie mistake. If the system is actually low on refrigerant, the switch is doing its job. Fix the leak first, then worry about the switch if it’s still acting up.
Control modules fail due to thermal cycling, voltage spikes, and moisture. Repeated heating and cooling can cause microscopic cracks in solder joints (“cold solder joints”), especially on power transistors that drive the compressor relay. A shorted clutch coil can send a current surge back through the control circuit, frying the driver inside the module. Moisture from a sunroof leak or clogged drain can seep into the HVAC module, leading to corrosion and intermittent failures. Some model lines have known issues—like certain late-2010s vehicles where the HVAC module’s memory chip fails, causing repeated resets and loss of AC function. On the 2015-2017 F-150s, for example, I’ve seen these modules act up weekly.
Your Repair Options & What They’ll Cost You
Once you’ve pinpointed the problem, it’s time to talk solutions. Here’s a realistic breakdown of your options, including costs and what you can expect.
Clutch Coil Only / Complete Clutch Assembly Professional Tools Recommended
Pressure Switch/Sensor Replacement Professional Only
Control Module Replacement Professional Only
| Repair Type | DIY Parts Cost | Professional Shop Cost | Typical Success Rate | Risk if Repair Fails |
|---|---|---|---|---|
| Clutch Coil Only | $50 – $150 | $300 – $500 | High (if air gap is set correctly) |
Clutch wears prematurely, AC stops working
|
| Complete Clutch Assembly | $100 – $300 | $400 – $700 | High |
N/A
|
| Pressure Switch/Sensor | $30 – $80 | $200 – $400 | Very High (if system is properly evacuated) |
Contamination or moisture if evacuation is skipped
|
| Control Module (New) | $300 – $800 | $500 – $1200 | Very High (with proper programming) |
Network errors or non-operation if not coded
|
| Control Module (Used) | $150 – $400 | $400 – $800 | Moderate (potential hidden faults) |
Same as new, plus risk of latent failure
|
Here’s a rule of thumb I use: if the repair cost exceeds half your car’s private-party value (check KBB or NADA), ask yourself—is this worth it? Especially if other major systems (transmission, suspension, engine) are wearing out. Pouring $1,000 into AC on a $3,000 car rarely makes long-term sense. Sometimes it’s better to cut your losses.
Making Sure It’s Really Fixed
Never assume a repair worked—verify it. This is where many DIYers, and even some less experienced pros, fall short.
After a clutch repair: Command the AC on via your scan tool or climate control. Watch the compressor: it should engage within half a second, with a solid click. Use a multimeter to confirm full battery voltage at the clutch connector. Check for slip by monitoring pulley temperature with an infrared thermometer—excessive heat means friction or misalignment. Most importantly, measure vent temperature. After 10 minutes of operation, it should drop to 38–45°F (3-7°C) with ambient temps above 75°F (24°C).
After replacing a pressure switch: Verify the scan tool shows “CLOSED” when the system is running. On the manifold gauge set, high-side pressure should rise with compressor load and stabilize based on ambient temperature—always refer to the service manual’s pressure charts for your specific vehicle. Static pressure (engine off) should match the P-T chart for the current air temperature.
For a control module replacement: Ensure the module communicates and responds to commands. Run any HVAC self-tests or adaptations if required by the manufacturer. The system should cycle the clutch automatically based on cabin temperature and pressure. Clear any old DTCs and drive through a full cooling cycle to confirm no new codes return. Sometimes, a short test drive is all it takes to shake out a latent issue.
Keeping It Working Next Time: Prevention is Key
Prevention beats repair every single time, especially with AC systems. Here’s what I tell my customers:
To Prevent Recurrence
-
Keep the clutch clean. Address any oil leaks—especially from the valve cover or power steering pump—before they coat the clutch face. A slipping serpentine belt can also overheat the clutch coil, so check belt tension and condition regularly. A worn tensioner or misaligned pulley increases load and heat, which is bad for everything.
-
For refrigerant health, get an annual AC performance check. A good pro will use gauges, thermometers, and a leak detector to catch small issues early. Don’t just “top off” refrigerant—that masks leaks and risks overcharging, which is just as bad as undercharging. Always use the refrigerant type and PAG oil specified on the underhood sticker. Mixing oils or refrigerants can cause sludge, poor cooling, or seal damage.
-
Protect the control system. Voltage spikes from a failing alternator or a weak battery can damage sensitive modules. If you’re seeing other electrical gremlins—flickering lights, random warning lights—get them checked out. A single module failure can disrupt the whole network, as seen in some VW/Audi MQB platforms.
-
Make it a habit: at the start of summer, turn on the AC and listen. A delayed or weak click is a warning sign. Pop the hood and inspect the clutch. Is it oily? Covered in black dust? Is the air gap visibly large? Catching these early can save you from a stranded car and a much bigger bill.
