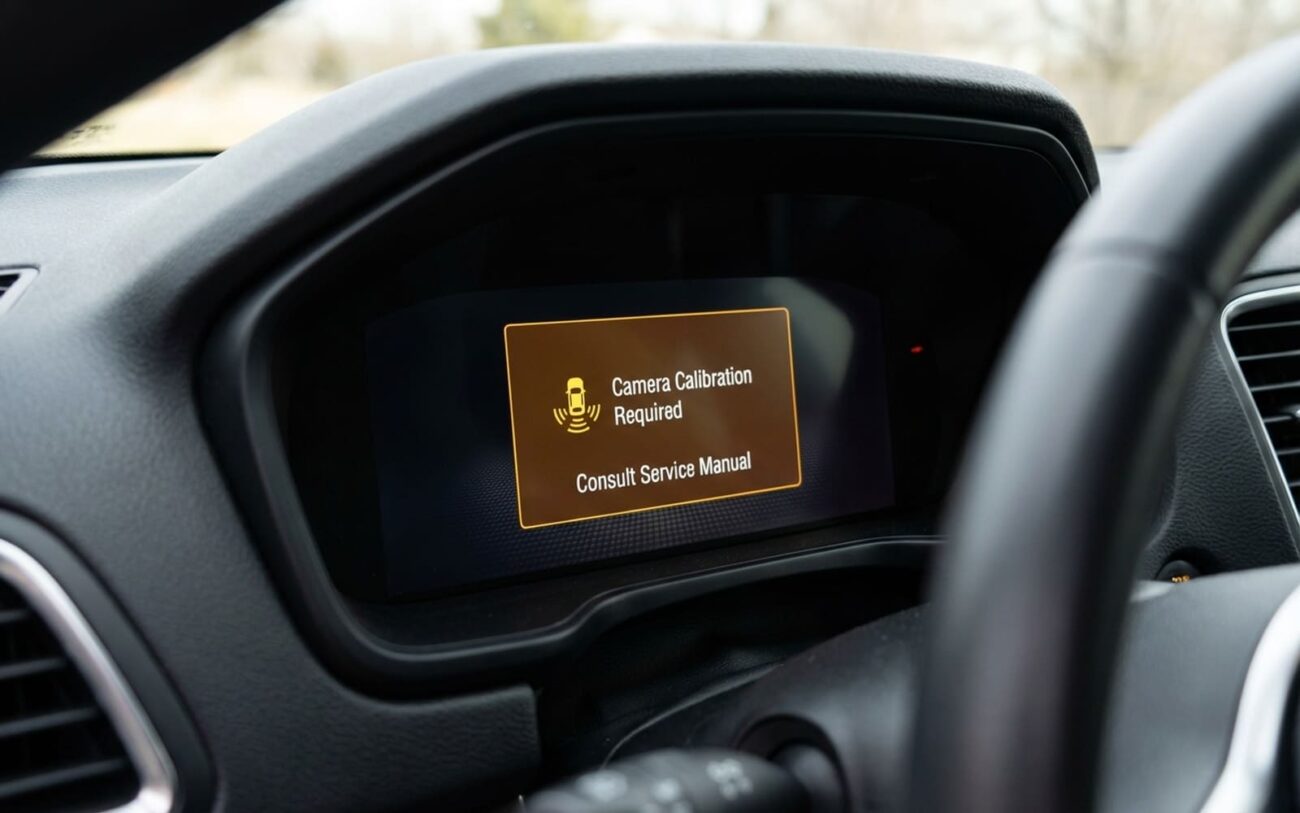
When a customer rolls into my shop with a “Camera Calibration Required” or “Front Camera Unavailable” message glaring on their dash, my first thought isn’t “oh, another glitch.” No, after 25 years turning wrenches, I know that’s a direct alert from the car’s Advanced Driver Assistance Systems (ADAS) module. This isn’t like a vague check engine light that could be a hundred things. This specific Diagnostic Trouble Code (DTC) tells me the system has lost faith in the forward-facing camera, the one usually tucked behind the rearview mirror at the top of the windshield. The camera itself might look fine, but the computer is saying its data is unreliable. That’s why, technically, it’s often a software-detected loss of calibration integrity, not necessarily a busted piece of hardware.
The most obvious symptom, beyond the persistent warning, is that your lane departure warning, forward collision alert, or adaptive cruise control systems are either dead, blinking, or acting completely erratic. If those features suddenly go sideways, especially after something like a windshield replacement, a minor fender bender, or even just a battery disconnect, the camera system is definitely the prime suspect.
My Diagnostic Approach: Don’t Guess, Test!
Look, diagnosing ADAS issues isn’t about throwing parts at it or just clearing codes. You need the right tools and a methodical approach. A basic OBD2 scanner? Forget about it. You need a professional-grade scan tool—think Autel MaxiSys, Snap-on Zeus, or the factory diagnostic systems—that can talk directly to the ADAS module and read live data. That’s where the real story is.
Step 1: The Initial Scan & Data Stream
First, I’m looking for specific camera DTCs. We’re talking U3000-series codes, or manufacturer-specific codes that explicitly mention the front camera. But just as important is the live data. I want to see “Calibration Status: Calibrated” and alignment values within tight tolerances—usually something like ±0.2 degrees. If it says “Not Calibrated,” “Calibration Failed,” or those angles are way off, then we’ve got our starting point. But don’t stop there. I’ve seen too many shops misdiagnose this as a camera issue when the problem is actually somewhere else entirely.
Step 2: Ruling Out the Mimics
This is critical. A lot of things can make the camera system look bad. I’ve had cars come in with “camera” codes, and it turns out to be a faulty radar sensor in the grille, a communication breakdown on the CAN bus network, or even just low system voltage. These external issues can perfectly mimic a camera calibration failure. So, before I even think about calibration, I run through a checklist:
- Check for other module faults: Are there codes in the radar module, ABS module, or body control module? Sometimes a fault in one system will cascade and affect the camera.
- Power and Ground: Grab a multimeter. At the camera connector, with the ignition on, I’m looking for a solid 12V supply and a good ground. No power, no picture.
- Network Integrity: This is where an oscilloscope shines. I’ll check the CAN High and CAN Low signals at the camera. I’m looking for clean, consistent waveforms. Noise, dropouts, or incorrect voltage levels mean there’s a wiring issue or a problem with the ADAS control module itself, not necessarily the camera.
- Physical Inspection (Beyond the Camera): Is the bumper aligned? Is the radar sensor clean and securely mounted? Is the windshield clean and free of cracks or obstructions in the camera’s view?
I see this misdiagnosed a lot. Technicians clear codes and try to calibrate without verifying power or signal integrity first, only to have the same code pop right back up. Always test before you calibrate. It saves time, money, and a lot of headaches.
The Real Reasons Cameras Go Bad (or Appear To)
When my diagnostics confirm the problem is truly within the camera system itself, it usually boils down to one of three main issues:
1. Internal Camera Failure
Sometimes the image sensor or internal processor just gives up. But more often, I see moisture intrusion. A failed seal, especially after a windshield replacement where non-OEM glass or improper adhesive was used, lets water get into the housing. That condensation inside the lens distorts the image, and the ADAS module rejects the data. GM, for example, has had service bulletins out for certain models where moisture is a known culprit for camera DTCs. Over time, corrosion on the circuit board or degraded solder joints from all those temperature cycles can also cause intermittent or complete failure.
2. Physical Misalignment
This isn’t about your wheels; it’s about the camera’s precise angular position—its pitch, yaw, and roll—relative to the vehicle’s centerline and the horizon. Even half a degree off can trigger a calibration fault. What causes it? A minor front-end impact, hitting a nasty pothole, or, again, improper reinstallation after windshield service. If the mounting bracket is bent, or if the camera wasn’t torqued to spec during reassembly, it’s going to be fighting for proper alignment from day one.
3. Software or Calibration Data Corruption
This one’s sneaky. A weak battery, a bad jump-start, or an interrupted software update can corrupt the crucial calibration data stored in the camera or the ADAS module. I see this a lot after battery replacements, particularly on Subarus with EyeSight or Hondas with Honda Sensing. These systems rely on stored calibration profiles, and if that data gets scrambled, the hardware might be perfectly fine, but the system can’t initialize. It just doesn’t know what to do.
It’s also worth remembering that things outside the camera system can prevent a successful recalibration, even if the camera itself is okay. A misaligned bumper affecting the radar, a faulty steering angle sensor (which is critical for dynamic calibration), or even poor road markings during a drive cycle can all throw a wrench in the works. None of these mean the camera is bad, but they’ll definitely stop you from getting a successful calibration.
Fixing It Right: No Shortcuts Here
Let me be absolutely clear: there are two correct paths forward, and both demand professional tools and expertise. This is NOT a DIY repair, no matter how handy you are. I’ve seen too many customers try to “reset” the system with cheap scanners, only to drive around with completely disabled safety features. That’s just asking for trouble.
This is Professional Territory. Period.
Working on ADAS camera systems requires specialized tools, precise calibration equipment, and proper safety training. There are no safe shortcuts for DIY attempts. An incorrectly calibrated system means critical safety features are disabled, and you might not even know it until it’s too late.
Path 1: Software Recalibration Only (Static & Dynamic)
I go this route when my diagnostics confirm there are no hardware faults—power is good, signals are clean, and the camera is physically secure. The fix here is purely recalibration using OEM or equivalent high-level scan tools. You’ll also need OEM-specified calibration targets (those big checkerboard patterns), a laser-leveling system, and a perfectly flat, level shop floor. Pre-calibration prep is crucial: tire pressure must be spot-on, the fuel level often needs to be around 50%, and the vehicle needs to sit undisturbed for several minutes to let the suspension settle. Static calibration is done first, aligning the car at a precise distance from the target board. Then, a dynamic calibration drive cycle is usually required. This involves driving on a straight, well-marked highway at a set speed (often 45–65 mph) under clear visibility. The camera uses real-world lane lines to fine-tune its alignment and confirm everything is good.
Path 2: Camera Replacement & Calibration
This is for confirmed hardware failures—internal faults, physical damage, or moisture inside the housing. Mechanically, removing and installing the camera is usually pretty straightforward: unplug the harness, remove two or three bolts, and swap it out. But that’s where the easy part ends, and the real work begins.
You absolutely need an OEM or OEM-equivalent replacement camera. I’ve seen too many aftermarket units that simply lack the proper calibration data or firmware compatibility, causing endless headaches. Torque specs are incredibly tight and critical here; for example, many Toyota and Honda cameras require around 8.5 Nm (about 75 in-lbs). You need a calibrated torque wrench in that 5–15 Nm range. Overtightening can warp the mounting bracket and ruin calibration before you even start. After installation, a full static and dynamic calibration is mandatory. There is no safe temporary fix here. Driving without a properly calibrated camera means your automatic emergency braking and lane keep assist are disabled. That’s not cutting corners—that’s rolling the dice with your safety, and frankly, it’s irresponsible.
After the Fix: Proving It Works
Clearing the code isn’t the finish line; it’s the start of validation. After recalibration or replacement, I’m back on the scan tool. It absolutely has to show “Calibration Status: Calibrated” and “Calibration Confidence: High.” All related DTCs must stay cleared through a full drive cycle. What’s a full drive cycle? For me, it’s at least 10 minutes of driving, including highway speeds with clear lane markings. That’s how the system truly learns and confirms its alignment.
Functional testing is just as important. If the vehicle displays lane lines or adaptive cruise status on the dash, I verify they appear stable and respond correctly. I’ll test adaptive cruise by setting it behind a lead vehicle—does it maintain distance properly? Does the forward collision warning trigger appropriately if I get too close? Any hesitation, false alerts, or unexpected disengagement means the calibration didn’t stick, or there’s still an underlying issue.
The same OEM-level scanner I used for calibration is essential for this validation. Don’t ever skip the test drive. These dynamic systems need real-world input to confirm accuracy. If the system fails, I go back to square one: recheck mounting, tire pressure, road conditions, and those data stream values before attempting another calibration cycle. It’s tedious, but it’s the only way to be sure it’s right.
Keeping It From Happening Again & What It Costs
Most calibration issues are actually preventable. The number one trigger I see? Windshield replacement. Always, and I mean always, use a shop certified in ADAS calibration that installs OEM-specified glass. Aftermarket windshields can have subtle optical distortions or incorrect thickness that will throw off the camera’s view immediately. The adhesive cure time also matters—driving before the bond fully sets can shift the glass and, consequently, the camera’s position. I tell my customers: let it sit for the recommended time, even if it means an extra day.
For early detection, make it a habit: after any front-end service, collision repair, or even a hard impact, check your dash. If a camera warning appears, don’t ignore it. A quick scan with a capable tool can confirm whether it’s a soft fault or needs real intervention. In my shop, we advise customers to schedule a calibration check after any front-end work, even if no warning is present. It’s cheaper to catch it early than to deal with a surprise failure later.
And if you’ve replaced the battery, especially in a Subaru, Honda, or Tesla, be aware that some systems require a relearn or recalibration sequence. It’s not always automatic. A quick diagnostic check can save you from driving unprotected.
The Bottom Line: Cost, Risk, and Value
ADAS calibration isn’t cheap, and the costs vary significantly based on what needs to be done. Here’s what I typically see:
- Static Recalibration Only: If it’s just a software reset and calibration, you’re usually looking at $150 to $400 at a reputable shop. Trying to DIY this is effectively $0 for the attempt, but renting the specialized tools you’d need would run you around $500 a day—and you still need the expertise.
- Camera Replacement (Part Only): The camera itself can be expensive, anywhere from $800 to $1500 for an OEM unit.
- Camera Replacement + Calibration: This is the big one. With the part cost, plus labor for installation and the mandatory static and dynamic calibration, expect to pay $1000 to $2200.
When you’re considering this repair, you have to factor in your vehicle’s value. If the total cost pushes past, say, 30% of the car’s current market value, and it’s out of warranty, you’re in a tough spot. But remember: driving without functional ADAS increases your risk, especially on the highway. Some insurers even offer discounts for active safety systems; if yours is disabled, you might be paying more than you realize for less protection. It’s a safety feature, not a luxury item anymore.
