Look, your brake pedal tells you a story. Forget the fancy scan tools for a minute; the feel of that pedal is your first and best diagnostic tool. After 25 years under the hood, I can tell you, the way that pedal responds – or doesn’t – is often all you need to point you in the right direction. We’re talking about two main complaints here: a spongy pedal or brakes that grab.
What Your Pedal is Telling You
A “spongy” pedal feels soft, mushy, and often travels too far before you get any real stopping power. When I feel that, my mind immediately goes to something compressible in the hydraulic system. Most of the time, that’s air, or brake fluid that’s gotten old and absorbed too much moisture. Air compresses, plain and simple. And moisture-contaminated fluid can boil into vapor under heat, which also compresses. Both kill your pedal feel and your stopping power.
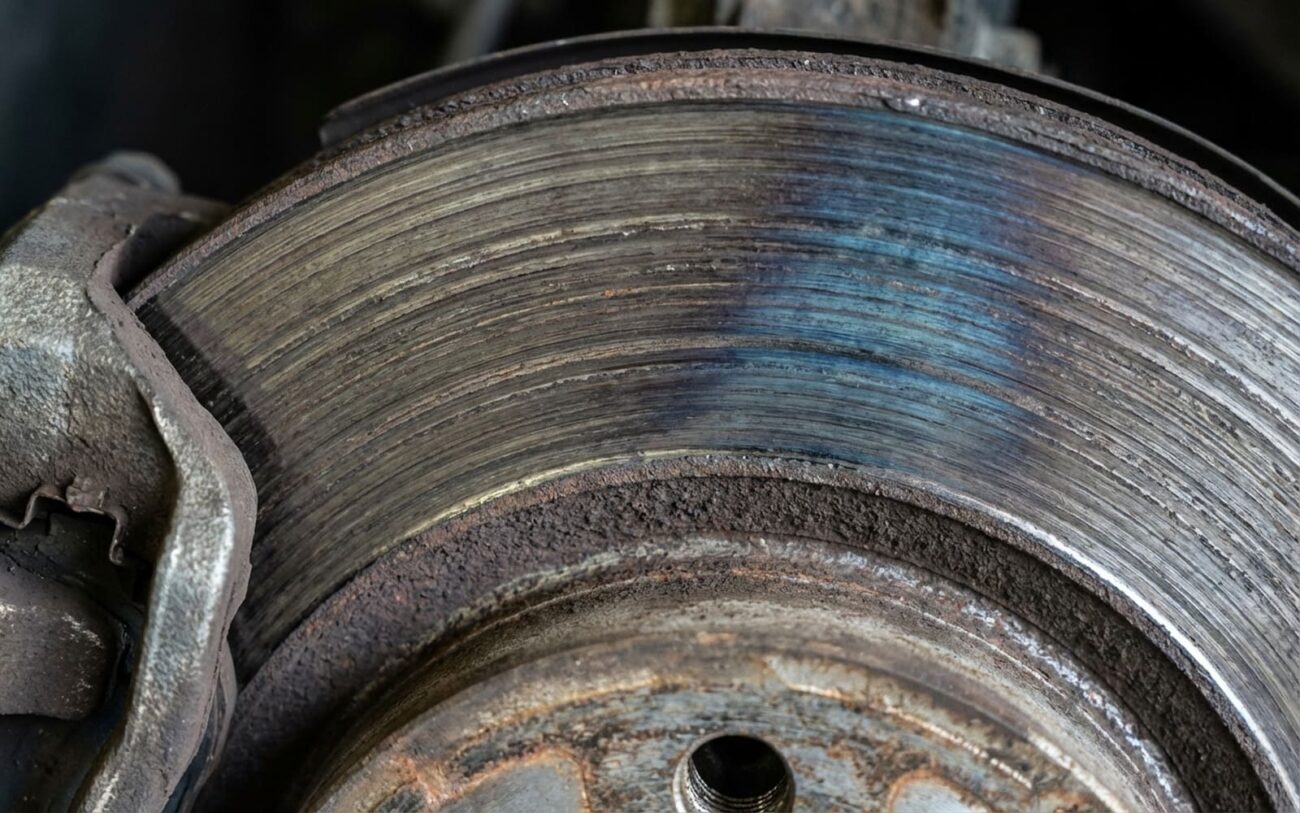
On the flip side, “grabbing” brakes feel abrupt, jerky. You barely touch the pedal, and the car lurches to a stop. That usually means something’s wrong on the friction surfaces – contamination from oil or grease, or maybe the pads themselves are glazed over. It could also be a mechanical binding, like a seized caliper or a wheel cylinder that’s leaking and soaking the drum shoes.
My Diagnostic Approach: Hydraulic vs. Mechanical vs. Electronic
Once I’ve got a symptom, the next step is figuring out the root cause. Is it a fluid problem, a mechanical component, or something electronic mimicking one of those? You see, a failing brake booster can make the pedal feel weak, just like air in the lines, but the fix is totally different. Same with grabbing – sometimes it’s a seized caliper, but sometimes it’s the ABS system acting up, and you don’t want to replace a caliper if the problem is actually a faulty ABS modulator.
Here’s how I typically break it down and what tests I use to confirm:
| Symptom | Common Causes I Look For | My Go-To Test to Confirm | What It Could Be Mimicking |
|---|---|---|---|
| Spongy Pedal | Air in the lines or calipers, water-contaminated brake fluid (leading to vapor lock), or internal bypass in the master cylinder due to worn seals. |
First, a thorough pressure bleed. If the sponginess remains, I’ll bench-bleed and pressure-test the master cylinder. Crucially, I always use brake fluid test strips; anything over 3% moisture means that fluid is toast. |
A failing brake booster (especially if the diaphragm is torn) or severely worn pads causing excessive piston travel. |
| Brake Grab | Contamination on pads/rotors (oil, grease, brake fluid), or friction material that’s glazed or hardened from overheating. |
I visually inspect all friction surfaces for any signs of contamination. After a short drive, I use an infrared thermometer. A dragging caliper will show a rotor that’s easily over 100°F hotter than the opposite side. |
A seized caliper slide pin or piston, a malfunctioning ABS modulator applying unintended pressure, or a leaking wheel cylinder saturating drum shoes. |
Understanding Brake Fluid: More Than Just a Liquid
Let’s get precise about brake fluid. It doesn’t “wear out” like a brake pad. It degrades – chemically and thermally. DOT 3, 4, and 5.1 fluids are hygroscopic. That’s a fancy word for “they love water.” They absorb moisture right out of the atmosphere, through the brake lines and the reservoir. Over time, this water lowers the fluid’s boiling point significantly. Under hard braking, that moisture turns to steam, which, unlike fluid, compresses under pressure. That’s what causes that spongy pedal, especially after repeated stops – it’s called vapor lock, not just “air.”
Mixing incompatible fluids is another silent killer. DOT 5 (which is silicone-based) should never go into a system designed for glycol-based fluid (DOT 3/4/5.1). It causes gel formation, makes seals swell up, and blocks passages. Even if the pedal feels okay at first, internal corrosion will follow, leading to caliper or master cylinder failure down the line. And then there’s extreme heat – constant braking on mountain roads, for instance – which can thermally break down the fluid, reducing its lubricity and increasing internal rust throughout the hydraulic system.
Just to be clear:
A leak isn’t a fluid failure. It’s a component failure. If your brake fluid level drops because of a split hose or a corroded wheel cylinder, the fluid didn’t fail – something else failed and let it escape. Fix the part, not just the symptom.
The Fix: Systemic Flush or Component Replacement
Once you’ve nailed down the root cause, the repair path becomes clear. It’s either a system-wide issue, usually fluid-related, or a localized component problem.
Systemic Flush & Bleed DIY-FEASIBLE
Component Replacement PROFESSIONAL-ONLY RECOMMENDED
Post-Repair Validation: Don’t Skip This Step!
Repairing brakes isn’t complete until you’ve thoroughly verified the fix. Skipping validation is like skipping a test drive after an engine rebuild – you’re just guessing, and with brakes, guessing is dangerous.
After a fluid flush or master cylinder replacement, I always test the pedal with the engine running. It should feel firm and high. Then, I have an assistant press and hold the pedal for 60 seconds. If it slowly sinks, that tells me the master cylinder seals may still be bypassing, or there’s residual air somewhere. That’s a huge red flag, and it means more diagnosis is needed.
After replacing contaminated components or addressing a grabbing issue, I check for balanced braking. I’ll make 3–5 smooth stops from about 30 mph on dry pavement. The car should stop straight, without pulling to one side or any noticeable grabbing. Then, I grab my infrared thermometer again to compare rotor temperatures across each axle. A difference greater than 50°F between sides suggests a caliper isn’t releasing fully, or perhaps one is dragging. I’ve caught plenty of sticking calipers this way that looked perfectly fine during a visual inspection.
Finally, a thorough road test is mandatory. I perform at least one firm stop from 45 mph to evaluate overall pedal feel and vehicle stability. If conditions allow – like a safe, loose surface such as gravel or wet pavement – I’ll trigger the ABS. I listen for the pulsing and feel the pedal feedback. This confirms the ABS modulator is functioning correctly and is air-free.
Cost, Risk, and Making Smart Decisions
Brake repairs vary wildly in cost and complexity. Knowing what you’re facing helps you make smart decisions – especially when money is tight.
| Repair Type | DIY Cost (Parts) | Shop Cost (Parts + Labor) | My Success Rate Expectation | Secondary Risk if Not Fixed / Failed |
|---|---|---|---|---|
| Complete Brake Fluid Flush | $50–$100 | $120–$250 | Near 100% (if done right) | Increased stopping distances, dangerous brake fade, eventual corrosion of internal components. |
| Replace Contaminated Pads & Rotors | $150–$400 | $350–$600 | 95% | Uneven braking, premature wear on new parts, recurrence of grabbing, potential loss of control. |
But here’s the reality check I give my customers: if your diagnosis points to a failed ABS hydraulic control unit, the repair can easily exceed $1,000 in parts and labor. In those cases, compare that quote to your vehicle’s market value. If the repair cost is over 60% of the car’s private-party value (check KBB or similar), it’s time to seriously consider whether investing that money in a different vehicle makes more sense. I’ve had customers fix a $1,200 ABS unit on a $3,000 car – only to face another major repair two months later. It’s not just about fixing the brakes; it’s about the overall value retention and future reliability of the vehicle.
Prevention is Key: Keep Your Brakes Happy
The best brake repair is the one you never have to do. Preventing spongy pedals and grabbing starts with regular, proactive maintenance. I tell everyone to flush their brake fluid every 3 years or 30,000 miles – even if the manufacturer calls it “lifetime.” Most driving conditions qualify as severe service: short trips, high humidity, stop-and-go traffic. All of these accelerate moisture absorption in your brake fluid.
Two Simple Habits I Recommend
-
Check the reservoir: Once a month, take a quick look at your brake fluid level and color. Fresh fluid is usually clear amber. If it’s dark brown or murky, it’s definitely overdue for a flush.
-
Monitor wheel heat: After a drive, cautiously check each wheel with your hand (don’t touch the rotor itself!). If one wheel is noticeably hotter than the others, that brake may be dragging. That can lead to fluid boil, warped rotors, and premature wear.
And if you do notice a soft pedal or grabbing, don’t wait. Early intervention almost always saves you money, parts, and most importantly, keeps you safe. For related issues like air leaks that can affect your brake booster, check out How to Find an Air Leak in the Intake Manifold or Why is my engine idling rough? – sometimes a vacuum issue can throw off your brake performance.
