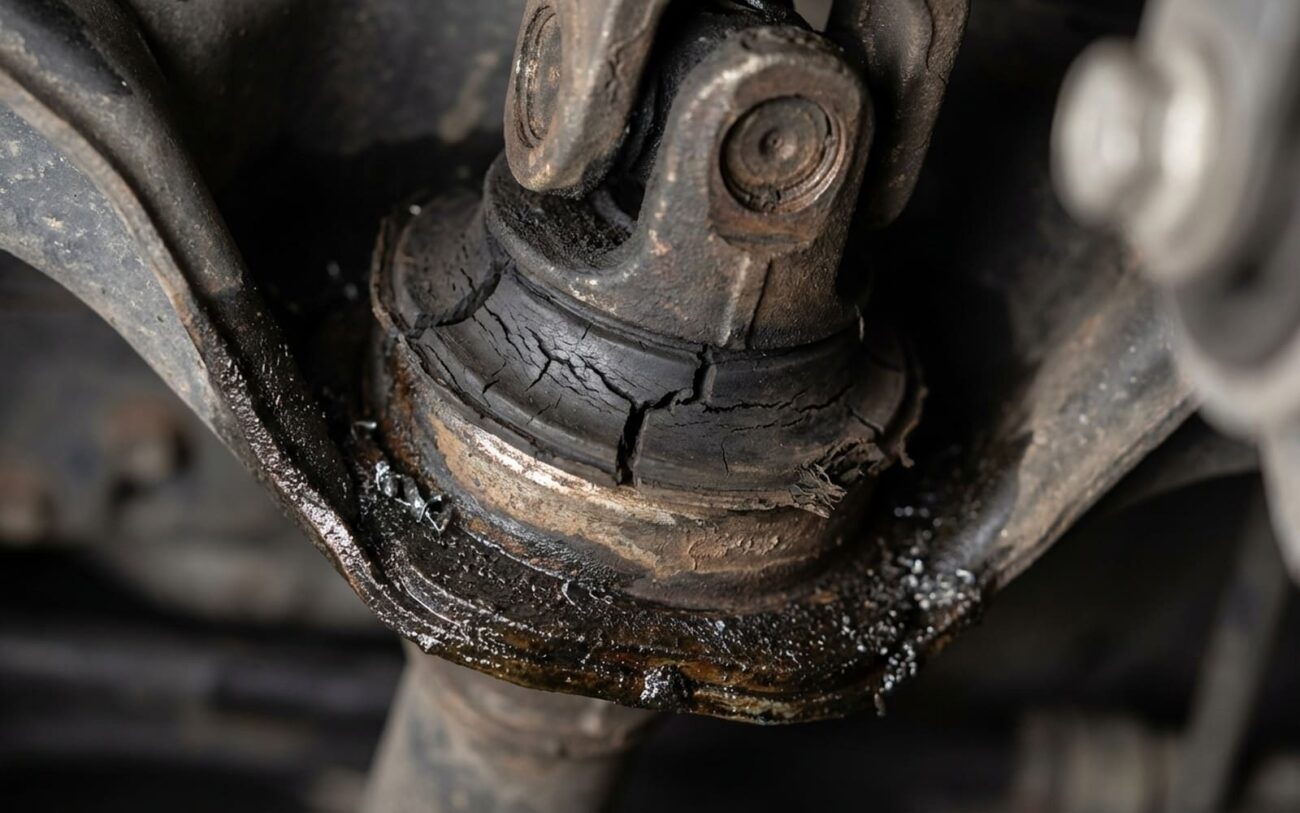
That squeak you hear when you turn the steering wheel? Yeah, I’ve heard it thousands of times in my shop. It’s one of those classic complaints, and nine times out of ten, it points to wear or just plain dryness in the upper steering column assembly.
What You’ll Hear (and Feel)
Typically, it’s a high-pitched squeak or a chirp, and it’s coming from right behind your dashboard, where the steering shaft disappears into the column housing. You’ll notice it most when you’re moving slow—parking, pulling into a spot, or making a tight turn at an intersection. And here’s the kicker: it tracks perfectly with the rotation of the wheel. Turn an inch, you get a chirp; turn another, another chirp. It’s like a soundtrack to your steering, if that soundtrack was annoying.
Now, a squeak usually means things are just dry and rubbing. But sometimes, it’s worse. You might feel a dry, gritty, or even a grinding sensation right through the steering wheel, into your hands. When that happens, you’re past simple dryness. That’s metal-on-metal contact, and it means something inside is physically deteriorating. That kind of feedback? That’s a red flag, plain and simple.
Don’t Guess: Pinpointing the Real Culprit
Alright, so you’ve got a squeak. But here’s where experience really comes into play: not every squeak you hear when turning the wheel is coming from inside the steering column. I’ve seen plenty of folks waste time and money chasing the wrong problem because they didn’t properly diagnose it. Your job is to confirm this noise is internal to the column, not from the intermediate shaft, the steering rack, or somewhere else further down the line.
You can’t just go by sound alone. Trust me, a dry U-joint on the intermediate shaft or a worn steering rack input shaft seal can make a very similar noise. You need a targeted approach, a process of elimination.
Diagnostic Steps I Use:
1. Confirm the Squeak is Column-Internal
First, get a good automotive stethoscope. With the engine off, have someone slowly turn the steering wheel lock-to-lock while you probe along the steering column, from the firewall up to just behind the steering wheel. Listen for the loudest point of the squeak. If it’s clearly loudest inside the column housing, you’re on the right track.
To be absolutely sure, disconnect the intermediate shaft from the steering column shaft, usually down near the firewall or under the dash. Once it’s disconnected, try rotating the upper steering shaft by hand. If the squeak persists, and you can still hear it clearly with the stethoscope on the column, then you’ve confirmed the source is inside the column itself. If the squeak goes away, then you need to look downstream—at the intermediate shaft U-joints or the rack.
2. Check for Grinding and Play
If you’re feeling that gritty or grinding sensation through the wheel, you’re looking for mechanical wear, not just dryness. With the intermediate shaft still disconnected, manually rotate the upper steering shaft by hand. Feel for any roughness or binding. Then, try to wiggle the shaft vertically and horizontally. Any noticeable radial play (movement side-to-side or up-and-down) confirms that the internal column bushings or bearings are worn out. This is a critical distinction from a simple dry squeak.
And hey, don’t forget the obvious: quickly rule out suspension issues. A bad ball joint or strut mount can sometimes make noise when you turn, but they usually clunk or groan, not squeak like a dry column. If you’re really unsure, check out some resources on identifying bad ball joints. Also, if your car’s pulling after an alignment, that’s a whole other can of worms, see what to do next before you tear into the column.
The Real Reason It’s Squeaking (Inside the Column)
Okay, so you’ve done your diagnostic work and confirmed the noise is definitely coming from inside the steering column. Good. Now we need to figure out what exactly is failing in there. See, the column isn’t just a fancy tube; it’s a precision assembly with bushings, bearings, and electrical bits that all take a beating over time.
In my experience, the most common culprit is the deterioration of the upper steering shaft bushing. This little guy is usually made of nylon, PTFE, or some other composite polymer, and it’s pressed into the column housing. Its job is to support the upper steering shaft, keeping it centered and letting it rotate smoothly. But after years of use, these bushings dry out, wear down, or even crack. When that happens, you get metal-on-plastic contact, and that’s where your squeak comes from.
Manufacturer’s Own Words:
This isn’t just my opinion. Loss of factory lubrication in these bushings is a known issue, and manufacturers like Ford and GM have even issued service bulletins about it. For instance, on certain Ford F-150 models, the fix involved re-lubricating the upper shaft bearing with a specific silicone grease to quiet that squeak. I’ve done that job countless times.
If you’re in a coastal area or a place with high humidity, you might also find some light surface corrosion on the steel steering shaft where it passes through that bushing. That corrosion acts like sandpaper, increasing friction and accelerating wear. I see this a lot on vehicles that live outdoors or near saltwater.
Just remember: this diagnosis—bushing wear or dryness—applies only to problems within the column housing itself. A squeak from an intermediate shaft U-joint is a completely different repair. Don’t confuse them, or you’ll be doing twice the work for nothing.
Fixing It: What to Do Based on What You Found
How you fix this really depends on your diagnosis. Is it just dry and making noise? Is it actually worn out with some play? Or is it severely damaged? Each scenario has a different pathway.
Simple Lubrication DIY Feasible
This is Where You Call a Pro
Once you’re talking about replacing internal column components, you’re getting into airbag territory. That means specialized tools, specific torque values, and a good understanding of how the system works. Improper installation can lead to steering failure or, worse, an airbag malfunction. Don’t mess around with safety systems.
Bushing or Bearing Replacement Professional Only
Full Column Assembly Replacement Professional Only
Don’t Skip This: Post-Repair Validation
Listen, you’ve put in the work, so don’t fall at the last hurdle. After any repair, you’ve got to test it thoroughly. A quick turn of the wheel in the bay isn’t enough to call it good.
How I Validate the Fix:
After Lubrication:
First, with the engine off, turn the steering wheel slowly, full lock-to-lock. Listen for any squeak or chirp. Then, start the engine and repeat the full lock-to-lock turns. It should be absolutely silent. If it’s not, the lubrication either didn’t get to the right spot, or the bushing is too far gone for a simple lube job. I also like to take it for a quick road test, especially over some bumps, to check for any noise under load.
After Bushing Replacement:
This is where you check for play. Grab the steering wheel firmly at the 3 and 9 o’clock positions and push/pull it towards and away from the dash. Then do the same vertically, at 12 and 6 o’clock. There should be zero detectable movement. If you feel any play, even a little, that bushing wasn’t installed correctly, or something else is loose. Go back and re-check your work.
After Full Column Replacement:
Beyond the obvious lack of squeaks or grinding, you’ve got a few critical checks. First, make sure that airbag light is off—no codes, no warnings. Second, verify the steering wheel returns smoothly to center after a turn. And on any modern vehicle with Electric Power Steering (EPS) or stability control, you absolutely must use a factory-level scan tool to confirm the steering angle sensor is properly calibrated. Skipping that step can lead to all sorts of stability control issues down the road.
The Bottom Line: Cost, Risk, and “Is It Worth It?”
Alright, let’s talk about the money. Every repair has a cost, and sometimes, the biggest decision isn’t how to fix it, but if to fix it. Here’s a general breakdown of what you’re looking at, both if you tackle it yourself (parts only) or bring it to a shop.
| Repair Type | DIY Cost (Parts) | Shop Cost (Est.) | Success Rate | Secondary Risk |
|---|---|---|---|---|
| Lubrication | $15–$25 | $150–$300 | High (>90%) | Low; if it fails, you move to the next step. |
| Bushing Replacement | $60–$150 | $400–$800 | Near 100% | High; improper install can cause binding, steering issues, or airbag faults. |
| Column Replacement | $500–$1,500 | $1,000–$2,000 | 100% | High cost; requires complex electronic calibration. |
This brings us to the big economic question: does the repair make financial sense for your vehicle? My rule of thumb is this: if the repair cost starts creeping up past 50% of the car’s current market value, you really need to think hard about it. Dropping $1,800 on a new column for a $2,500 sedan might keep it on the road for a bit longer, but it’s not going to add a dime to its resale value. Sometimes, it’s smarter to put that money towards a newer, more reliable vehicle.
Prevention: Keep It Quiet, Keep It Safe
An ounce of prevention is worth a pound of cure, especially with steering components. Here are a few things I tell my customers to keep that column quiet and avoid bigger headaches down the road:
-
Hands Off the Sprays: Resist the urge to spray interior cleaners or aerosol lubricants directly into the steering column area. Many of these contain solvents that will strip away any factory lubrication that’s left, making the problem worse in the long run.
-
Annual Quick Check: Once a year, or whenever you’re doing other maintenance, take a minute. With the engine off, slowly turn the steering wheel from lock-to-lock. Listen carefully for any new chirps, squeaks, or roughness.
-
Feel for Play: While you’re at it, gently push and pull on the steering wheel, trying to move it towards and away from the dash, and then up and down. You’re checking for any slop or play. Catching a dry bushing or minor wear early means you might get away with just a lubrication job, saving you from a major disassembly later.
