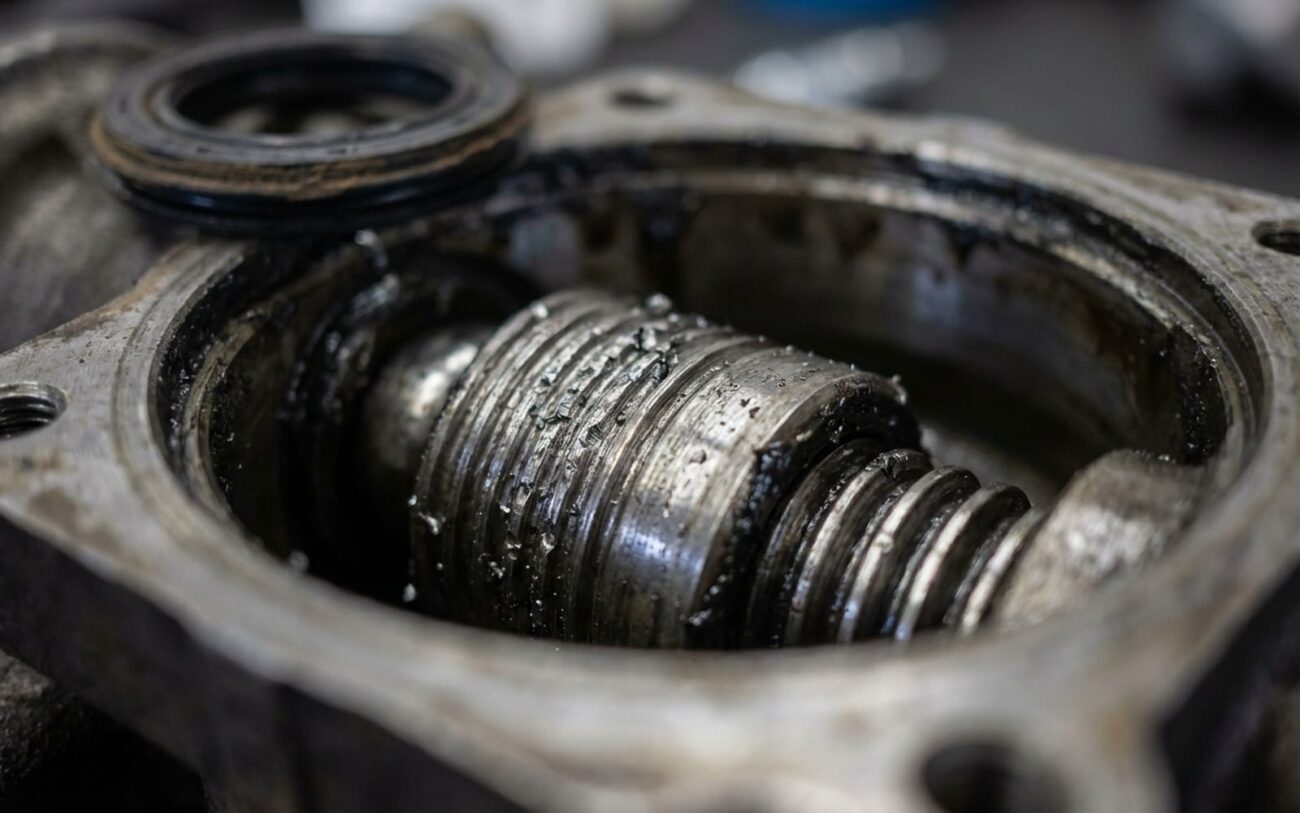
That Loose, Clunky Steering? It Might Be Your Ball Screw.
Alright, let’s talk about that vague, disconnected feeling in your steering wheel. You know the one – you’re trying to park, or maybe just making a slight correction on the highway, and the wheel feels like there’s a rubber band between your hands and the tires. My first thought isn’t always just tie rods or a loose intermediate shaft, though those are common culprits. But if you’ve already checked the usual suspects, or if you’re getting a distinct, metallic “clunk” right in the steering wheel when you reverse direction at low speed – say, backing out of a driveway and then pulling forward – that’s a big red flag for internal wear in the steering gearbox itself.
We see this a lot on trucks, SUVs, and older rear-wheel-drive cars that use a recirculating-ball steering system. It’s a different animal than rack-and-pinion, and when the internal ball screw assembly wears out, it gives you some pretty specific symptoms. You’ll notice a “dead zone” right at the center of the wheel where you can turn it a bit, but nothing happens with the front tires. That looseness often gets worse under load, like when you’re turning into a parking spot or maneuvering over uneven pavement. Unlike external wear points, this play is deep inside the gear housing.
How I Pinpoint a Worn Ball Screw (and Rule Out Other Stuff)
Before you even think about tearing into the steering gear, you’ve got to rule out the usual suspects. Worn ball joints, tie rod ends, a failing intermediate shaft U-joint, even a bad idler arm – they can all mimic looseness or clunking. But a true ball screw wear has its own distinct signature. The key is isolating that movement to the gearbox itself. Here’s how I typically approach it in the shop:
Step 1: Visual Inspection & Basic Checks
-
Check Mounting Hardware: This is a big one, especially on older trucks. I’ve seen techs replace entire gearboxes only to find the real culprit was a cracked steering knuckle or loose mounting bolts. Always check the torque on the gear mounting bolts and inspect for cracked frame brackets. Use a torque wrench – those bolts often need around 90 ft-lbs.
-
Inspect External Linkage: Have an assistant rock the steering wheel gently (engine off, wheels on the ground). Get under there with a good light and watch every single joint: tie rod ends, drag link, idler arm, pitman arm. Look for any perceptible play. If you see movement before the pitman arm moves, that points to internal gear issues.
Step 2: Isolating Internal Play (The Definitive Tests)
This is where we confirm if the problem is truly inside the steering box. These tests help differentiate ball screw wear from other issues:
-
The Pitman Arm Disconnect Test (for excessive free-play under load):
Get the vehicle safely on a lift. Disconnect the pitman arm from the drag link. Now, manually try to rotate the steering input shaft (where the steering column connects). Any rotational lash – meaning you can turn the input shaft a noticeable amount before the pitman shaft even begins to move – indicates internal wear between the ball nut and the screw shaft. This is a dead giveaway for ball screw trouble. This play won’t be fixed by adjusting the external sector shaft screw (more on that later).
-
The Stethoscope Test (for steering “clunk” on direction change):
With the engine running and the vehicle on the ground, have an assistant gently rock the steering wheel back and forth, just enough to reproduce that clunk you’re hearing. Place a mechanic’s stethoscope directly on the steering gear housing. If you can clearly hear and feel the clunk inside the case, that confirms excessive axial clearance in the ball nut/screw interface. This is a common symptom of internal ball screw failure, not just loose external components like worn pitman arm splines or damaged rack bushings.
Important Distinction: Sector Shaft vs. Ball Screw
It’s crucial to understand that the external adjustment screw on the side of your steering gearbox only adjusts the mesh between the worm gear (which the ball nut rides on) and the sector shaft teeth. That adjustment affects the engagement of those two gears, but it does not affect the internal preload of the ball screw assembly itself. Cranking down on that screw won’t fix internal ball nut play; it only risks binding the sector mesh, making the steering heavy and potentially causing more damage.
Why Does the Ball Screw Fail?
Once you’ve confirmed the wear is internal, it helps to understand why it happens. This isn’t a simple seal leak or a fluid issue; it’s mechanical fatigue in a high-load, precision assembly. The ball screw operates under constant preload, with hardened steel balls cycling through raceways every time you turn the wheel. Over time, I typically see three main failure modes:
-
Surface fatigue and brinelling: Those hardened raceways inside the ball nut and on the screw shaft can develop small pits or indentations. This often comes from shock loads – think hitting a big pothole or bumping a curb hard. These deformations increase clearance and destroy the smooth, precise operation.
-
Wear in the ball return circuits: Inside the ball nut, there are channels that guide the steel balls as they recirculate. If these channels erode or get damaged, the balls can start to rattle or bind, which just accelerates wear on the main raceways.
-
Thrust bearing or preload mechanism failure: Some designs use internal bearings or shims to maintain that crucial axial preload on the ball nut assembly. When these wear out, the entire ball nut gains end-play, creating that noticeable slack in your steering.
Material fatigue from hundreds of thousands of steering cycles is pretty much inevitable over the lifespan of a vehicle. But contamination, incorrect power steering fluid, or a lack of maintenance can definitely speed things up. I’ve also seen known service bulletins for certain model years – particularly GM and Ford trucks from the early 2000s – addressing premature ball screw wear and those characteristic clunk complaints. So, sometimes it’s not just age; it’s a design issue.
Your Repair Options: There’s Really Only One
[NON-REPAIRABLE → REPLACE THE ASSEMBLY]
Let’s be clear: the ball screw is a precision-machined, sealed, and preloaded sub-assembly. It’s not something you can service in your garage – or even in most professional shops. No reputable shop rebuilds these in-house. Aftermarket “rebuild kits” almost never restore the original preload or durability because the geometry and machining tolerances are just too tight for garage-level tools. Don’t waste your time or money trying to fix it. This is a replace-only situation.
Gearbox Replacement Recommended Path
Making Sure the Repair Was Done Right
Replacing the steering gear isn’t the end of the job; it’s the beginning of verification. You need to make sure the system is safe and performing exactly as intended. Here’s my checklist:
-
Fluid Bleed and Level Check: After installation, you’ll need to bleed the power steering system thoroughly. Turn the wheel lock-to-lock several times with the engine running, keeping an eye on the fluid reservoir. Top it off as needed. Air in the system can cause noise and poor assist.
-
Dry-Park Test: With the engine running, gently rock the wheel at the center position. There should be no perceptible free-play. Zero. If you feel any slack, something’s still wrong.
-
Wheel Alignment: This is mandatory. Any time you mess with steering components, especially the gearbox, you’ve changed the geometry. Get a full four-wheel alignment done immediately.
-
Road Test: Take it for a good drive. Ensure the clunk is gone, the steering feels tight and responsive, and on a flat road, the wheel should stay centered without any pull. If it pulls, check for other issues like a car still pulls to one side after an alignment.
-
SAS Calibration: If your vehicle is equipped with a steering angle sensor (and many modern ones are), use a scan tool to verify its calibration. This prevents false ESP or lane-keeping warnings.
The Cost and the Tough Decision
DIY Replacement
This is just for the part itself (new or remanufactured). Remember, you’ll need specialized tools like a pitman arm puller, and you’ll still need to factor in the cost of a professional alignment.
Shop Replacement
This range typically includes the cost of the part, 3–5 hours of labor (it can be a greasy, tough job), and the mandatory wheel alignment. Prices vary wildly by vehicle and region, of course.
Now, the hard question: is it worth it? As a rule of thumb I’ve used for years, if the repair exceeds 40% of the vehicle’s current market value, you really need to consider the bigger picture. On a well-maintained truck with low rust, a good engine, and a clean interior, yes—it’s often worth saving. But on a high-mileage daily driver with other nagging issues, it might be time to reassess your options. Sometimes, you just have to cut your losses.
How to Prevent This (Or Catch It Early)
Proactive Maintenance
Your biggest ally in preventing this kind of wear? Clean, correct power steering fluid. If the fluid in your reservoir looks dark, has a burnt smell, or worse – you see glittery metallic particles in it – that’s a sign of early internal wear. Always, always use the fluid type specified in your owner’s manual (e.g., CHF-11S or ATF+4). Using the wrong fluid can degrade seals, reduce lubricity, and accelerate wear in high-load zones like the ball screw. I’ve seen it happen more times than I can count.
For early detection, make that input shaft free-play check part of your annual maintenance routine – especially if you drive on rough roads, tow frequently, or have a vehicle known for these issues. It takes two minutes with the car on a lift. And if you notice a new clunk or sudden slack in the steering, don’t wait. The steering system is too critical to gamble with; your safety and the safety of others depend on it.
