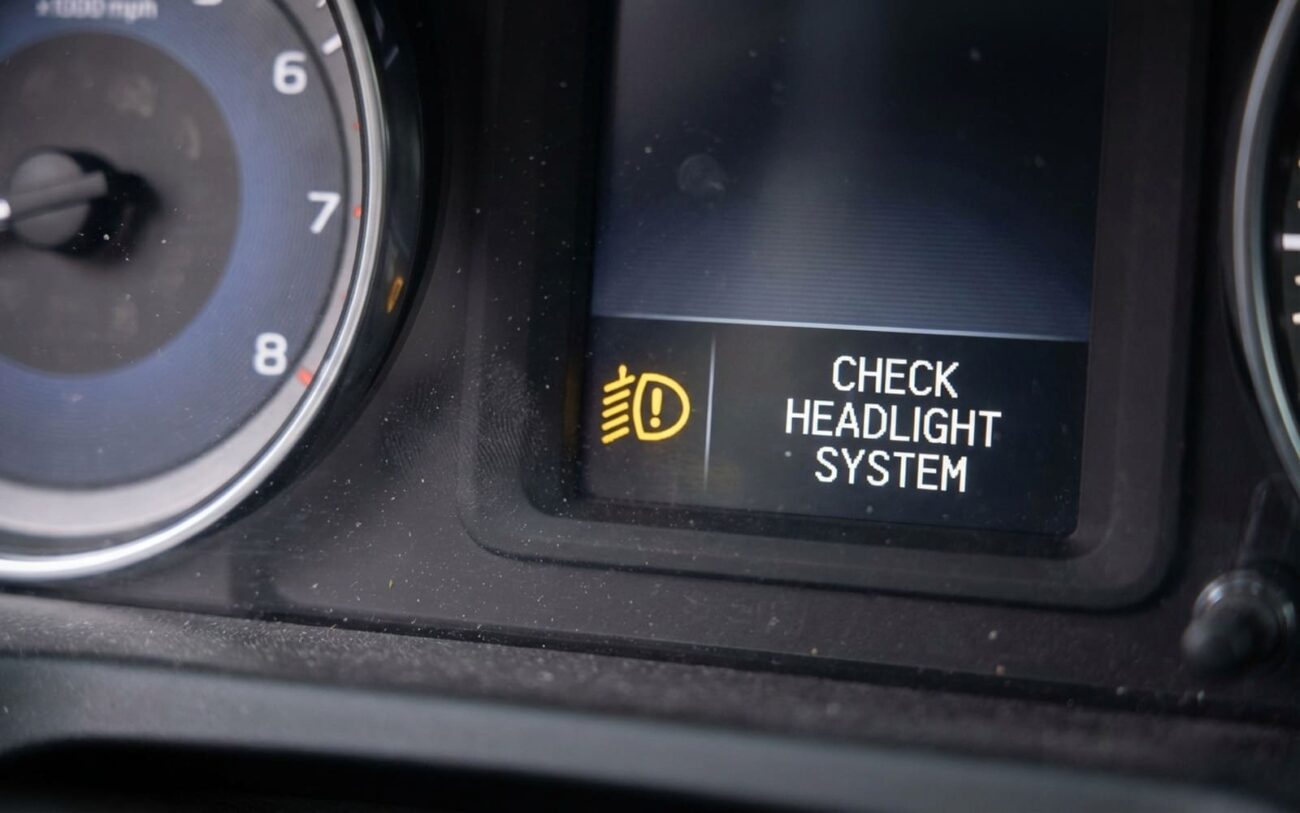
Adaptive high beam systems fail for a lot of reasons—but when it’s the headlight lens, most techs miss it until they’ve already thrown a scan tool at the camera and checked the leveling sensors. I’ve seen this a hundred times: a luxury SUV rolls in with “High Beam Assist Not Active” on the dash, owner swears the lights look fine, and they’ve already paid for a camera recalibration that didn’t fix a thing. Nine times out of ten? The problem was staring them right in the face—foggy, hazy, or contaminated lenses screwing up the system’s vision.
What You’re Actually Seeing (And What It Means)
When AHB shuts down, the message on the cluster—“Adaptive Headlights Unavailable” or “High Beam Assist Not Active”—is just the symptom. The real story is in what still works. If you pull the stalk and the high beams come on full strength, the bulbs (or LEDs) are fine. The issue isn’t in the power supply or the switch. It’s in the system’s ability to control the beam safely.
The forward-facing camera doesn’t just detect oncoming traffic—it watches how your own headlights project light down the road. If the lens is hazy, scratched, or coated in bug acid, the beam pattern gets distorted. The camera sees that as uncontrolled glare. So it kills the adaptive function as a failsafe. That’s not a glitch. That’s the system working exactly as designed.
And here’s what most people ignore: the early warning signs. Before total shutdown, you might notice the beams don’t dim when they should, or one side stays bright while the other cuts out. I had a 2018 BMW 540i in last month where the driver said, “It only misses cars on the left.” We aimed it at a wall—left lens had a thick layer of dried bug residue. Cleaned it, cleared the code, done. No parts, no big repair.
Is It the Lens? Here’s How to Know—Fast
Don’t guess. Test. I’ve wasted hours chasing camera faults that turned out to be dirty lenses. Here’s how I isolate it in under 10 minutes.
| Symptom | Points to Lens | Common Mimics | How I Confirm |
|---|---|---|---|
| AHB disabled, DTC stored | Heavy oxidation, wax buildup, or yellowing that scatters light | Camera obstruction (dirt on windshield), bad calibration, failed leveling sensor |
Touch test: Run your finger over the lens. If it feels chalky or gritty, it’s oxidized. Smooth doesn’t mean clean—sometimes it’s a film. Scan tool check: Look for “Lens Contamination” or “Visibility Reduced” in the AHB module. Not all scanners show this—use OEM-level or capable aftermarket. Clean and retest: Wash both headlights and the windshield (camera side). Clear codes. Drive at night. If AHB comes back, you’ve found it. |
| Erratic dimming, uneven beam | Partial blockage—tar, ice, bug splatter—causing asymmetry | Internal shutter failure, bad LED driver, faulty leveling motor |
Wall test: Park 10 feet from a flat wall on level ground. Compare beam patterns. If one side looks blotchy or the cutoff line is fuzzy, it’s likely lens contamination. Swap test (if possible): Swap headlight control modules side to side. If the problem stays on the same side, it’s not the module. After cleaning: Re-run the wall test. Symmetry restored? That’s your answer. |
I keep a UV flashlight in my diagnostics kit now. You’d be surprised how many thin films—wax, tar, even some ceramic coatings—show up under UV but look invisible in daylight. And don’t skip the wall test. It’s low-tech, but it’s the best way to see what the camera sees.
Why Lenses Fail (And Why It Matters)
Modern headlights use polycarbonate lenses. They’re tough, but they’re not invincible. I’ve seen three main failure modes—each screws up AHB in different ways.
UV oxidation is the big one. Years of sun exposure break down the surface, turning it yellow and chalky. It’s not just ugly—micro-cracks scatter light, reducing usable output by up to 40% in bad cases. The camera sees that as “uncontrolled beam,” so it disables AHB.
Abrasion comes from constant exposure to fine grit. Think desert highways or winter roads with sand. Thousands of tiny scratches act like a diffuser, softening the beam edge. That blurred cutoff line? That’s what confuses the camera.
Chemical contamination is sneaky. Bug acid eats into the plastic. Tree sap bonds to the surface. Some detailing products—even “safe” ones—leave behind silicones that refract light oddly. I had a customer who used a popular headlight “restorer” spray. It looked great for a week, then the AHB failed again. The residue was invisible but throwing off the beam pattern.
This Isn’t Theoretical
I’ve traced AHB faults to lens hazing on Mercedes Multi-Beam, BMW Adaptive LED, and Audi Matrix systems. There are TSBs out for some 2016–2019 models where lens degradation triggers specific DTCs. What we’re not talking about: internal shutter jams, camera hardware faults, or wiring issues. Those are different repairs. And condensation? That’s a seal failure—not lens material breakdown—but it can scatter light the same way.
How I Fix It (Based on Damage Level)
DIY-FEASIBLE
PROFESSIONAL-ONLY Professional Only
NON-REPAIRABLE → REPLACE ASSEMBLY
TEMPORARY
Did It Work? Here’s How to Know for Sure
Cleaning the lens isn’t the end. Validation is. I don’t sign off until I’ve done three things.
First, a night drive with oncoming traffic. The system must dim and reactivate correctly—no missed cars, no delayed response. Second, a wall test: beam pattern sharp, symmetrical, cutoff line clean. No hotspots, no shadows. Third, a scan tool check: no DTCs, camera status “normal,” AHB module showing “active.”
If you replaced the assembly, you’ve got two more steps. Static calibration using OEM targets—this sets the baseline aim. Then dynamic calibration: 10–20 minutes on a straight, well-marked road at 40+ mph. The system needs this to learn real-world adjustments. Skip it, and you’ll get intermittent faults. I don’t care if the lights “look right.” If the camera hasn’t relearned, it won’t work right.
Cost vs. Value: What’s Worth It?
| Repair Type | DIY Cost | Shop Cost | Success Rate | Risks |
|---|---|---|---|---|
| Lens Cleaning | $20–$50 | $100–$150 | 95% (surface only) |
Wrong cleaner = worse hazing |
| Lens Restoration | $50–$100 | $150–$300 | 80% (moderate UV damage) |
Over-sanding = weak lens or distorted beam |
| Assembly Replacement | N/A | $800–$2500 | 100% (if calibrated) |
Wrong install or no recalibration = persistent fault |
Here’s a trick I use: if OEM replacement costs more than 30% of the car’s value, I look for a quality used assembly. Pull one from a reputable salvage yard, match the part number to your AHB system, and inspect the lens in person. Even then—calibration is non-negotiable. I’ve saved customers $1,200 on a 2017 A6 by going this route. Works every time.
Keep It From Coming Back
Prevention is cheap. Fixing it later is not. I tell every customer: seal the lenses every six months with a UV-blocking coating. It slows oxidation dramatically. Use pH-neutral soap—no dish detergent, no driveway degreasers. And rinse off bugs the same day. Bug acid etches plastic in under 12 hours.
Monthly Check Routine
-
Park facing a wall at dusk. Look at the beam pattern.
-
Inspect the lens under raking light—haze and scratches show up easy.
-
If you see yellowing, polish it now. Waiting means you’ll lose more material later.
-
It’s easier to maintain a clean lens than to rebuild one that’s failed. I’ve learned that the hard way.
