Alright, let’s talk about your Tesla Model Y in the cold. Every winter, I get calls about range dropping off a cliff, and folks immediately jump to “the heat pump is broken!” Now, a certain amount of range loss is normal when it’s freezing out—that’s just physics, battery chemistry, and a bit less regen. But there’s a clear line between “normal winter blues” and “you’ve got a real problem brewing.” After over 25 years under the hood, I can tell you, the difference isn’t guesswork; it’s all in the data and knowing what to listen for. Let’s dig in.
Spotting the Red Flags: When Your Heat Pump is Struggling
First off, a 20-30% range reduction in truly cold weather—we’re talking below freezing—is pretty much par for the course. Your battery doesn’t like the cold, regen braking is limited, and the car’s working harder to keep you warm. But if you’re consistently seeing a 40% or greater drop in your real-world or displayed range, especially when the mercury dips below 0°C (32°F), that should set off an alarm. That’s not just “cold weather drain”; that’s a system struggling.
Here’s what I tell my customers to look for:
-
High HVAC Energy Draw: Pop open your energy consumption screen in the car. If the HVAC system is pulling 4–6 kW or more of sustained power, and it’s hogging a huge chunk of your total energy use, that’s a big indicator. It means the heat pump is working overtime but not efficiently, or it’s got a fault.
-
Continuous Compressor & Fan Operation: Think about your home A/C. It cycles on and off, right? Your car’s heat pump should do the same once the cabin is up to temp. If you’re on a 30-minute highway drive and you can hear the compressor and external condenser fans running non-stop, that’s not normal. It means the system can’t hit its target temperature or efficiency, and it’s just grinding away.
-
No Cabin Heat or New Noises: This is more urgent. If you’ve preconditioned the car and it still won’t get warm, or you start hearing strange sounds—a persistent gurgling (could be a refrigerant restriction), hissing (a leak for sure), or a groaning compressor—these are strong signs of a refrigerant circuit failure. We’re talking leaks, blockages, or internal compressor damage. Yeah, a PTC heater can fail, but those specific noises almost always point to a refrigerant or mechanical issue.
Diagnosing It Right: Separating Fact from Cold-Weather Fiction
Before we blame the heat pump, we need to rule out other factors. Cold weather hits efficiency in multiple ways, and it’s easy to misattribute a general range drop solely to the heat pump. My goal, and yours, is to figure out if the HVAC system is the main troublemaker or just one piece of the puzzle.
The Common Misdiagnosis: The PTC Heater
One thing I see misdiagnosed often: people assume the heat pump is broken when the real issue is a failed PTC (Positive Temperature Coefficient) heater. When the PTC heater goes out, the system might default to emergency electric heating mode, which draws a ton more power. It feels like a heat pump failure, but it’s not. Always verify PTC function independently.
My Diagnostic Approach: Data Over Guesses
Here’s how I go about isolating the true source of your cold-weather woes:
-
For High HVAC Energy Draw (>4–6 kW sustained): This is a classic symptom of a heat pump struggling. It could be a low refrigerant charge, a stuck reversing valve, or the compressor itself losing efficiency. But mimics exist: an elevated battery heater demand or a PTC heater cycling excessively can also spike energy use.
My Test: I’ll hook up an OEM-compatible scan tool. I’m looking at live data: refrigerant high- and low-side pressures, compressor speed, and power draw. If I see low suction pressure combined with high electrical input, that’s a strong indicator of an undercharge. I’ll compare those readings to Tesla’s baseline specs for the current ambient temperature. That’s the only way to know for sure.
-
For Cabin Unable to Reach Temperature: If your car just won’t warm up, the refrigerant circuit is likely failing to transfer enough heat, usually due to a leak or a blockage. However, it could also be a failed PTC heater (as I mentioned), a stuck blend door actuator, or even an inaccurate cabin temperature sensor.
My Test: I’ll use the scan tool to command the PTC heater OFF. Then, I’ll monitor the HVAC outlet air temperature. If the heat output remains low with only the heat pump active, then the fault is definitely in the refrigerant circuit. If I suspect the PTC, I’ll verify its operation with an amp clamp—that tells me exactly how much power it’s drawing.
-
For General 40% Range Loss: While heat pump inefficiency is a major contributor here, you’ve got to consider other factors. A cold battery naturally has increased internal resistance, underinflated tires kill efficiency, reduced regenerative braking means you’re using more friction brakes, and, let’s be honest, aggressive driving always eats range.
My Test: I’ll precondition the Model Y while it’s plugged in. This brings the battery and cabin up to temperature using grid power, normalizing those variables. Then, I’ll run identical drive loops in both cold and milder weather, if possible. I’ll use the car’s energy app to track Wh/mi. If, with all other variables controlled, the HVAC system still accounts for over 35% of the total consumption in cold conditions, then the heat pump system is the dominant issue.
What Actually Breaks: Common Root Causes in Tesla Heat Pumps
Once we’ve confirmed the refrigerant circuit is the problem, the next step is pinpointing the exact failing component. The Model Y’s heat pump system is intricate, with the octovalve, compressor, and multiple heat exchangers all working together. In my experience, failures here are almost always mechanical or assembly-related, not just random electronic glitches.
-
Refrigerant Leaks at Brazed Joints: This is probably the most common issue, especially on earlier Model Ys. I’ve seen it repeatedly. These leaks often pop up at the brazed joints in the octovalve or manifold assemblies. Why? They’re constantly subjected to thermal cycling—extreme heat during defrost, then freezing temps in winter. That kind of stress can fatigue weak or improperly brazed connections. Tesla has even put out service bulletins for specific VIN ranges related to these leaks, so it’s always worth checking with a service center if your car might be affected.
-
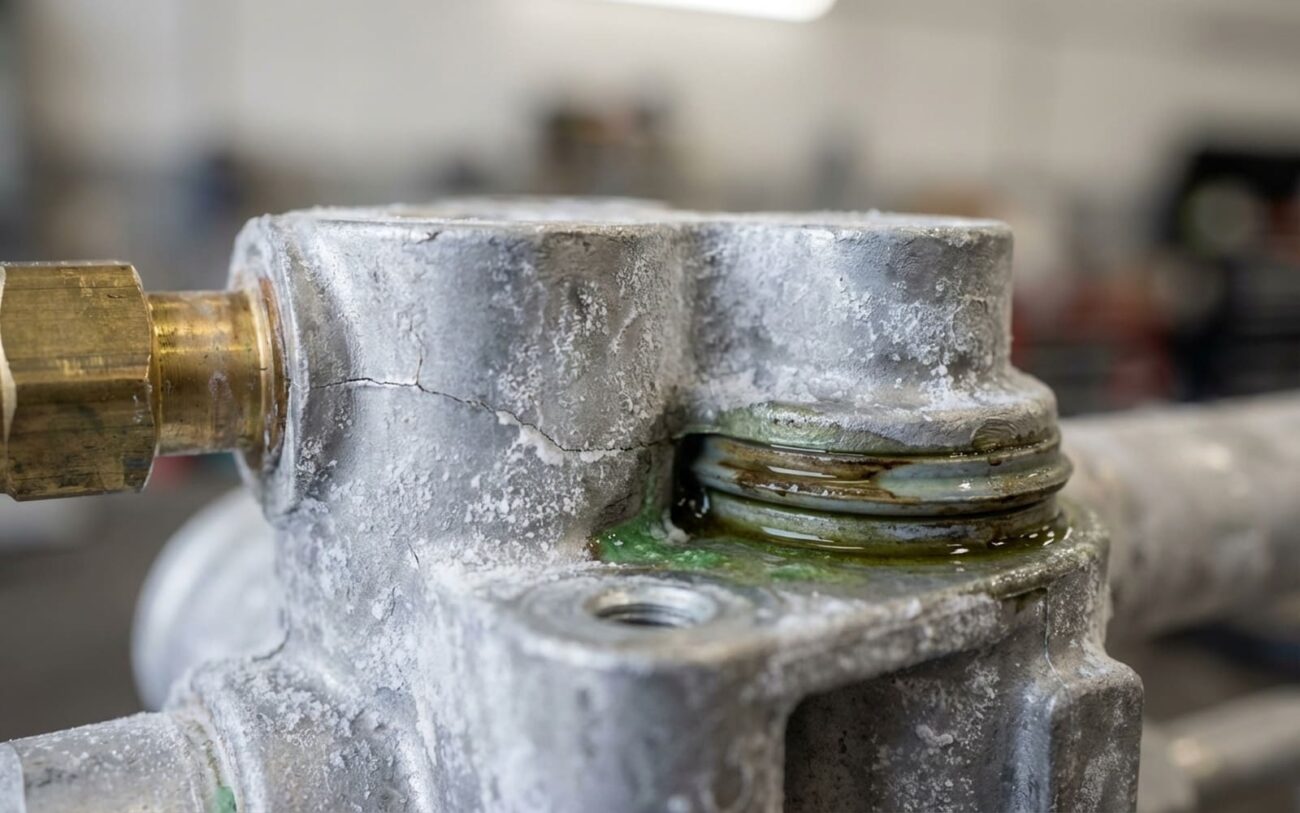
Compressor Housing or Shaft Seal Leaks: Another real-world failure point is the compressor itself. If it wasn’t assembled perfectly at the factory, tiny gaps or seal misalignments can develop into slow leaks over time. These are tricky to find without UV dye or a really sensitive electronic sniffer, but they lead to gradual refrigerant loss and, eventually, lubrication failure for the compressor.
-
Stuck Valve Mechanisms: The reversing valve or the electronic expansion valves (EXVs) are also vulnerable. They can get stuck due to contamination in the system—often from a broken-down desiccant bag inside the receiver-drier—or a simple electrical coil failure. A stuck valve throws off the entire refrigerant flow, forcing the system to run inefficiently or fail to heat or cool properly.
Just to be clear: a cold battery reducing range isn’t a heat pump failure. That’s basic electrochemistry. And periodic defrost cycles increasing energy use? That’s by design. We’re talking about actual mechanical or refrigerant circuit failures here—things that can be measured, tested, and repaired.
Getting It Fixed: Your Repair Options (and Why It’s Not a DIY Job)
How we fix it depends entirely on what’s broken and where. Let me tell you right now: this isn’t a system you can mess with without the right tools, training, and certifications. Period. Here’s how I approach the different scenarios:
External Refrigerant Leak Professional Only
Internal Circuit Failure (Octovalve, Compressor, Internal Lines) Professional Only
Sensor or Solenoid Fault Professional Only
Post-Repair Validation: Proving the Fix Works
For me, a proper repair isn’t done when the refrigerant is charged. It’s done when I’ve confirmed the system works exactly as it should under real-world conditions. You need to prove the repair, not just assume it.
-
Static Pressure Decay Test: After I’ve recharged the system, I’ll pressurize it with dry nitrogen or regulated refrigerant to about 150 psi. Then, I let it sit for 30 minutes. If the pressure drops by less than 2 psi, that tells me the leak repair was successful. Any more than that, and I’ve missed something, and I’m going back in.
-
Dynamic Performance Test: Next, I’ll use my scan tool to command maximum heat pump operation. I measure the discharge air temperature at the center vent—it should be over 45°C (113°F) when the ambient temperature is below 5°C (41°F). Simultaneously, I’m monitoring refrigerant pressures (high and low side) and compressor power draw. They need to stabilize within Tesla’s specified range for the current temperature. My tools for this include an R-1234yf-rated manifold gauge set, a professional scan tool with live data, and a calibrated thermocouple.
If the system passes both of these tests, then I’ve verified not just the repair, but the long-term reliability of the fix. That’s how you sleep at night.
The Hard Truth: Cost, Risk, and Making the Right Call
Let’s be realistic about the money. Repairs on these heat pump systems are expensive, no two ways about it. The decision to fix it really comes down to your car’s value, its warranty status, and your long-term plans for the vehicle.
| Repair Type | Shop Cost (Typical) | Success Rate (My Experience) | Risk if Not Done Right |
|---|---|---|---|
| External Leak Repair | $500 – $1,500 | High (if the leak is precisely identified and repaired) | An untreated leak will absolutely lead to compressor failure, turning a smaller bill into a much larger one. |
| Sensor/Solenoid Replacement | $300 – $800 | High (only if the fault is definitively confirmed by diagnostics) | Incorrect diagnosis here means you’ve wasted money and delayed the real repair, potentially causing more damage. |
| Octovalve/Compressor Replacement | $2,000 – $3,000+ | High (when properly diagnosed and installed using factory procedures) | This is a very high financial loss if misdiagnosed. On an older car, it could even exceed the vehicle’s residual value. |
If your Model Y is past its 4-year/50,000-mile basic warranty, a $3,000 repair could easily be 30% or more of the car’s current market value. That changes the whole equation. For a low-mileage, well-maintained vehicle, the repair usually makes sense. But for an older, high-mileage car with other issues looming, you really need to weigh that cost against what you could get for it in a trade-in or private sale.
Prevention & Monitoring: My Advice for Keeping Your Heat Pump Healthy
There’s no scheduled maintenance for the refrigerant circuit—it’s supposed to be sealed for life. But you can absolutely extend its life and catch problems early with a few smart habits. Think of it as preventative care for a critical system.
My Top Tips for Longevity
-
First, always use scheduled departure preconditioning, especially when your car is plugged in. This warms both the battery and the cabin using cheap grid power, drastically cutting down the initial load on your heat pump. It also minimizes those harsh thermal stresses from cold starts, which helps prevent fatigue in those critical brazed joints I talked about.
-
Second, get into the habit of monitoring your energy app during cold-weather drives. If you see the HVAC power staying above 6 kW for more than 15–20 minutes after startup, that’s a clue. It could indicate a declining refrigerant charge or a loss of efficiency. Catching a small leak early can literally save your compressor from total failure.
-
Finally, listen to your car. Be aware of any new sounds—gurgling, hissing, or a compressor that sounds like it’s straining—especially when you’re asking for heat. These are often early warnings. If you catch a leak or a failing component early, you might just save yourself a much, much larger repair bill.
And if you’re looking to really understand how these systems work across different EVs, I’ve got another article that dives into how a heat pump works in the Hyundai Ioniq 5 and VW ID.4—And Why It’s More Complex Than a Standard AC System. It gives you a good baseline for what’s going on under the skin of these modern electric vehicles.