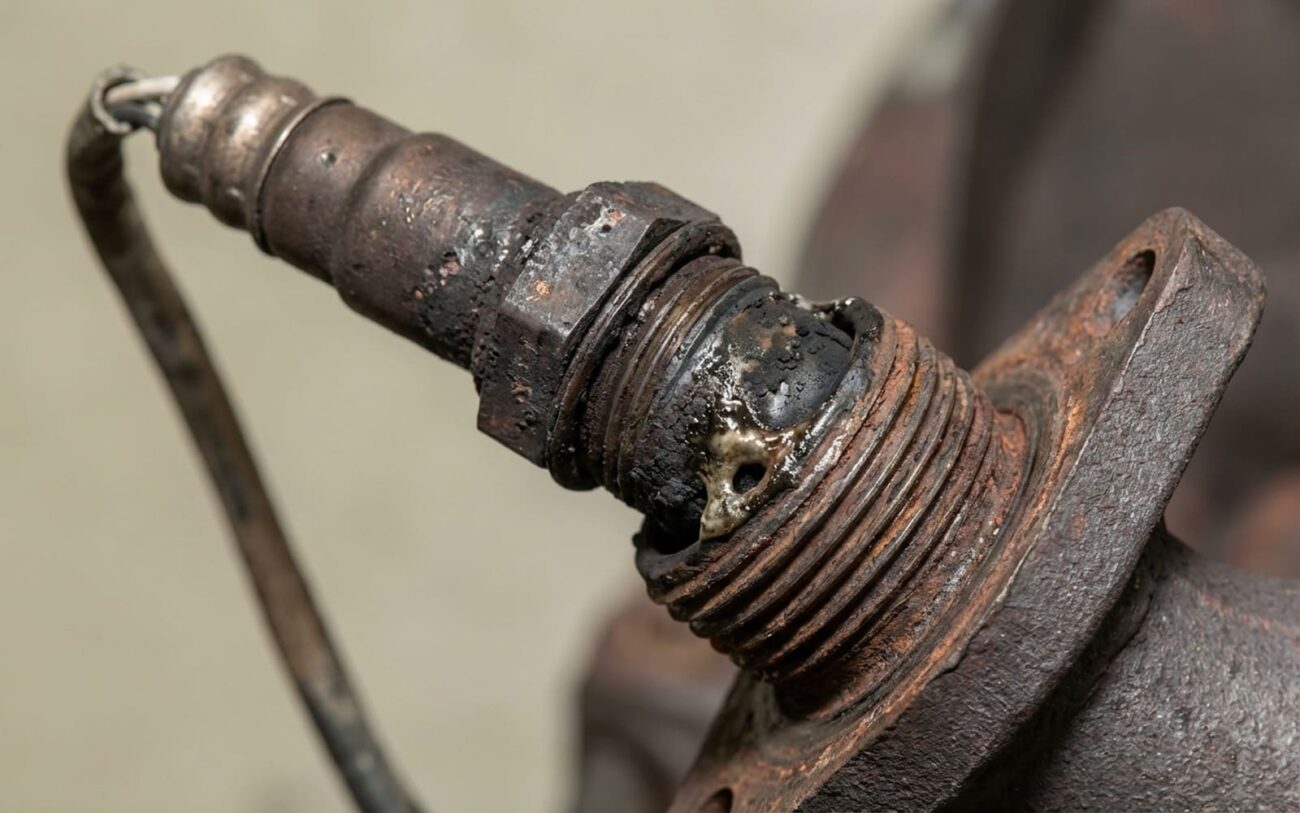
In my 25+ years turning wrenches, I’ve seen countless engines come into the shop running rough, guzzling fuel, or just plain refusing to start. More often than not, the root of the problem traces back to a tiny sensor in the exhaust system: the oxygen (O2) sensor, sometimes called a lambda sensor. It’s not just monitoring things; it’s actively telling your car’s computer (the ECU) how to run the engine.
Here’s the kicker: when an O2 sensor fails, it rarely just goes silent. Instead, it starts lying to the ECU. It sends bad data, and the ECU, trusting its primary feedback loop, makes all the wrong adjustments to the air-fuel mixture. Think of it like a thermostat stuck on “cold” — the furnace keeps running full blast, even if the room is already a sauna. Your engine ends up running too rich or too lean based on false information, and that’s where the real trouble starts.
What I often see: A common lie is a sensor reporting a “lean” condition that isn’t actually there. The ECU responds by dumping in extra fuel, trying to richen the mixture. You’ll see your Short-Term Fuel Trim (STFT) numbers shoot way up, sometimes +25% or more, as the computer tries to compensate for what it thinks is a lean engine. Meanwhile, your O2 sensor voltage stays low, confirming the ECU’s mistaken belief.
Don’t Just Swap Parts: The Real Danger of a Lying O2 Sensor
Before we dive into diagnosing, I need to make one thing crystal clear: don’t just throw a new O2 sensor at the problem because you have a code. I’ve seen too many people do this, and it almost always leads to bigger, more expensive headaches down the road.
If your O2 sensor is falsely reporting a lean condition, the ECU will try to compensate by dumping in extra fuel. This isn’t just bad for your gas mileage; it’s actively damaging your engine. That excess fuel washes past the piston rings, diluting your engine oil. Over time, this can lead to premature bearing wear and even complete engine failure. And if that wasn’t enough, all that unburnt fuel gets sent to your catalytic converter, which overheats and melts internally. Replacing a catalytic converter alone can easily run you over a thousand bucks, sometimes several thousand depending on the vehicle. So, a bad O2 sensor isn’t just an annoyance; it’s a ticking time bomb for your wallet and your engine.
What I See: Common Symptoms and Codes
Usually, the first thing you’ll notice is that dreaded check engine light on your dash. Don’t ignore it. When it comes to O2 sensors, you’ll often see specific diagnostic trouble codes (DTCs).
-
Codes like P0130 through P0167 typically point directly to an issue with the O2 sensor circuit or its performance. These are the “sensor says I’m broken” codes.
-
But the more telling codes, the ones that really make me grab my scanner, are P0171 and P0174. These translate to “System Too Lean (Bank 1 or Bank 2).” These codes mean the ECU thinks the engine is running lean and is trying its best to add fuel.
Beyond the codes, customers often complain about:
-
A noticeable drop in fuel economy.
-
Rough idle or hesitation, especially when cold.
-
Failed emissions tests (which is a whole other headache).
My Approach: Diagnosing the Real Problem with Live Data
Okay, you’ve got symptoms and maybe a code or two. But like I said, don’t just guess. Many other issues can make an O2 sensor look bad, or even cause it to actually go bad. My go-to tool here is an OBD2 scanner that can show live data. You need to look at the pre-catalytic converter (upstream) O2 sensor voltage and your short-term (STFT) and long-term (LTFT) fuel trim values.
Scenario 1: P0171/P0174 (System Too Lean) with High Fuel Consumption
This is the classic “sensor is lying lean” scenario. The ECU is trying to add fuel because it thinks the engine is starving.
-
What to look for: With the engine warmed up, hold the RPMs steady around 2500. A healthy upstream O2 sensor should rapidly switch its voltage between about 0.1V (lean) and 0.9V (rich), crossing the 0.45V mark multiple times per second. If your sensor is failing, especially due to contamination or slow response, it might stay stuck low (e.g., around 0.1V-0.2V) or respond very sluggishly. At the same time, your STFT will likely be maxed out in the positive range (+25% or more) as the ECU tries desperately to richen the mixture.
-
Mimics to rule out: Before condemning the sensor, check for vacuum leaks (spray carb cleaner around intake gaskets/hoses), low fuel pressure, leaky fuel injectors, or an exhaust leak before the O2 sensor. Any of these can genuinely cause a lean condition that the O2 sensor is accurately reporting.
Scenario 2: High Fuel Consumption without Lean Codes
This one’s a bit trickier. Here, the O2 sensor might be biased rich, telling the ECU to lean out the mixture too much, even though the engine is actually running rich.
-
What to look for: Your O2 sensor voltage might be stuck high (e.g., >0.7V) and not fluctuating much. Your STFT, in this case, would likely be negative, as the ECU is trying to pull fuel away. To confirm, I’ll often introduce a controlled amount of propane into the intake while monitoring the O2 sensor. If the sensor is working, its voltage should jump even higher (indicating a richer mixture). If it stays stubbornly high and doesn’t react, that’s a strong indicator the sensor itself is biased rich.
-
Mimics to rule out: A leaky fuel injector (which genuinely makes the engine rich), a failed coolant temperature sensor (telling the ECU the engine is always cold, so it adds more fuel), or even a restricted air intake can cause a true rich condition.
Why O2 Sensors Give Up: Contamination and Internal Failure
O2 sensors are tough, but they’re not indestructible. Most failures I see come down to two main things: contamination from the exhaust stream or internal electrical failure, usually in the heater circuit.
Contamination: The Silent Killer
The sensor’s tip is exposed to everything coming out of your engine. Certain substances can coat it, preventing it from accurately reading oxygen levels.
-
Silicone: This is a big one. If someone used non-sensor-safe RTV sealant during an engine repair (like a valve cover gasket), the silicone vapors can travel down the exhaust, coat the sensor, and form an insulating layer. The sensor becomes sluggish, responding slowly or not at all.
-
Lead: While less common these days with unleaded fuel, contaminated fuel sources can introduce lead, which poisons the zirconia element of the sensor, causing permanent signal loss.
-
Phosphorus/Zinc: These are additives in engine oil. If your engine is burning oil (worn piston rings, valve seals), these compounds deposit on the sensor tip, masking its ability to detect oxygen. I see this a lot on older engines with high mileage.
-
Carbon: A chronically rich air-fuel mixture (due to bad spark plugs, leaky injectors, etc.) will coat the sensor in carbon. While sometimes reversible if caught early, repeated exposure causes permanent damage.
The Heater Circuit: A Common Electrical Weakness
Modern O2 sensors are “heated” sensors. They need to reach about 600°F (around 315°C) to function properly and give accurate readings.
-
Inside the sensor is a small heating element. If this heater fails (and it often does due to constant thermal cycling and vibration), the sensor won’t get hot enough, especially at idle or during colder operation. It’ll be sluggish, leading to poor fuel control until the exhaust gases themselves heat it up. This usually throws a specific heater circuit code (like P0135).
-
Over years of heating and cooling, the ceramic element within the sensor can also crack, leading to internal electrical failure.
My Repair Plan: Replacing an O2 Sensor
Safety First, Always.
Look, exhaust components get extremely hot, and they love to rust solid. Before you even think about crawling under the car, make sure it’s safely supported on jack stands. Wear eye protection – rust flakes and penetrating oil in the eyes are no fun. And for the love of all that is holy, let the exhaust cool down first!
Step 1: Preparation and Removal
If you’re tackling this yourself, spray the sensor threads with a good penetrating oil (like PB Blaster or Liquid Wrench) the night before. This makes a huge difference. You’ll need a special 22mm O2 sensor socket – it has a slot for the wiring, so you don’t cut the harness. A breaker bar might be necessary for stubborn sensors. Take your time, apply steady pressure, and try not to round off the sensor hex. Breaking the sensor off in the exhaust bung is a real nightmare, and I’ve seen it happen.
Once it’s loose, carefully unclip the electrical connector. Pay attention to how the wiring is routed – you’ll want to put the new one back the same way to prevent it from melting on the hot exhaust.
Step 2: Choosing and Installing the New Sensor
This isn’t a place to cheap out. Always buy a quality replacement part. I stick with brands like Bosch, Denso, or genuine OEM. They’re designed to last and provide accurate readings.
-
Apply a tiny amount of anti-seize compound to the threads of the new sensor. And I mean tiny. Keep it strictly on the threads and absolutely away from the sensor tip. Contaminating the tip with anti-seize can kill the new sensor almost immediately.
-
Thread the new sensor in by hand first to avoid cross-threading. Once it’s snug, torque it down. Most O2 sensors specify 30–40 Nm (22–30 lb-ft). Don’t overtighten it, but make sure it’s sealed.
-
Route the wiring harness exactly as the original was. Zip-tie it securely away from hot exhaust pipes or moving parts.
What NOT to Do:
-
Don’t try to “fix” a bad sensor. If it’s contaminated or electrically failed, it’s a sealed unit. You can’t clean it with solvents or wire brushes and expect it to work reliably. Replacement is the only effective solution.
-
The “Burn-Off” Drive Cycle: Some folks talk about a high-speed drive to “burn off” light contamination. While it might work in very mild cases, especially if the root cause (like a minor coolant leak) was addressed, I consider this a last resort. If the sensor is already degraded, you’re risking further catalytic converter damage by running the engine with bad fuel trims. It’s hit-or-miss at best.
Don’t Skip This: Verifying Your Repair
Just putting in a new sensor isn’t the end of the job. You need to make sure it’s actually working correctly and that the ECU is happy. This is where your scan tool comes back in.
Start the engine, let it reach full operating temperature, and then monitor these live data points:
-
Upstream O2 sensor voltage: At around 2500 RPM, this should oscillate rapidly and smoothly between 0.1V and 0.9V, crossing the 0.45V mark several times per second. If it’s slow, stuck, or erratic, something’s still wrong.
-
Short-term fuel trim (STFT): This should now be fluctuating closely around 0% (maybe ±5%). If it’s still stuck at a high positive or negative number, the ECU is still trying to compensate for an issue.
-
Long-term fuel trim (LTFT): After a good warm-up and some driving, your LTFT should settle within ±10%. Ideally, I like to see it closer to ±5%. If it’s still way off, you’ve got another problem.
Once everything looks good, clear any lingering codes. Then, you need to complete a full drive cycle. This means driving the car under various conditions (idle, city, highway) until all the ECU’s “monitors” run and show “Ready.” If the check engine light stays off and your monitors are ready, you’ve nailed it. If not, you might have another underlying issue, like a frayed wire causing false sensor codes or a problem with the wiring harness itself.
The Bottom Line: Cost, Value, and Prevention
So, is replacing an O2 sensor worth the hassle and cost? Absolutely. Ignoring it is a guaranteed way to spend a lot more money later.
DIY Replacement
For a quality part (Bosch, Denso) and basic tools. Your time is free, right?
Professional Shop
Includes professional diagnostic time, the part, and labor. Worth it if you’re unsure.
The “Do Nothing” Option
This is your estimated annual fuel waste, plus the cost of a melted catalytic converter, and potential engine damage.
My Tips for Proactive Prevention:
-
Always use Top Tier gasoline. It has detergents that help prevent deposits and keep your fuel system (and sensors) cleaner.
-
Address any oil consumption issues promptly. Burning oil means phosphorus and zinc are coating your sensors.
-
If you’re doing engine work, ensure any RTV sealants used are specifically “sensor-safe.” This is critical.
-
During routine maintenance, if you have a scanner, take a quick look at your fuel trims. Catching them drifting out of range early can save you a lot of grief.
Bottom line: an oxygen sensor that’s “lying” to your car’s computer isn’t just a nuisance; it’s a silent destroyer of your engine and your wallet. Learn to recognize the signs, diagnose it properly with live data, and fix it right the first time. You’ll save thousands in fuel, avoid major secondary repairs, and keep your vehicle running strong for years to come. Ignore it, and you’re just waiting for a much, much bigger bill. Trust me on this one.
