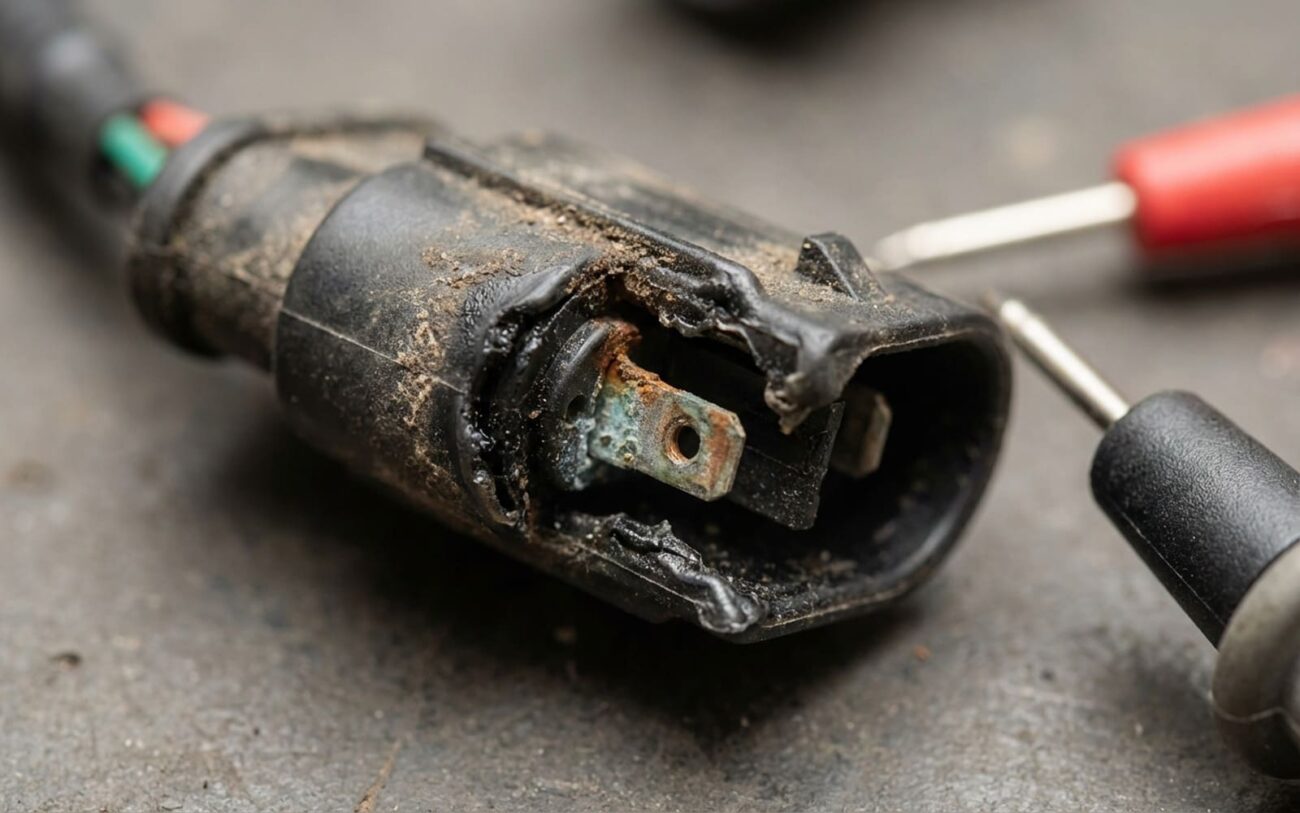
You turn the key, flip the switch, and notice only part of your LED headlight comes on. Maybe the low beam’s dead but the DRL strip still glows. Or the turn signal’s dark while everything else works. That’s not a blown fuse or a bad ground—it’s internal. I’ve pulled apart hundreds of these units over the last 25 years, and when one segment fails while the rest run fine, 9 times out of 10, the problem is inside the housing. These aren’t bulbs. They’re circuit boards, drivers, and thermal systems sealed into a single unit. And once they start failing, it’s usually heat, moisture, or voltage that did it.
It’s Not the Car—It’s the Headlight
Let’s cut through the noise. If the entire headlight is out, yeah—check fuses, grounds, BCM signals. But when only one section fails? The odds are stacked against the car’s wiring. Modern LED headlights have independent driver circuits for each function: low beam, high beam, DRL, turn signal. Each gets its own power and ground routed through the connector, but the actual switching and regulation happen inside the housing.
Flickering before total failure? That’s a red flag. That instability almost always comes from failing components on the board—capacitors drying out, MOSFETs degrading, or solder joints cracking from thermal cycling. I’ve seen drivers pull in erratic current before dying completely, and in rare cases, that can mess with the BCM or confuse the CAN bus. Not common, but I’ve had two Land Rovers come in with “random warning lights” traced back to a failing LED driver drawing 2.3A instead of the expected 0.8A. Don’t ignore it just because “only one light is out.”
Prove It: Test at the Connector
Before you spend a dime, you need to know where the fault is. And the only way to do that is with a digital multimeter and the headlight connector unplugged.
Here’s what I do: back-probe the connector while the circuit is active. Turn the lights on, set your DMM to DC voltage, and check for ~12V at the pin for the failed segment. Then verify you’ve got a solid ground. If both are present, the headlight is bad. End of story. No need to chase fuses or trace wiring.
If voltage drops out during flickering, that’s different. Use the MIN/MAX function on your meter. If voltage stays steady but the light still flickers, it’s internal. If voltage drops to zero, you’ve got a wiring or connector issue upstream. I’ve found broken wires inside the harness near the strut tower on a 2016 Audi A4—look there if the connector tests clean but power isn’t making it through.
| Symptom | Likely Internal (LED/Driver) | Common External Causes | Definitive Test to Confirm |
|---|---|---|---|
| Single LED segment not working | Failed LED array or dedicated DC-DC driver on the circuit board | Blown fuse (if shared), broken wire, corroded connector, faulty BCM signal |
Back-probe the headlight connector while the circuit is active. Confirm ~12V B+ and solid ground at the affected pins. If both are present, the headlight is faulty. |
| Intermittent flickering in one section | Thermal fatigue of solder joints, failing capacitor in driver, or MOSFET degradation | Loose terminal, damaged harness, chafed wire causing intermittent contact |
Monitor voltage at the connector using DMM MIN/MAX function during flicker. Stable voltage during dropout = internal fault. Voltage drop to 0V = external wiring/connection issue. |
What Actually Breaks Inside
Once you’re sure it’s internal, you’re dealing with one of four things. I’ve seen all of them—often more than once on the same car.
Heat kills. LEDs don’t burn out like halogens, but they’re sensitive to temperature. The driver circuit and LED array generate heat, and it’s dumped into an aluminum heat sink with thermal paste. If that paste dries out, or the fins get clogged with mud, the board can hit 110°C in minutes. That leads to thermal runaway—rising resistance, increased current draw, more heat, and then boom. A capacitor pops, a MOSFET shorts, and the whole section goes dark. High-beam circuits are the worst offenders. On a 2018 BMW X3 I worked on, the high-beam driver failed at 18 months—factory thermal paste was applied in pea-sized blobs instead of a full spread.
Voltage spikes are another silent killer. Jump-starting with the cables reversed, a failing alternator spiking to 16V+, or even a bad battery ground can fry the driver’s ICs. These surges last milliseconds, but they’re enough to kill low-voltage components. If your car has had charging system issues, that might be why the headlight failed early.
Solder joints crack. Most modern headlights use lead-free solder, which is brittle. Daily heating and cooling flex the board, and over time, micro-cracks form—especially under heavy components like capacitors. I’ve seen boards where a single cracked joint under a driver IC killed the low beam. That’s usually what causes flickering before total failure. A tap with your finger might make it light up—don’t laugh, I’ve used that trick to confirm the issue.
Moisture gets in. Even a small leak can cause corrosion on the board. I’ve pulled units where condensation pooled on the driver, leaving white corrosion on the traces. If you see fogging that doesn’t clear, or water droplets inside, the seal is compromised. And once moisture’s in, it’s only a matter of time before the electronics fail.
Bottom line:
If the whole headlight is dead, look at fuses, grounds, or the BCM. But when only one section fails—especially with flickering or delayed startup—the headlight assembly itself is almost certainly the culprit.
Fix It or Replace It?
Here’s where reality sets in. Most OEM headlights are sealed. No serviceable parts. You can’t just swap a bulb or a module. Your options are limited—and some are riskier than others.
Replace the Entire Assembly Most Common Solution
Internal Circuit Repair For Experts Only
DIY-Feasible Module Replacement
Did It Really Work?
Just turning it on isn’t enough. I test every repair—especially internal ones.
For a full replacement: clear any BCM codes with a scan tool. Then aim it. I use a Bosch 1705-110 aiming machine—set the car on level ground, project the beam, adjust vertical and horizontal screws until the cutoff matches specs. If it’s off, it fails inspection and it’s unsafe.
For internal repairs: run it for 30+ minutes. Watch for flickering, dimming, or shutdown. Monitor current draw at the connector—look for stability. Use an IR thermometer. If the board hits 90°C under load, your thermal management is broken. And if moisture was the issue, spray it with water or use a pressure test before reinstalling. I had one pass bench testing, only to fail in the rain two weeks later. Tiny leak in the seal.
What’s It Gonna Cost?
Let’s be real. These repairs hurt.
OEM Assembly Replacement
DIY Cost (Parts Only): $800–$1,500. Shop Cost (Parts & Labor): $1,200–$2,200. Success Rate: ~100% (if properly installed and aimed). Risks: DIY risk: paint/trim damage during bumper removal. Otherwise, a new OEM unit is reliable.
Internal Board Repair
DIY Cost (Tools, Components): $50–$200. Shop Cost (Specialist Shop): $300–$600. Success Rate: 60–80% (highly skill-dependent). Risks: Board destruction, moisture ingress, voided warranty. Not all shops offer guarantees.
Used Assembly Replacement
DIY Cost (Parts Only): $300–$800. Shop Cost (Parts & Labor): $700–$1,500. Success Rate: ~90% (latent defects possible). Risks: Same installation risks; potential color mismatch or internal condensation on used unit.
My rule of thumb: if a new OEM headlight costs more than 25% of your car’s current value, it’s hard to justify. On a 10-year-old luxury sedan worth $6,000, dropping $1,500 on one light? That’s tough. A $700 used unit from a reputable puller with matching optics might be smarter—even with the risk of latent defects.
How to Make It Last
You can’t stop aging, but you can slow it down.
Keep the housing clean. Those breather tubes on the back? They let air move and help with cooling. Clogged with mud? Heat builds up faster. Wash them out every few months if you drive on dirt roads.
When replacing, stick with OEM or high-end aftermarket. I’ve seen cheap units fail in 8 months—poor thermal paste, undersized heat sinks, flimsy drivers. OEM lasts longer. Period.
And make it a habit to check your lights during a walk-around. Look for condensation, flickering, uneven brightness. Sometimes you can hear a failing driver—a faint whine or buzz near the headlight. That’s not normal. Address it early.
To Prevent Recurrence
-
Keep the headlight housing clean. Pay attention to the breather tubes or vents on the back—they allow pressure equalization and help with heat dissipation. If they’re clogged with mud or road grime, heat builds up faster.
-
When replacing a headlight, stick with OEM or certified high-end aftermarket units. Cheap LED assemblies often skimp on thermal paste, heat sink design, and driver quality. I’ve seen budget units fail in under a year while OEM lasted five.
-
Make it a habit to do a quick light check during your walk-around. Look for condensation, flickering, or uneven brightness. Sometimes you can hear a failing driver—a faint, high-pitched whine or buzz near the headlight. That’s not normal. Address it early.
Small warnings often prevent big bills. Same as with audio systems—if you hear crackling, it’s not “just a speaker.” Could be moisture, a failing amp, bad ground. Same principles apply. For more on why these repairs get expensive, especially in premium brands, see our breakdown: Why is premium car audio repair so expensive?
