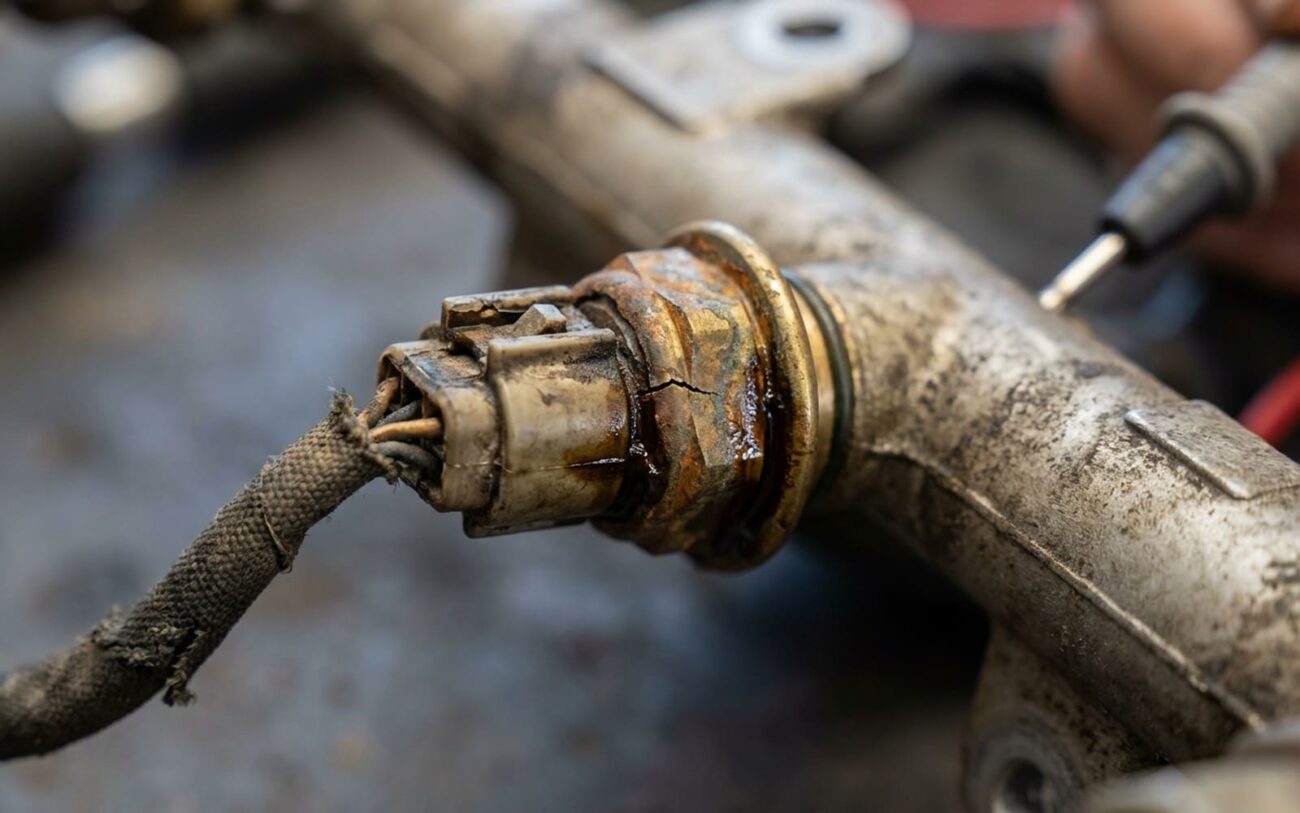
You’ve got a check engine light, maybe a gauge pegged at zero or max, and the codes are pointing at a pressure sensor. Before you yank that sensor out, let me tell you what I’ve learned after 25 years in the bay: the sensor is almost never the root cause—it’s the messenger. And if you don’t verify what it’s saying, you’re either wasting money or risking engine destruction.
Stop. Don’t Drive. Check This First.
Here’s what I do when a customer rolls in with a P0108, P0520, or any pressure-related code: I don’t scan first. I look. Is the oil pressure gauge stuck at zero while the engine idles smoothly? Is the check engine light blinking under acceleration? These aren’t just clues—they’re patterns.
Symptom to Diagnosis: The Real Work Begins
You pull a P0107—MAP sensor circuit low. Great. Now what? The ECM saw a voltage out of range. But was it the sensor, a chafed wire, a broken vacuum line, or a split hose on the intake? I’ve seen all four.
On 2011–2014 EcoBoost F-150s, I see this weekly: P0107, rough idle, no power. Owner replaces the MAP sensor. Light comes back in a week. Why? Because the real issue was a cracked vacuum line near the turbo—hidden, brittle, and leaking boost. The sensor was reporting truthfully. You just didn’t believe it.
| Symptom | Likely Internal Failure | Common Mimics | Definitive Test |
|---|---|---|---|
| P0108 (MAP High) | Failed MEMS diaphragm or internal short (rare). | Open signal wire, lost 5V reference, disconnected vacuum hose. |
Back-probe connector. Verify 5V reference and ground. Apply vacuum with a hand pump—watch signal voltage drop smoothly. If it jumps or sticks, the sensor’s done. |
| Intermittent P0190 (FRP) | Thermal fatigue—cracked solder joints inside the sensor. | Chafed wiring in the harness near the fuel rail, poor ground at G101. |
Monitor signal on an oscilloscope. Tap the sensor with a plastic handle, heat it gently with a heat gun. If the waveform glitches while power and ground stay solid—it’s the sensor. |
| Oil pressure gauge reads zero | Failed diaphragm or internal short (especially if oil’s in the connector). | Open circuit, blown fuse, bad cluster, or poor ground at the dash harness. |
Install a mechanical oil pressure gauge. If pressure’s good, the problem is electrical. Check signal voltage at the sensor with a multimeter or scan tool. |
Tools matter. A $30 code reader won’t cut it. You need a scan tool that reads live PIDs—watch how the MAP voltage changes with throttle, how fuel pressure climbs under load. A digital multimeter is non-negotiable. And for intermittent issues? An oscilloscope is worth its weight in gold. I’ve caught glitches on scope that a multimeter read as “perfect.”
What Dies Inside the Sensor?
Most modern pressure sensors use a MEMS diaphragm—microscopic, silicon-based, and incredibly sensitive. When pressure changes, the diaphragm flexes, altering resistance (piezoresistance). An ASIC chip conditions the signal, compensates for temperature, and sends it to the ECM.
But they fail—just not always how you think.
Here’s what I see most:
Thermal cycling kills more sensors than age. On Ford 3.5L EcoBoost engines, the MAP sensor sits right above the turbo. Heat soaks in after shutdown. Over time, solder joints crack. The sensor works cold, fails hot. Ford issued TSBs for this—TSB 14-0165, 15-2158—but they never fixed the root cause.
Contamination is another big one. If the oil pressure sensor’s seal fails, oil migrates into the connector. I’ve seen terminals swimming in sludge. Corrosion follows. Resistance climbs. Signal goes erratic.
And yes—pressure spikes happen. A failing fuel injector can cause “fuel hammer,” cracking the diaphragm in the fuel rail sensor. It’s rare, but it happens.
But—and this is critical—a sensor isn’t faulty just because it reports abnormal pressure. If the DPF is clogged and differential pressure is high, the sensor isn’t broken. It’s doing its job. Don’t replace the messenger.
Repair: What You Can Do, What You Can’t
DIY-FEASIBLE
PROFESSIONAL-ONLY Professional Only
PROFESSIONAL-ONLY / COMPONENT-REPLACEMENT Professional Only
Did You Actually Fix It?
Swapping the sensor and clearing the code isn’t the end. I’ve had customers come back two days later—light’s back. Why? Because they didn’t verify.
Here’s my validation process:
- Clear the DTCs and drive the full cycle—idle, accelerate, cruise, decelerate.
- Monitor live data. Does MAP voltage rise with throttle? Does fuel pressure climb under load? It should.
- For intermittents, scope the signal. Look for noise, dropouts, or spikes.
- Final test: Tee in a mechanical gauge. Compare readings at idle and under load. They should match within 1–2%. If not, something’s still wrong—new sensor, bad install, or another issue.
Cost vs. Value: Is It Worth Fixing?
| Repair Type | DIY Cost | Shop Cost | Success Rate | Risks of Misdiagnosis |
|---|---|---|---|---|
| Replace accessible MAP sensor | $50 – $150 | $200 – $350 | 95% | Wasted money if vacuum leak or wiring fault remains. |
| Replace fuel rail pressure sensor | $80 – $200 | $250 – $450 | 90% | Fuel leak risk if O-ring fails; may lead to unnecessary pump replacement. |
| Replace oil pressure sensor under intake | $40 – $100 | $400 – $800+ | 85% | High labor cost; risk of intake warpage; won’t fix real oil pressure issues. |
Rule of thumb: if the repair exceeds 30% of the car’s value, get a second opinion. For buried sensors, spend $150 on a pro pressure test before authorizing a $700 teardown. It’s cheaper than guessing wrong.
How to Make Sensors Last Longer
They’ll fail eventually. But you can slow it down.
-
Use the correct seal: dry threads, copper washer, or thread sealant—don’t guess. Wrong seal = leak or ground issue.
-
Inspect connectors during oil changes. Oil, coolant, or green fuzz? Replace the sensor now—don’t wait for failure.
-
Pull freeze frame data on intermittent codes. If P0190 sets only at 95°C+, it’s thermal. If at high load, check wiring stress.
-
Verify actual system pressure before blaming the sensor. A $10 mechanical gauge can save you $1,000 in wrong parts.
