The First Clues: Hissing and Sagging
When an air suspension system starts acting up, it’s usually pretty vocal about it. I’ve been wrenching on these for over 25 years, and the first things I tell folks to look (and listen) for are a distinct hiss and a sagging corner. These aren’t just minor quirks; they’re clear warnings that your suspension integrity is compromised.
That hissing noise—you know, that “psssshhhh” sound, sometimes like a tire slowly deflating—that’s the most immediate giveaway. It usually pops up shortly after you shut the engine off, especially when the system is still fully pressurized. You might hear it from a wheel well, or sometimes just generally from under the car. That’s air escaping under pressure, plain and simple. And trust me, that sound is never normal.
The Concept
“Think of it like a slow leak in a high-pressure bicycle tire, but instead of just you, it’s supporting a couple of tons of vehicle.”
Now, where does that hiss come from? Most often, it’s the air spring itself—what some folks call an air bag. You’re looking at a pinhole in the rubber bellows, or maybe a seal that’s given up where the rubber meets the metal caps. But don’t jump to conclusions and blame the spring right away. I’ve chased plenty of leaks that turned out to be a quick-connect fitting on an air line, a worn O-ring in a solenoid valve, or even a hairline crack in the valve block itself. If you ignore that hiss, your compressor is going to work overtime trying to keep things level, and that’s a surefire way to burn it out prematurely. I’ve replaced more than my fair share of compressors that died a slow, painful death because a small leak was left unchecked.
The second big clue is visual: the car sags. You’ll notice it first thing in the morning, or after it’s been parked for a few hours. Maybe one wheel looks like it’s tucked way up into the fender, or the whole front end just sits lower than it should. A single corner drooping almost always points to a problem with the air spring on that specific side. If both sides of an axle are low—say, both front wheels—it could still be both springs, but it also makes me think about a shared component like the valve block, a ride height sensor, or a main air line feeding that axle. Either way, a sagging suspension isn’t just an aesthetic issue.
Diagnosing the Leak: My Go-To Methods
Alright, you’ve got a hiss, or a sag, or both. Now what? Before you start throwing expensive parts at it, you’ve got to pinpoint the source. It’s easy to assume it’s the air spring—they’re often the culprit, and they’re not cheap—but I’ve seen too many people replace a spring only to find the leak was actually a $5 O-ring or a cracked air line. We need to confirm it.
My absolute go-to, the most effective and cheapest diagnostic tool in my shop, is a simple spray bottle filled with soapy water. I’m talking dish soap and water, nothing fancy. Get the system pressurized—ignition on, let the compressor run if it needs to. Then, spray everything. I mean every pleat of the rubber bellows on the air spring, the top and bottom metal caps, the air line connection, and any solenoid valve that’s attached. Watch closely. You’re looking for growing, foamy bubbles. They’ll show you exactly where that air is escaping. Don’t just spray one spot; leaks can be sneaky and hide in the folds.
Pro Tip: The Isolation Test
If you don’t see bubbles but that corner still sags overnight, that’s when I move to an isolation test. What I do is disconnect the air line right at the spring and cap off the end of the line. If the corner stays level after that, the leak is upstream—meaning it’s in the air line itself, the valve block, or a solenoid. But if that corner still drops, even with the air line capped, then you know for sure the spring itself is leaking internally. It’s a definitive test that saves a lot of guesswork.
For a deeper dive, especially on newer vehicles, I’ll hook up my diagnostic scan tool. It’s not just for reading fault codes like C1710 or C1760, which often point to pressure loss or a hardworking compressor. What’s really valuable is the live data. I’ll monitor the compressor’s run time and how often it cycles. If that compressor is kicking on every 5 to 10 minutes while the car’s just sitting there, parked and level, you’ve definitely got a leak, even if no codes have set yet. The computer knows it’s losing pressure and it’s trying to compensate.
| Symptom | Likely in Air Spring | Common External Mimics | Definitive Test |
|---|---|---|---|
| Hissing from wheel well | Pinhole in rubber bellows, failed bond seal at end cap. | Leaking air line quick-connect, solenoid valve O-ring. | Soapy water test: growing, foamy bubbles confirm spring leak. |
| Corner-specific sagging overnight | Micro-crack or slow leak in air spring rubber. | Leak in air line, stuck-open solenoid valve, valve block issue. | Isolate and cap air line at spring. If corner still sags, spring is faulty. |
Why These Things Fail: The Real Story
Air springs aren’t designed to last forever; they’re wear items, plain and simple. In my 25+ years, I’ve seen countless failures, and they almost always boil down to a few key factors: age, environmental exposure, and good old mechanical fatigue. The rubber bellows is constantly flexing, expanding, and contracting. It’s out there, exposed to everything the road throws at it—ozone, road salt, UV light, brutal temperature swings from scorching summer to freezing winter.
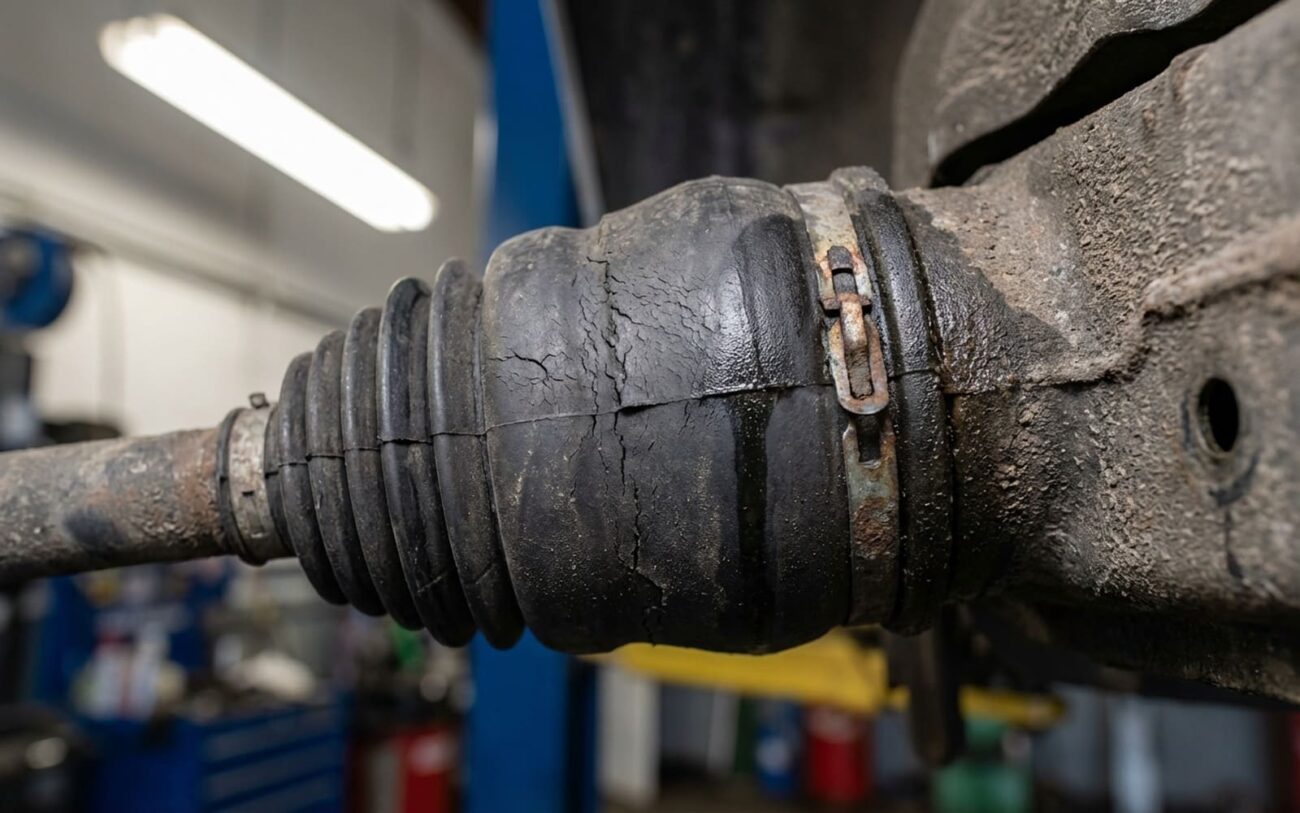
Over time, that rubber dries out. It gets brittle, and tiny cracks start to form, especially in the lower folds where there’s the most movement. I see this pattern a lot on older Audi, Land Rover, and Mercedes systems—those outer convolutions just crack due to oxidation and sometimes, frankly, a lack of adequate protection from road debris.
Fatigue is another huge player. Every bump, every pothole, every time the suspension compresses, it stresses that rubber. After years and tens of thousands of cycles, that rubber can just split or delaminate. And then there’s physical damage. A sharp piece of road debris can puncture the bellows. Or, and I’ve seen this more than once, a loose inner fender liner can rub against the air spring for months, slowly wearing a thin spot until it finally gives way. It’s a slow death by a thousand cuts, usually.
The Fix: Replacing an Air Spring (It’s Not a DIY for Everyone)
Professional Territory Recommended
Replacing an air spring, especially an integrated air strut, isn’t a job I recommend for the casual DIYer. There’s significant stored energy in these systems, even when depressurized. Mishandling can lead to serious injury. You really need a diagnostic scan tool to safely depressurize the system and activate service mode before you even think about lifting the car.
Safety First: Depressurize & Removal
Installation Details Matter: Torque Specs Are Critical
Calibration & Alignment Are Non-Negotiable
Confirming the Repair: Don’t Just Assume It’s Fixed
Just because the car is sitting level after the repair, don’t assume the job’s done. You’ve got to validate the fix. I always run through a few checks to make sure everything’s buttoned up right.
First, with the diagnostic scan tool, I’ll command the suspension through its full range of height adjustments—raise it, lower it, cycle it a few times. It should move smoothly, without any hesitation or unusual noise from the compressor. This helps seat the new components and ensures the system is responding correctly.
Next, I’ll do another soapy water test. Yes, again. Spray down that brand-new air spring, all the fittings, valve connections, and any air lines I touched. You want to be absolutely sure there are no new leaks introduced during installation, or any old, overlooked leaks still present.
Finally, and this is a big one, I conduct an overnight test. I’ll park the car on a perfectly level surface, measure the ride height at each fender arch (from the center of the wheel to the fender lip is a good consistent spot), and record those numbers. Then, I leave it for 12 to 24 hours. When I come back, I remeasure. A drop of less than 10 mm (about 3/8 inch) that’s consistent across all corners is generally acceptable. Anything more, or if one corner drops significantly more than the others, and I know I’ve still got a problem to chase.
Cost & Value: When to Repair, When to Convert
Now for the question everyone asks: ‘What’s this going to cost me, and is it even worth it?’ Air suspension repairs aren’t cheap, but they’re often necessary to keep a luxury vehicle riding as it should. Here’s a rough breakdown of what I typically see:
| Repair Type | DIY Cost (Parts) | Shop Cost (Total) | Success Rate |
|---|---|---|---|
| Single Air Spring (Aftermarket) | $300 – $600 | $1,000 – $1,800 | Very High |
| Single Air Strut (Integrated) | $500 – $900 | $1,200 – $2,200 | Very High |
| Temporary Patch | $20 (kit) | N/A | Low / Unpredictable |
For a single aftermarket air spring, you’re generally looking at $300 to $600 for the part if you’re doing it yourself. Take it to a shop, and with labor, diagnostics, and alignment, that’s going to jump to $1,000 to $1,800. If it’s an integrated air strut—meaning the spring and shock are one unit—the part cost goes up to $500 to $900, and a shop repair will be in the $1,200 to $2,200 range. These repairs, when done correctly, have a very high success rate.
The “Value” Reality Check
But here’s a reality check I often have with customers: If your car is, say, 10 to 15 years old, and the cost to replace all four corners of the air suspension starts to creep up past 50% of the car’s current market value, we need to talk. At that point, a coil spring conversion kit becomes a very attractive option. Yes, you lose the self-leveling and adjustable ride height features, but you gain permanent reliability. You eliminate all those air-related headaches—no more compressor worries, no more leaks, no more expensive sensors. It’s a trade-off, but for an older vehicle, it often makes financial sense and gives you peace of mind.
Preventing Future Headaches: My Maintenance Tips
Maintenance Checklist
-
First, wash your undercarriage regularly. Especially if you live in an area with road salt or heavy grime. That stuff accelerates corrosion on the metal caps of the air springs and can break down the rubber over time. A quick spray-down can make a big difference.
-
Second, listen to your compressor. If you open your car door and hear that compressor kick on and run for more than, say, 60 seconds, or if it’s cycling on and off frequently even when the car is parked and level, that’s a red flag. It’s telling you there’s a leak somewhere, and it’s working too hard to compensate. Catching this early can save you from having to replace the compressor, which is another costly repair.
-
Third, inspect those bellows. Every now and then, take a peek at the rubber bellows of your air springs. If you see any oily residue, that’s a problem. It usually means compressor oil is getting into the air lines, and that oil can really break down the rubber of the air springs over time, leading to premature failure. It’s like finding a torn CV joint boot early—a small problem caught in time can prevent a much bigger, more expensive one.
