When Your Exhaust System Can’t Breathe: Symptoms & Why It Matters
The Concept
“Think of your engine like an athlete. If its exhaust system is plugged up, it’s like trying to sprint a marathon while breathing through a coffee stirrer. It just can’t perform.”
After 25 years under the hood, I can tell you that a restricted exhaust is one of those problems that sneaks up on you. The most obvious symptom? A noticeable drop in power, especially when you really lean on the gas or try to climb a hill. Your engine will feel like it’s struggling to rev out, even if it idles perfectly fine. It’s not a misfire, and it’s not usually a fuel problem; it’s pure mechanical suffocation. You’ll see the RPMs climb, but the car just doesn’t accelerate like it should.
Sometimes, you’ll hear it too. A high-pitched hiss or whistle, often from under the car, not the engine bay itself. That’s usually a sign of a leak, but a restriction can also change the exhaust note. The real danger, though, comes from the heat. I’ve seen catalytic converters and mufflers glow cherry red during extended drives because all that heat and unburnt fuel gets trapped inside. That’s not just inefficient; it’s a serious fire hazard and can cook other components.
How I Diagnose It: Separating Exhaust Issues from Everything Else
A loss of power or strange exhaust noises can be tricky because a lot of other things can cause similar symptoms. I’ve seen failing fuel pumps, clogged air filters, even a stuck EGR valve, all mimic a restricted exhaust. Sometimes an exhaust manifold crack sounds just like a leak further downstream. That’s why you can’t just guess; you need to test.
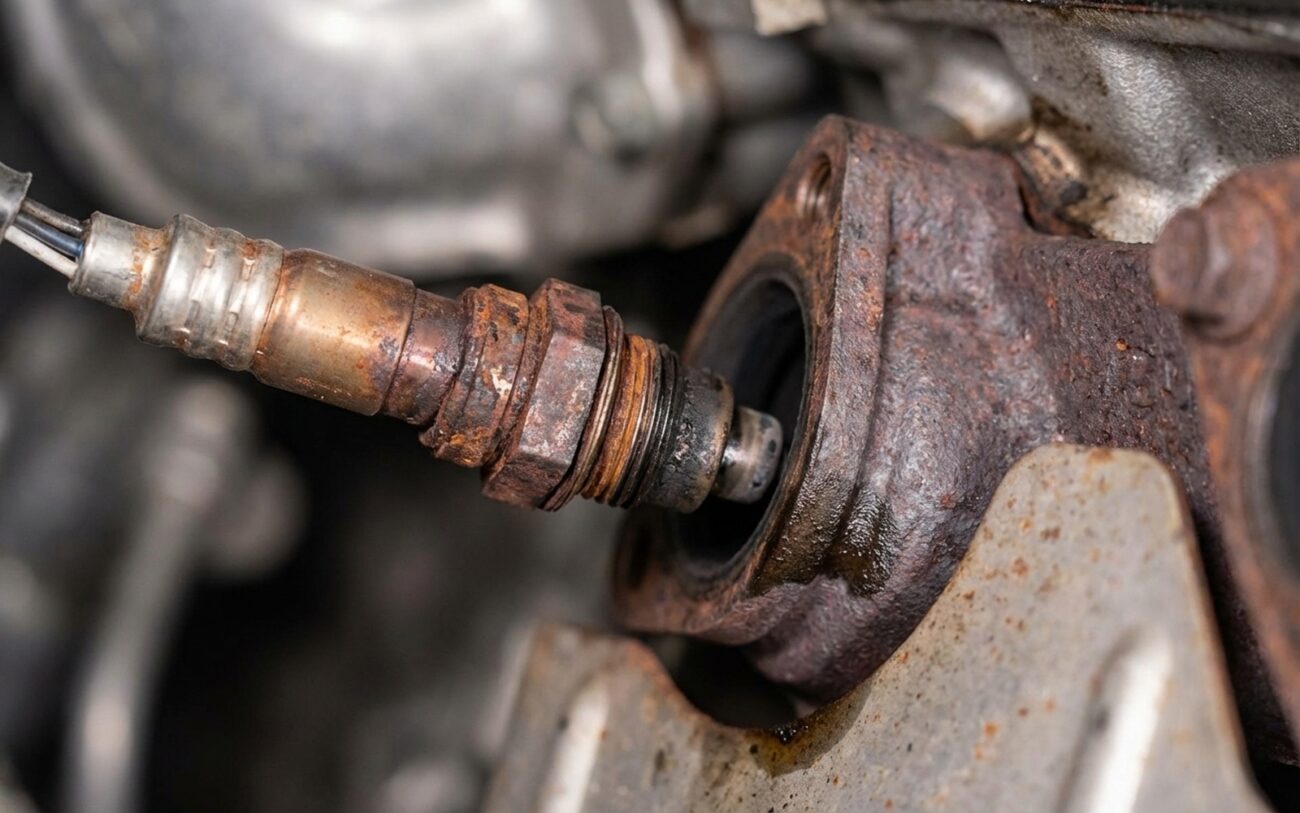
The gold standard for diagnosing a restricted exhaust is a back pressure test. This means actually measuring the pressure buildup in the exhaust stream, usually right before the catalytic converter or muffler. What I do is connect a specialized pressure gauge to an accessible port, typically the upstream oxygen sensor bung. You just unscrew the O2 sensor, screw in the gauge adapter, and then the gauge.
You’ll want to check the pressure at two main points: at idle, and then at a steady 2,500 RPM. Here’s what I look for:
- At idle, your exhaust back pressure should be no more than 1.5 PSI.
- At a steady 2,500 RPM, it shouldn’t exceed 3.0 PSI.
If your readings are consistently above these numbers, you’ve got a significant restriction. But don’t stop there. Always cross-check with your scan tool data. Look at fuel trims, how the O2 sensors are responding, and if it’s turbocharged, monitor your boost pressure. All these data points tell a story.
Max: 1.5 PSI
Max: 3.0 PSI
Now, if you’re pulling codes like P0420 (catalyst efficiency below threshold) or P0401 (insufficient EGR flow), those can definitely point towards a restriction. But they’re not definitive on their own. You always, always need to rule out engine management issues first. I’ve seen countless shops replace expensive catalytic converters only to find out the real problem was a simple vacuum leak throwing off the air/fuel ratios, or a bad O2 sensor giving false readings. That’s money and time wasted.
| Symptom | What I’d Suspect in the Exhaust | Common Mimics (Don’t Get Fooled) | My Go-To Test to Confirm |
|---|---|---|---|
| Loss of high-RPM power | Collapsed muffler internals, crushed pipe, separated resonator core, clogged catalytic converter. | Failing fuel pump, severe intake restriction (clogged air filter), bad mass air flow sensor. |
Exhaust Back Pressure Test: Connect a gauge to the pre-cat O2 sensor port. If you see >1.5 psi at idle or >3 psi at 2,500 RPM, you’ve found your restriction. |
| Audible exhaust leak (hiss/whistle) | Hole in muffler shell, cracked pipe weld, failed flex joint, loose clamp. | Cracked exhaust manifold, leaking manifold gasket, faulty EGR tube or cooler, turbocharger leak. |
Visual & Smoke Test: Inspect the cold system visually and by touch. For hard-to-find leaks, I’ll use a smoke machine introduced at the tailpipe. The smoke will show you the exact leak point. |
| Excessive heat or glowing exhaust parts | Severe internal blockage (often a catalytic converter) causing unburned fuel to ignite in the pipe. | Retarded ignition timing, excessively rich fuel mixture (faulty injector, leaky fuel pressure regulator, bad O2 sensor). |
Back Pressure & Scan Tool Data: Start with the back pressure test. Then, use a scan tool to verify ignition timing and fuel trims. If timing is good and trims are normal, it points to a physical restriction. |
Good diagnosis isn’t just about fixing the car; it saves you money and prevents wasted labor. Replacing a muffler when the real issue is a clogged catalytic converter or an undetected coolant leak (which can destroy a cat, by the way) only delays the inevitable and costs more in the long run.
Why Exhaust Parts Give Up the Ghost
Most failures in the mid-to-rear exhaust system—mufflers, resonators, and pipes—boil down to a few common culprits: corrosion, physical impact, or internal fatigue. Rust is, without a doubt, the number-one enemy. Every time you start your car cold or take a short trip, condensation forms inside those pipes. Mix that with combustion byproducts, and you’ve got a mild acid slowly eating away at the mild steel from the inside out. Road salt, of course, just accelerates the external corrosion, especially on components exposed directly to the road.
Then there’s physical damage. I’ve seen plenty of pipes dented or crushed from run-ins with curbs, speed bumps, or even improper jacking. A good dent can restrict flow just as effectively as internal rust. And inside the mufflers? They rely on baffles and sound-deadening packing (fiberglass or steel wool) to do their job. Over time, these can degrade, collapse, or even detach completely, creating a blockage downstream. I’ve had cars come in where a broken baffle rattled around for months before it finally shifted and completely choked the exhaust.
A Quick Word on Upstream Failures:
It’s worth noting that issues like a cracked exhaust manifold or a clogged catalytic converter are a different beast. A manifold crack might cause exhaust leaks that sound like downstream problems, but it can also point to deeper engine issues, like a cracked or burnt cylinder head, especially if the car’s also overheating or misfiring. Some manufacturers have even issued service advisories for known patterns of internal weld failure in certain muffler designs, so it’s always good to check for TSBs (Technical Service Bulletins).
Fixing It Right: From Patches to Replacements
Once you’ve pinpointed the problem, it’s time to fix it. How you approach it depends on the damage. Here’s what I recommend:
Welding: The Permanent Fix
If you’ve got a small hole in a straight section of pipe, welding is the way to go. Done right, it’s a permanent fix. If you’re tackling this yourself, you’ll need a MIG welder with shielding gas (I prefer 75% argon/25% CO2 for exhaust work), ER70S-6 wire, and proper prep. Grind the area clean down to bare metal, get rid of any rust or scale, and lay down a consistent bead. It takes practice, but it’s worth it.
For minor leaks or to join pipes, band clamps or repair sleeves can work in a pinch, but they’re not always a long-term solution. Make sure you torque them to spec—usually around 35–40 ft-lbs—and check them regularly, as they can loosen over time. When dealing with flanged connections, like between the catalytic converter and muffler, always use new gaskets and hardware. Torque them in a star pattern to prevent warping; many OEM specs call for around 26 ft-lbs. Don’t overtighten and strip them out, or undertighten and get a leak.
My Take on Internal Failures & Temporary Patches
If the problem is internal—a collapsed baffle in a muffler or a separated core in a resonator—you can’t fix it. Period. That component has to be replaced. You’ll need to cut it out and weld or clamp in a new muffler or resonator. As for those temporary fixes like exhaust tape or paste? I’ll be honest: they’re stopgaps at best. They might seal a tiny pinhole for a few weeks, but the constant thermal cycling and vibration will inevitably break the bond. And a critical warning: never, ever use them near flex pipes (they’ll just crack) or anywhere close to fuel lines. That’s a fire waiting to happen.
What’s This Going to Cost You? My Reality Check
Costs are always a big factor, and they vary wildly depending on the type of repair and whether you’re doing it yourself or taking it to a shop. Here’s a realistic breakdown based on what I see:
| Repair Type | DIY Cost (Parts Only) | Shop Cost (Parts & Labor) | My Success Rate Expectation | Worst Case if It Fails |
|---|---|---|---|---|
| Temporary tape/patch on small hole | $20–$40 | Not applicable (no reputable shop would do this) | <30% for lasting >1 month (usually much less) | Loud exhaust, carbon monoxide leaking into the cabin, potential fire hazard near fuel lines. |
| Weld repair on accessible pipe | $50–$150 (materials, gas, wire) | $150–$300 | >90% if done correctly on solid metal. | Weld failure leading to complete pipe separation while driving, possible damage to wiring or fuel lines if it drops. |
| Muffler/resonator replacement (aftermarket) | $100–$400 (part cost) | $300–$600 (parts & labor) | >95% if quality parts are used and installed correctly. | Poor fitment causing contact with the chassis, excessive exhaust drone, rattles, premature rust. |
Here’s my rule after two decades in the bay: if the repair cost starts to exceed 40% of the vehicle’s current market value, you really need to reconsider. Putting a $600 stainless steel dual exhaust on a $2,000 commuter car rarely makes financial sense. Opt for a quality aftermarket or even a good used OEM system if you can find one. Focus on function and reliability, not flash or perfection.
Don’t Just Fix It, Prove It: Verification & Prevention
You’ve done the work, but the job isn’t done until you’ve verified the fix. For exhaust leaks, start the engine and let it get up to operating temperature. Then, safely get underneath and inspect the repair area. Look for any pulsing exhaust gas, especially at joints and welds. I often use a mechanic’s stethoscope or even a long screwdriver pressed against my ear (carefully!) to pinpoint faint hissing sounds—it’s often easier to hear a leak than to see it.
If the original issue was power loss due to a restriction, you absolutely need to re-run that back pressure test. Reconnect your gauge to the O2 sensor port and check those readings at idle and 2,500 RPM. A properly flowing system should now read well under 1.5 psi at idle and ideally under 2.5 psi at higher RPMs. You can also monitor tailpipe pressure with a digital manometer, or even use a vacuum gauge on the intake manifold—if exhaust flow is restored, engine vacuum should stabilize and improve under load.
Keeping Your Exhaust Healthy: My Maintenance Checklist
My Top Tips for Longevity
-
Rinse that Undercarriage: If you live where they salt the roads or near the coast, get in the habit of rinsing your undercarriage regularly, especially in winter. It washes away corrosive salt and grime.
-
Annual Visual Check: Every time you get an oil change, or at least once a year, take a good look under the car. I’m talking about rust streaks, dents, or any soot stains around joints. Catching small holes early saves big headaches.
-
Keep Your Engine Tuned: A rich-running engine dumps unburned fuel into the exhaust, creating excessive heat and carbon buildup. That’s a fast track to a clogged catalytic converter or other internal damage.
-
Trust Your Ears: Your car often tells you something’s wrong before you see it. A change in exhaust tone—a new rasp, a different drone, or a faint hiss—is usually an early warning sign. Don’t ignore it.
And remember, if your scan tool throws codes like P0420 or P0401, don’t just clear them and hope they go away. They’re often pointing to flow issues long before you feel a significant performance drop. A little prevention and early diagnosis keeps you ahead of the curve and saves you money in the long run.
