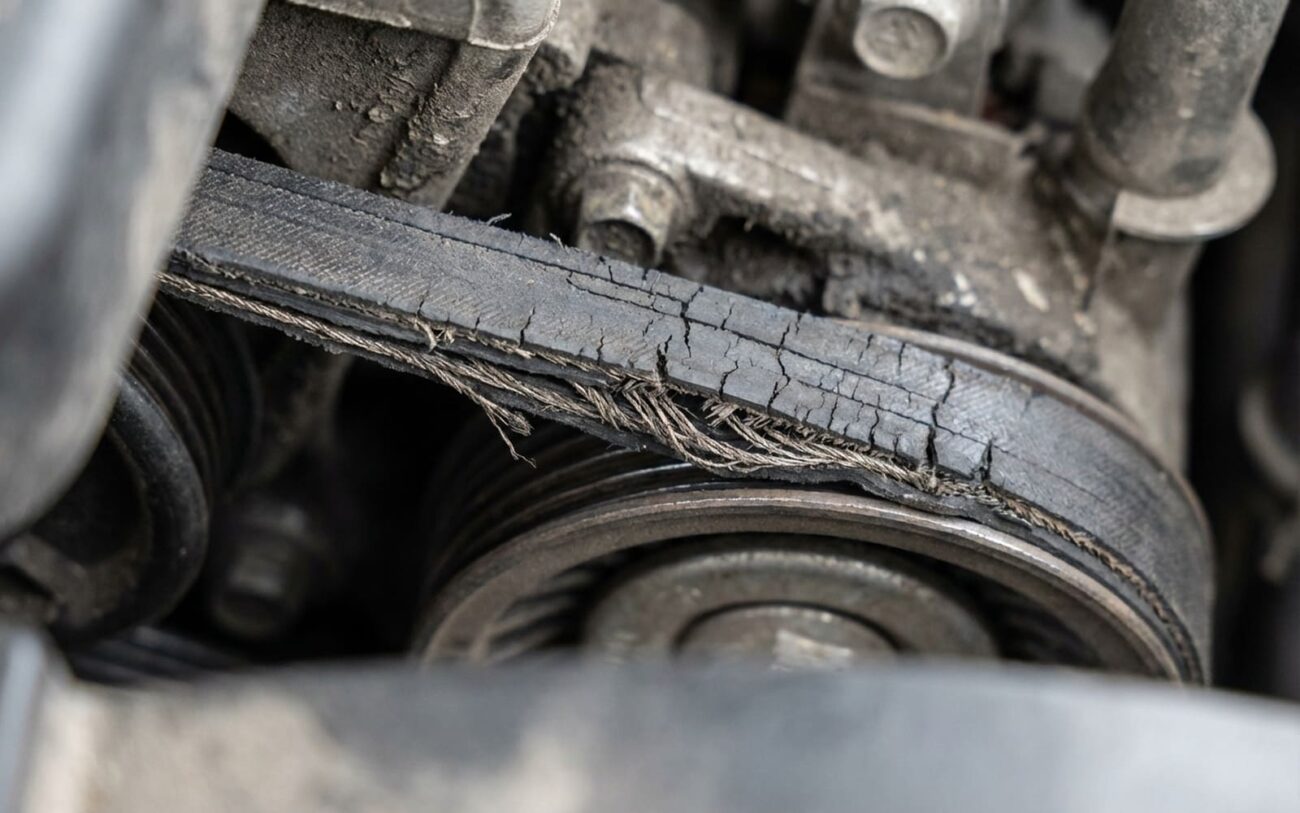
After 25 years turning wrenches, mostly on transmissions, I can tell you this: when a customer says their CVT is “slipping,” that’s just the start of the conversation. Because what they feel and what’s actually happening under the hood are often two different things. Misunderstand that, and you’re chasing ghosts, replacing good parts, and wasting everyone’s money.
What “Slipping” Really Means (and What It Doesn’t)
Most folks describe a dozen different problems as “slipping.” A real CVT slip isn’t just a soft takeoff or a delayed shift. That’s usually something else. When a CVT is truly slipping, what you’ll see and feel is RPM flare under load. The engine revs climb fast, sometimes wildly, but the car just doesn’t accelerate to match. It’s like the engine is working hard, but the wheels aren’t getting the message—the connection is frayed, as I tell my customers.
The Core Issue
Your CVT’s belt is losing its grip on the pulleys. It’s a mechanical failure in progress, and it’s not going to fix itself.
My Diagnostic Approach: From Symptom to Source
Guessing is the enemy in my shop. I’ve seen too many valve bodies replaced when the real problem was a worn belt, or vice-versa. My process always starts with a full scan using an OEM-level diagnostic tool. A basic OBD2 code reader just won’t cut it for these transmissions—you need to see live data for pulley ratios, line pressures, and solenoid commands.
Here’s how I break down the common complaints and what I look at:
| What the Customer Feels/Hears | My First Suspects | Other Possibilities (Mimics) | How I Confirm (Definitive Test) |
|---|---|---|---|
| RPMs spike sharply on acceleration (RPM Flare) | Worn drive belt slipping on pulleys OR Valve body/pump losing pressure | Low fluid, Internal leak, Faulty speed sensor |
Road test with scan tool: Monitor actual vs. commanded primary pulley speed ratio during wide-open-throttle acceleration. If actual ratio deviates significantly, you’ve got slip. |
| Delayed engagement from a stop (put in Drive, then a clunk/shudder) | Valve body shift solenoid failure OR Worn torque converter clutch | Low line pressure, Internal clutch wear |
Perform bidirectional solenoid tests with scan tool. Confirm line pressure with a mechanical gauge. Check fluid for torque converter clutch material. |
| Audible whirring, grinding, or high-pitched whine under load | Drive belt slipping on damaged pulleys OR Failing internal bearings | Worn pump, Aerated fluid (low fluid level), Differential bearing noise |
Correlate noise with RPM flare using a stethoscope during a controlled load test. Check fluid for metal debris. |
Getting to the Root: Why These Components Fail
The CVT Drive Belt: A Steel Push-Chain
That “belt” isn’t some rubber V-belt like on your engine. It’s a heavy-duty steel push-chain or push-belt assembly, made of hundreds of thin steel bands and metal blocks. Over thousands of miles, especially under heavy load or with neglected fluid, those steel bands fatigue and thin out. Once they lose their cross-sectional thickness, they can’t transmit torque efficiently. That’s when the slipping starts.
But it’s rarely just the belt. The pulley faces themselves wear too. Microscopic grooving or glazing from overheated, contaminated fluid reduces the grip between the belt and the pulleys. I’ve seen this a lot in certain Nissan and Subaru models with Jatco-based CVTs; they have documented issues with pulley surface wear leading to early belt slip. No fluid change or additive is going to fix that kind of mechanical wear once it’s set in.
The CVT Valve Body: The Brains of the Operation
The valve body is the hydraulic control center of the transmission. It’s full of tiny passages, check balls, and spool valves that direct fluid pressure to control the pulleys. The most common failure I see here is stiction. As CVT fluid ages, it breaks down, loses its friction modifiers, and forms varnish. That varnish coats those tiny spool valves, preventing them from moving freely. The result? Erratic pressure, delayed shifts, shudder, or even complete loss of drive.
Important Technician’s Note:
A failing torque converter can absolutely mimic valve body issues or even a slipping belt. A shuddering converter often feels exactly like a shuddering transmission. Always rule out the converter with scan data (looking at TCC slip RPM) and a thorough fluid inspection for clutch material before you condemn the valve body. It’s a common diagnostic trap.
The Fix: Repair Pathways and What to Expect
This Is Not a DIY Job. Period.
Let me be clear: CVT internal repair is far beyond the scope of a home mechanic. One speck of dirt can ruin a brand-new valve body or score a pulley. It requires specialized fixtures, OEM-specific tools for pulley preload, and a surgically clean environment. If you don’t have a dedicated transmission clean room, don’t even think about it.
CVT Drive Belt & Pulley Replacement Professional Only
Valve Body Repair or Replacement Professional Only
Additives & Minor Adjustments
Post-Repair Validation: Proving the Fix
Once the repair is done, the work isn’t over. For a CVT belt replacement, the critical test is a wide-open-throttle acceleration run while monitoring with a scan tool. The actual pulley ratio must track the commanded ratio perfectly. Any deviation means there’s still a problem. For valve body repairs, I verify smooth engagement from a stop and correct, consistent shift points throughout the speed range. Always perform a TCM adaptation reset and then road test under real-world conditions—highway merges, uphill acceleration, and stop-and-go traffic are the true tests. Don’t just drive around the block.
Making the Call: Cost, Risk, and Your Wallet
Here’s a general idea of what these repairs typically run, and what you’re up against. These are estimates, of course, and can vary wildly by vehicle and region.
| Repair Type | Shop Cost (Est.) | Success Rate (If Done Right) | Secondary Risk |
|---|---|---|---|
| CVT Belt & Pulley Replacement | $2,500 – $4,000 | >95% | High – catastrophic failure if reassembly is incorrect, or if the case is contaminated. |
| Valve Body Replacement | $800 – $1,500 | >90% | Medium – risk if debris remains in the system, or if the original diagnosis was wrong. |
| Solenoid Replacement (Individual) | $400 – $700 | >85% | Medium – other solenoids in the valve body may fail soon after, as they’re often the same age. |
Prevention & Monitoring: Keep Your CVT Alive
My Rules for CVT Longevity
-
Change your fluid every 60,000 miles, minimum. Ignore “lifetime fluid” claims; that’s just marketing. Real-world driving, especially in traffic or hot climates, breaks down CVT fluid fast.
-
Always use the exact OEM fluid. This isn’t a place to cheap out. NS-3, HCF-2, whatever your manufacturer specifies—use it. Generics often lack the precise friction modifiers these transmissions need, leading to poor lubrication and varnish buildup.
-
Monitor fluid temperature. If you have a gauge, keep an eye on it. Consistently running above 220°F (105°C) means you’re accelerating wear. Avoid heavy towing or aggressive driving in hot weather if your CVT runs hot.
-
Listen to your car. A new high-pitched whine under load is often the first subtle sign of bearing wear or early belt slip. Catch it early, and you might save yourself thousands.
Early Detection is Your Best Friend
A $200 fluid change can absolutely prevent a $3,500 belt job. If you drive a model known for CVT issues (and many are), stay proactive. It’s cheap insurance. If you’re curious about why I’m so adamant about fluid changes, check out our guide: CVT Fluid Change Intervals: Why You Should Change It Even When Manufacturers Say Not To.
