Alright, let’s talk about those stubborn Tesla seats and mirrors. I’ve been wrenching on cars for over 25 years, and while Teslas are a different beast, some problems just echo through the decades. That familiar call, “I tap the screen, and nothing happens”? Heard it a million times, just with different buttons in the old days. Now, instead of a simple switch or a blown fuse, you’re looking at a whole network of computers, modules, and wiring.
The sleek, button-free cockpit is great—until it isn’t. When a seat or mirror stops responding, you’re not just diagnosing a simple circuit; you’re tracing a fault through a distributed computer system. It could be the motor itself, a local control module, the main computer (MCU), or a hiccup somewhere along the CAN bus communication network. The real skill, the one that saves you money and headaches, is knowing how to pinpoint the problem without just throwing parts at it.
First Things First: Reading the Symptoms Like a Pro
Before you even think about pulling trim, you’ve got to listen to what the car is telling you. This isn’t guesswork; it’s systematic diagnosis. If the seat and mirrors are completely dead—no response from the touchscreen, steering wheel buttons, or even the Tesla app—that’s a big clue. It points to a system-wide failure, likely a network communication issue or a power problem affecting a central module, not just a single motor.
But if only one specific function fails—say, the seat reclines fine but won’t move forward, or the passenger mirror adjusts up but not down—now you’re looking at a localized problem. That’s almost certainly the motor for that specific axis, its wiring, or maybe the small control circuit for that function. And if you hear the motor whirring away but nothing moves? That’s purely mechanical. The motor’s alive, but something internal has stripped or broken.
Here’s how I break it down in the shop:
| What You See (Symptom) | What I Suspect (Likely Cause) | What It Might Mimic (Common Red Herrings) | My Go-To Test to Confirm |
|---|---|---|---|
| All seat/mirror adjustments are dead, no matter the input (screen, app, buttons). | This screams central control. We’re talking CAN bus communication failure, the Body Control Module (BCM) acting up, or a low-voltage power interruption to a key module. | A simple blown fuse (though rare for all functions), a failed Gateway module, or even your 12V battery dropping below 11.5V (Teslas are sensitive to this). |
You absolutely need a scan tool here. Check for Diagnostic Trouble Codes (DTCs) related to CAN communication errors or module timeouts. Then, verify the 12V supply and ground at the BCM. If all modules respond on the scan tool with no network errors, you might have a different ghost in the machine.
|
| Only one specific adjustment (e.g., seat forward/back, mirror up/down) is inoperative. | This points to a fault in the localized control circuit for that specific motor, often within the seat module itself or the door module for mirrors. | A truly failed motor, a broken wire (especially common in door jambs or seat hinges from repeated flexing), or a physical obstruction. |
Scan tool and multimeter are your friends. Use the scan tool to command the motor in diagnostic mode. If it doesn’t respond, check for voltage at the motor connector. If you have voltage but no movement, the motor is bad. No voltage means the fault is on the control side (module or wiring).
|
| You hear the motor run, but there’s no mechanical movement. | This isn’t an electrical or software issue. This is a pure mechanical failure. | Stripped plastic gears within the actuator, a sheared drive cable (especially on older Model S/X seats), or a bent seat track. |
Physical inspection is the only way here. You’ll need to partially disassemble the area to expose the actuator. Try to rotate the input shaft manually. If the motor spins but the output doesn’t turn, those gears are stripped.
|
Why Does This Stuff Break Anyway? My Take on Common Failures
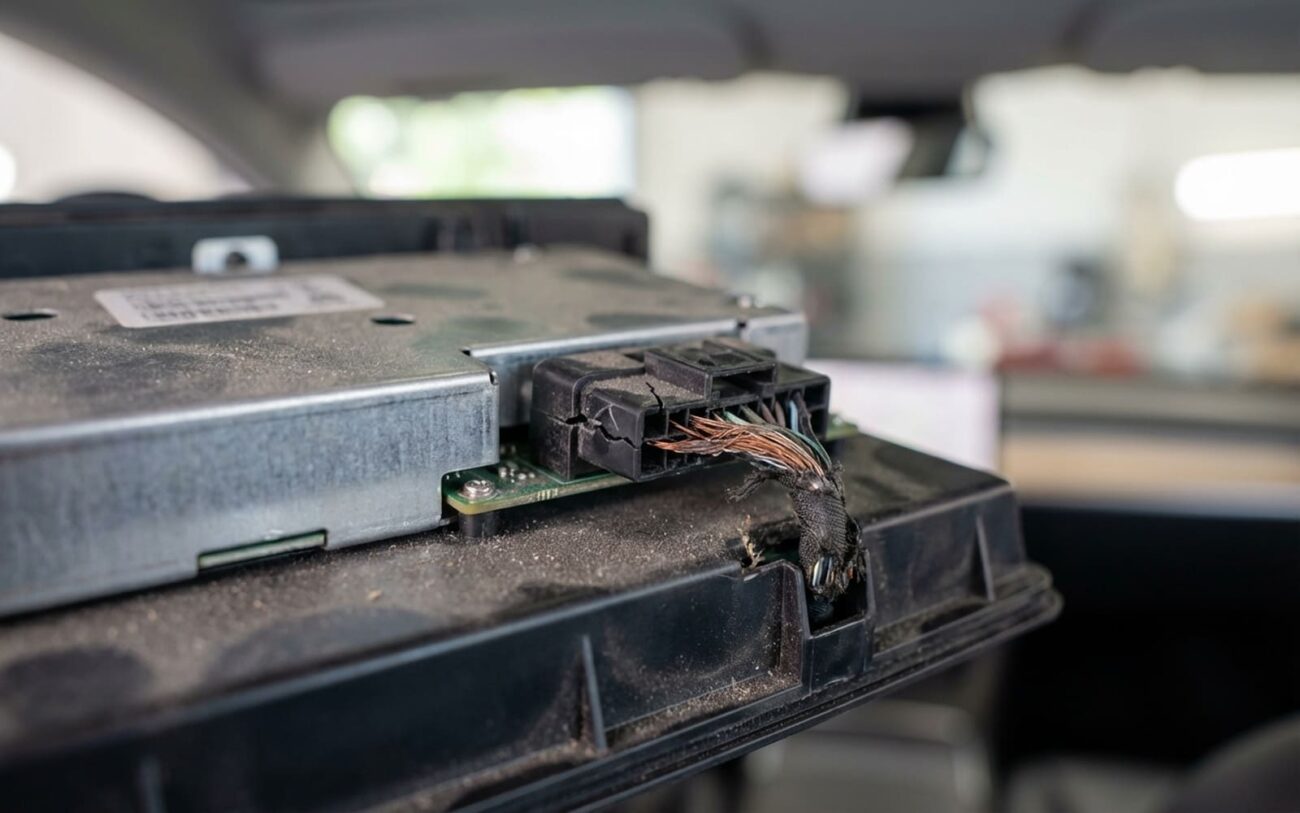
Once you’ve figured out what’s broken, the next logical question is why. For those frustrating network-related failures—where controls across multiple systems go dead—it’s rarely just a loose wire. What I typically see is a degraded circuit board inside a control module. Moisture ingress is a huge culprit, especially in humid or coastal areas, slowly eating away at the conformal coating and corroding the traces. I’ve pulled modules with visible green oxidation, no joke.
Software glitches are another real factor, and they’re often overlooked. While Tesla doesn’t always publish detailed service bulletins, there are known cases where over-the-air updates caused temporary loss of seat or mirror functions due to firmware mismatches. These aren’t just internet rumors; I’ve seen the internal dealer logs. A botched update can leave a module in a non-responsive state. And don’t forget electrostatic discharge (ESD) during aftermarket work—like installing a dashcam or new lighting. If proper grounding isn’t used, a static zap can fry sensitive electronics in an instant.
On the mechanical side, the actuators in Tesla seats and mirrors rely heavily on plastic gears. They’re light and quiet, which is great, but they don’t last forever. If something gets jammed in the seat track—a coin, a kid’s toy, a pebble—and someone keeps trying to move the seat, that gear can strip in seconds. I’ve seen it happen. Repeated stalling of the motor also leads to heat buildup, which slowly degrades the insulation on the motor windings over time, eventually causing it to short out. And while a blown fuse might seem like the cause, it’s almost always the result of an overloaded circuit—meaning the motor or wiring failed first, drawing too much current and popping the fuse as a safety measure.
Your Repair Options: From Reboots to Replacements
Professional Territory Only
Let me be clear: any work involving deep diagnostics of the CAN bus, flashing control modules, or dealing with the main vehicle computer (MCU) is NOT a DIY job. You need specialized Tesla-compatible diagnostic tools and training. Messing with these systems without the right knowledge can easily brick a module, turning a simple fix into a much more expensive problem.
Centralized Network or Software Fault Professional Only
Localized Control Circuit Fault Professional Only
Failed Adjustment Motor DIY-Feasible with caution
Internal Mechanical Failure Non-Repairable → Replace
The Real Test: Making Sure the Fix Actually Stuck
Don’t ever call a job done after one test move. For software or network repairs, the real test is reliability over time. The system needs to work consistently across the touchscreen, the app, and all driver profiles for at least five full sleep/wake cycles of the vehicle. I always use a scan tool to verify there are no recurring DTCs, especially any lingering CAN communication errors. For a motor or actuator replacement, I’ll cycle the adjustment through its full range at least 10 times. It should move smoothly, without any odd noises or hesitation. Any grinding, binding, or unexpected stops means something’s still misaligned or damaged. And always recheck the Easy Entry and memory seat functions—they rely on the same system and can often expose lingering issues that a simple up-and-down test might miss.
What’s This Going to Cost You? The Price of Comfort
Here’s the reality: fixing a seat or mirror issue isn’t always cheap, but it’s often less than the fear-mongering you hear online.
Software Re-flash / Reset
High success rate (>90%) if the issue is confirmed firmware corruption. Risk: If the re-flash fails, you’re looking at a physical module replacement.
Seat/Mirror Motor Replacement
Very high success rate (>95%). Risk: Minor cosmetic damage to seat trim or wiring during disassembly is always a possibility, though a good tech avoids it.
Control Module Replacement
High success rate (>95%). Risk: The new module almost always requires programming and calibration, meaning the vehicle could be inoperable until it’s properly synced to the car’s network.
Always check your vehicle’s warranty status before authorizing any repairs. You might be covered!
Here’s a hard truth I tell my customers: if you’re out of warranty and facing a $1,500 control module repair on a car that’s depreciated significantly, step back and think. Is this the only issue you’re dealing with, or is it the first of many? Teslas, like any complex vehicle, can rack up repair costs. Independent shops often charge less than Tesla service centers for these types of repairs, but they may lack access to the very latest proprietary tools and software. Weigh your options carefully, and get a second opinion if you’re unsure.
How to Avoid This Headache Next Time
You can’t stop every failure, but you can definitely reduce the odds. First and foremost, keep your software updated. Tesla pushes fixes for infotainment and control glitches all the time—don’t ignore those notifications. While a software update bricking controls is rare, outdated firmware definitely increases your risk of encountering bugs.
Protect the cabin. I’ve seen countless issues traced back to spills near the center console. Liquid can wick down into the MCU or BCM, and even a small amount can cause long-term corrosion. If you spill something, power down the car and dry it immediately. Consider using a protective cover if you regularly carry drinks.
Listen to early warnings. A slight delay in mirror adjustment, a faint grinding noise when moving the seat, or a sticky feel? Don’t wait until it completely fails. Check for obstructions, especially in the seat tracks. I recommend running all seat and mirror adjustments through their full range at least once a month. This helps keep the mechanisms lubricated and can help you detect issues early before they become catastrophic failures.
My Top Cost-Saving Tip
If your controls suddenly go dark after a software update, or just for no apparent reason, always try a soft reset first. Hold both steering wheel scroll wheels until the screen goes black and reboots. It’s a basic move, but it clears so many transient faults and can save you a trip to the shop. If that doesn’t work, then you dig deeper—don’t assume it’s a hardware failure. Many issues tied to Tesla touchscreen diagnostic mode glitches can be resolved before you even think about touching hardware.