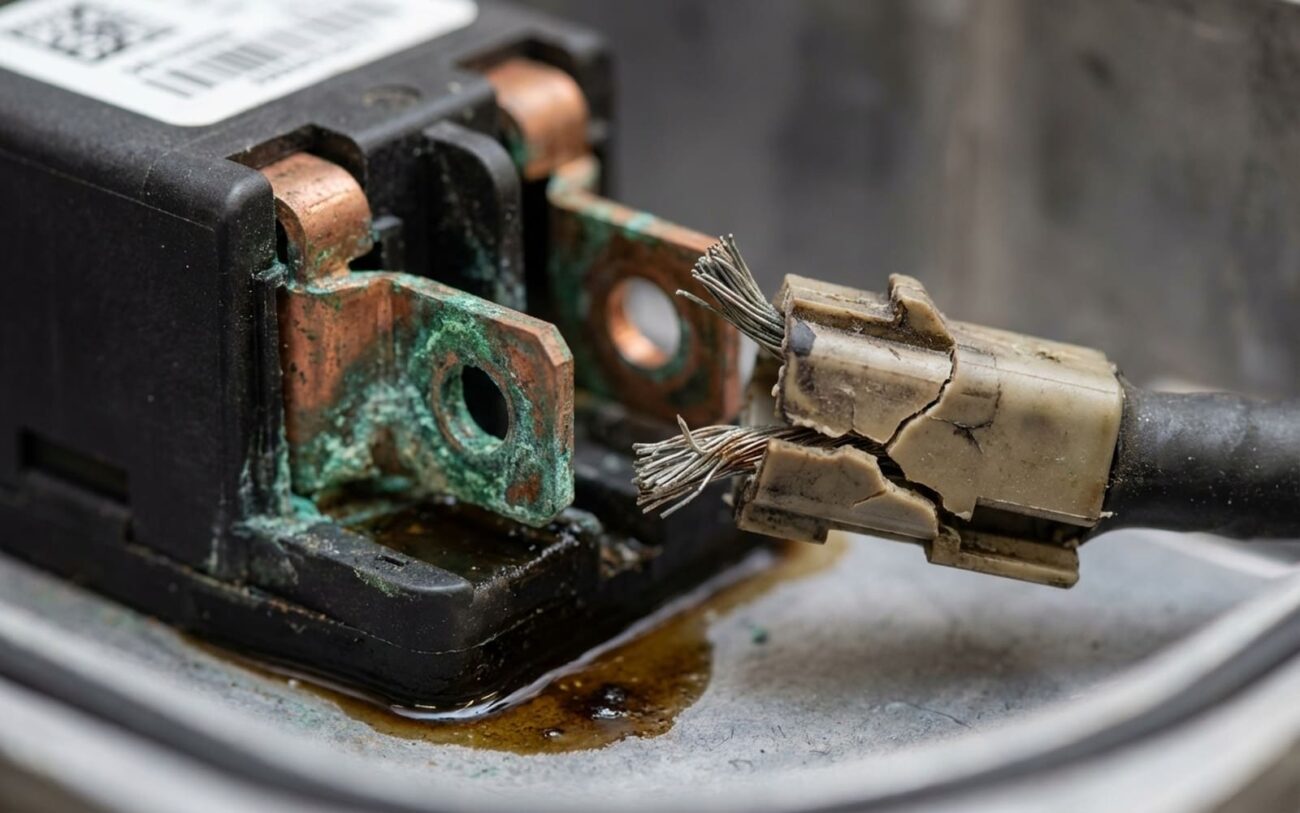
Alright, let’s talk about one of the most frustrating things an EV owner can experience: you hop in, the dash lights up, battery shows full, but when you hit the accelerator, absolutely nothing happens. No hum, no lurch, just silence. It’s not like a gas car that cranks and won’t catch; this is a full system lockdown. After 25 years under the hood, I can tell you this isn’t some random glitch. Your car’s brain – its network of control modules – has decided it’s just not safe to move. And usually, it’s right.
First Things First: Don’t Panic and Check the Basics
Before you start imagining a five-figure repair bill, let me tell you my first rule: always check the simple stuff. I’ve seen countless times where a scary-looking “High Voltage System Fault” message turned out to be something incredibly basic. So, don’t assume the worst right away.
The 12V Battery: My #1 Suspect
This is where I start, every single time. Your EV’s big high-voltage battery gets all the glory, but it’s the humble 12-volt auxiliary battery that powers all the control modules, sensors, and contactors that manage that high-voltage side. If it’s weak or dead, the car’s computers can’t wake up properly, they can’t close the main contactors, and the car won’t go into “Ready” mode. It’ll just sit there, looking fully charged but utterly lifeless. Grab a multimeter and check the voltage at its terminals. Anything below 12.6V is suspect; below 12.0V, and you’ve almost certainly found a major part of your problem. Jump-start it or replace it, clear any codes, and then try again. I’ve seen this save folks thousands.
Beyond the 12V battery, other simple things can lock you out. A faulty brake pedal sensor, for instance, won’t tell the car you’re pressing the brake, which is a prerequisite for shifting into drive. Same goes for a park (P) switch or a shift inhibitor that’s not sending the right signal. It makes it seem like the whole drivetrain is dead, when really, it’s just a missing signal from a basic component.
When It’s Serious: High-Voltage System Shutdowns
Okay, if the easy stuff checks out, then we’re likely looking at a high-voltage (HV) system shutdown. This is the car’s ultimate safety net. It’s detected something genuinely critical and is actively preventing power from reaching the drive unit. Think of it like a circuit breaker tripping in your house – it’s there for a reason.
The most common culprits here are either a fault in the HV safety system itself or a failure in a major component like the battery pack, the inverter, or the motor. Let me break down the safety system faults:
- HV Interlock Loop: This is a continuous safety circuit that runs through every single major HV connector in the car. It’s like a seatbelt for the electrical system. If that loop is broken – say, a connector comes loose, or a service plug is removed – the car immediately cuts power. It assumes an HV component is unplugged, and that’s a huge safety risk.
- Isolation Fault: This one’s even more serious. An isolation fault means high voltage is leaking somewhere it shouldn’t be, usually into the chassis. This poses a real risk of shock or fire. The car’s not going to let you drive it under those conditions, and you shouldn’t even try.
Diagnosing the Real Problem: My Shop Approach
Once we’ve ruled out the easy stuff, it’s time for real diagnostics. And let me be clear: a cheap generic OBD-II scanner isn’t going to cut it here. You need a factory-grade scan tool, or at least a J2534-compliant one, that can talk to all the HV modules, read manufacturer-specific diagnostic trouble codes (DTCs), and, most importantly, show live data from the battery, inverter, and motor. That’s how we start eliminating possibilities.
| What I See (Symptom/Code) | Where I Suspect the Real Problem Is | Common Mimics (What It Could Also Be) | How I Confirm It (My Definitive Test) |
|---|---|---|---|
| Car won’t move, “Vehicle Shutdown Required” or “Isolation Fault” on screen, often with a P0AA6 code. | Internal HV battery pack isolation loss (e.g., coolant leak onto modules, cell tab corrosion) or drive unit stator winding insulation failure. | Damaged HV wiring harness (I’ve seen road debris cause this), compromised charging port seal, or a faulty external high-voltage contactor. |
This is a megohmmeter job. Following OEM procedures, I measure resistance between HV+/HV– and chassis ground. If it’s below 1 MΩ, you’ve got a leakage path. |
| Car won’t move, 12V systems seem fine, no major warnings, but it just won’t enter “Ready” mode. | Internal drive inverter failure (blown IGBT/MOSFET) or a resolver/speed sensor failure inside the motor. | A faulty brake pedal position sensor, a stuck Park (P) switch, or a CAN bus communication error from another module that’s gone offline. |
I monitor live resolver data with the scan tool while rotating the wheels. If that looks good, I’ll use an oscilloscope to check the inverter gate driver signals. |
Why These Big Components Fail: What I’ve Seen
These aren’t like brake pads or oil filters; they’re not “wear items” in the traditional sense. When a battery pack or a drive unit fails internally, it’s usually due to contamination, a manufacturing defect, or some kind of electrical or thermal stress. Knowing the root cause helps us figure out if a repair is even feasible, or if you’re better off just replacing the whole unit.
The HV Battery Pack: Common Failure Modes
In the high-voltage battery pack, I typically see failures stemming from a few key areas:
- Manufacturing Defects: Some model years, like certain Nissan Leaf batteries, had known issues. We’re talking accelerated degradation due to cell chemistry or lamination problems. These were often documented in service bulletins and affected specific production batches. It’s not common, but it happens.
- Coolant Leaks: Many battery packs are liquid-cooled, with intricate channels running between the modules. If a seal fails or a cooling plate corrodes, coolant can seep in and contact the cell busbars or terminals. That leads to corrosion, isolation faults, and a big headache. I’ve seen this more often than I’d like.
- Internal Contactor Failure: These are heavy-duty relays that connect the battery to the rest of the car. They can fail in two ways: fail open (no power gets out) or weld shut (can’t disconnect the battery, which is a major safety issue). Arcing, especially if the pre-charge circuit isn’t working right, is usually the culprit. Just a note: a failed onboard charger or DC-DC converter isn’t a battery pack failure itself – they’re separate components – but they can definitely prevent the HV system from initializing, making it look like the pack is dead.
The Drive Unit: What Goes Wrong Inside
The drive unit, which often combines the motor, inverter, and gearbox into one sealed assembly, has its own set of common internal failures:
- Stator Winding Insulation Breakdown: This is a big one. It’s often caused by repeated thermal cycling or, critically, oil contamination. If a motor seal fails, gear oil can slowly seep into the windings, degrading the insulation and causing shorts. I’ve seen stators completely cooked because of this.
- Inverter Power Electronics: The IGBTs (Insulated Gate Bipolar Transistors) or MOSFETs (Metal-Oxide-Semiconductor Field-Effect Transistors) inside the inverter are sensitive. They can fail from overheating, usually due to a blocked cooling path or just a weak component under sustained heavy load.
- Impact Damage/Bearing Failure: While rarer, road debris can sometimes get into the motor housing, or a failing bearing can send metal shards into the air gap, destroying the windings or the resolver sensor.
These aren’t random events. They’re usually the result of stress, age, or contamination, and that’s what we look for when we’re tearing one down.
The “No DIY” Zone: What Fixing It Actually Involves
This is Professional Territory. Period.
Let me be absolutely crystal clear: repairing internal high-voltage components is not a DIY job. It’s not something you learn from a YouTube video. You need specific HV certification, specialized personal protective equipment (PPE), OEM diagnostic tools, and a controlled, isolated environment. If you’re not properly trained and equipped, you need to walk away. Seriously, this stuff can kill you.
HV Battery Pack Repair: When It’s Possible
Internal Module/Seal Replacement Requires Specialized Shop
Drive Unit Service: Often a Replacement
Motor/Inverter/Gearbox Professional Only
Proving the Repair: It’s All About the Data
Just putting everything back together isn’t enough. As a technician, I need hard data to confirm the repair actually worked and that the car is truly safe to be on the road. This isn’t guesswork; it’s about measurable standards.
Battery Validation Standard (Post-Repair):
After any internal battery work, the isolation resistance must exceed 5 MΩ at 500V DC across all test points before we even think about re-energizing the system. I use a professional megohmmeter, HV-rated gloves, and probes for this. A pass means there’s no dangerous leakage path. If it fails, we start over.
Drive Unit Validation Standard (Post-Repair):
For drive unit issues, I need to see the resolver live data showing a smooth, linear signal across the full rotational range. And if the inverter was suspect, an oscilloscope has to display a balanced 3-phase AC waveform on its output under a light load. If those signals aren’t perfect, the job isn’t done.
The Hard Numbers: Cost, Risk, and Making the Call
This is where the rubber meets the road, financially speaking. These repairs are expensive, and you have to weigh that against the car’s current value. It’s a tough conversation, but it’s one I have with customers all the time.
| Repair Type | DIY Cost | Shop Cost (Typical) | Success Rate (Professional) | Secondary Risk if Repair Fails |
|---|---|---|---|---|
| HV Battery Pack – Internal Module/Seal Replacement | N/A (Not Feasible/Safe) | $3,000 – $7,000+ | 85–95% | Thermal runaway, total pack failure, voided warranty, fire risk. |
| Drive Unit – Complete Assembly Swap (Remanufactured) | $2,500 (part only, if you can find it) | $4,500 – $6,500 | 98% | Low for the unit itself; main risk is installation errors damaging HV connectors or other systems. |
My rule of thumb? If the repair quote starts to exceed 50% of your car’s current market value, you really need to consider your alternatives. Sometimes, a good used battery or drive unit from a reputable EV recycler can be a more cost-effective option than a brand new or remanufactured OEM part. And honestly, in some cases, selling the car for parts and moving on is the smartest financial move you can make. It’s not about defeat; it’s about being practical.
How to Avoid This Headache in the First Place
Look, some failures are just unavoidable. But a lot of these big component issues can be delayed or even prevented with good habits. For the drive unit, always, always use the OEM-specified gear oil. The wrong fluid can degrade seals and lead to oil contamination in the motor – I’ve personally seen this destroy stators on more than one occasion. It’s a small detail that makes a huge difference.
And monitor your car’s health. Apps like LeafSpy for Nissan Leafs, for example, let you track battery State of Health (SOH) and individual cell voltage balance over time. A sudden drop in SOH or a growing imbalance between cells is an early red flag that something’s brewing in the pack.
