Alright, let’s talk about that whine you’re hearing from the middle of your Land Cruiser 200. I’ve heard it countless times in my 25+ years turning wrenches, and when it’s coming from right under your cabin floor, changing pitch with light throttle or during deceleration, you’re almost certainly looking at a Torsen center differential issue. This isn’t your typical constant wheel bearing drone or a transmission moan. It’s a load-sensitive whine, meaning it reacts to torque input, not just your speed. Cruise at 60 mph, feather the throttle, and if that tone shifts, that’s the Torsen talking.
Pinpointing the Problem: Don’t Guess, Test!
Here’s the catch, and it’s a big one: front or rear differential pinion bearings can mimic this exact noise. If you assume it’s the transfer case without proper verification, you could be looking at a $10,000 job that wasn’t even needed. Trust me, I’ve seen shops make this mistake more times than I can count. Guessing in drivetrain work is always expensive.
So, how do you know for sure? You don’t guess. You test.
My primary method in the shop is using a mechanic’s stethoscope or, even better, an electronic chassis ear system. We get the vehicle up on the lift, put it in H4F (that’s 4WD High with the center diff unlocked), and run the wheels under a light load. Then I’ll probe the transfer case housing, and then the front and rear differentials. The loudest point tells you exactly where the problem is. Seriously, don’t skip this step. It’s the reason so many front pinion bearings get misdiagnosed as center diff issues.
Another reliable field test, one you can do yourself, is the coast-down method. Find a smooth, quiet stretch of road, get up to about 45–55 mph, and then completely lift off the throttle. If that whine becomes most prominent during engine braking and then fades when you reapply the throttle, that’s classic Torsen behavior. Those worm gears are under minimal load during deceleration, and wear patterns often make the noise worse in that phase.
For a definitive, shop-level diagnosis, sometimes we’ll disconnect the front and rear propeller shafts one at a time. If the noise disappears when the front shaft is out, you’re looking at a front diff or axle issue. If it persists, then the center diff is definitely the culprit. But let’s be clear, that’s a procedure for a professional shop with the right equipment, not something you’re doing in your driveway.
| Symptom | Likely in Torsen Center Diff | Common External Mimics | My Definitive Test to Confirm Source |
|---|---|---|---|
| Load-dependent whine from vehicle center | Wear or damage to the Torsen’s internal worm gears or carrier bearings. | Front or rear pinion bearing wear. |
On the lift, run it in H4F. Use a stethoscope directly on the transfer case housing, then compare it to the front and rear diffs. If the whine is clearly loudest at the transfer case, you’ve found your Torsen. |
| Whine changes with throttle (torque) but not speed | Incorrect Torsen gear mesh or preload. | Incorrect ring & pinion gear mesh in the axles. |
Perform a coast-down test on a quiet road. If the whine is most noticeable only on deceleration (light engine braking), that’s a strong indicator for the center diff. |
| Binding/Vibration in turns | The Torsen assembly is seizing up, usually from lack of lubrication or a mechanical failure. | A binding CV joint or a seized wheel bearing. |
Do slow, full-lock figure-eight turns on dry pavement. A true Torsen bind feels like a pronounced “chatter” and lurch from the entire driveline, not just one wheel dragging. |
Root Cause: What’s Actually Failing Inside
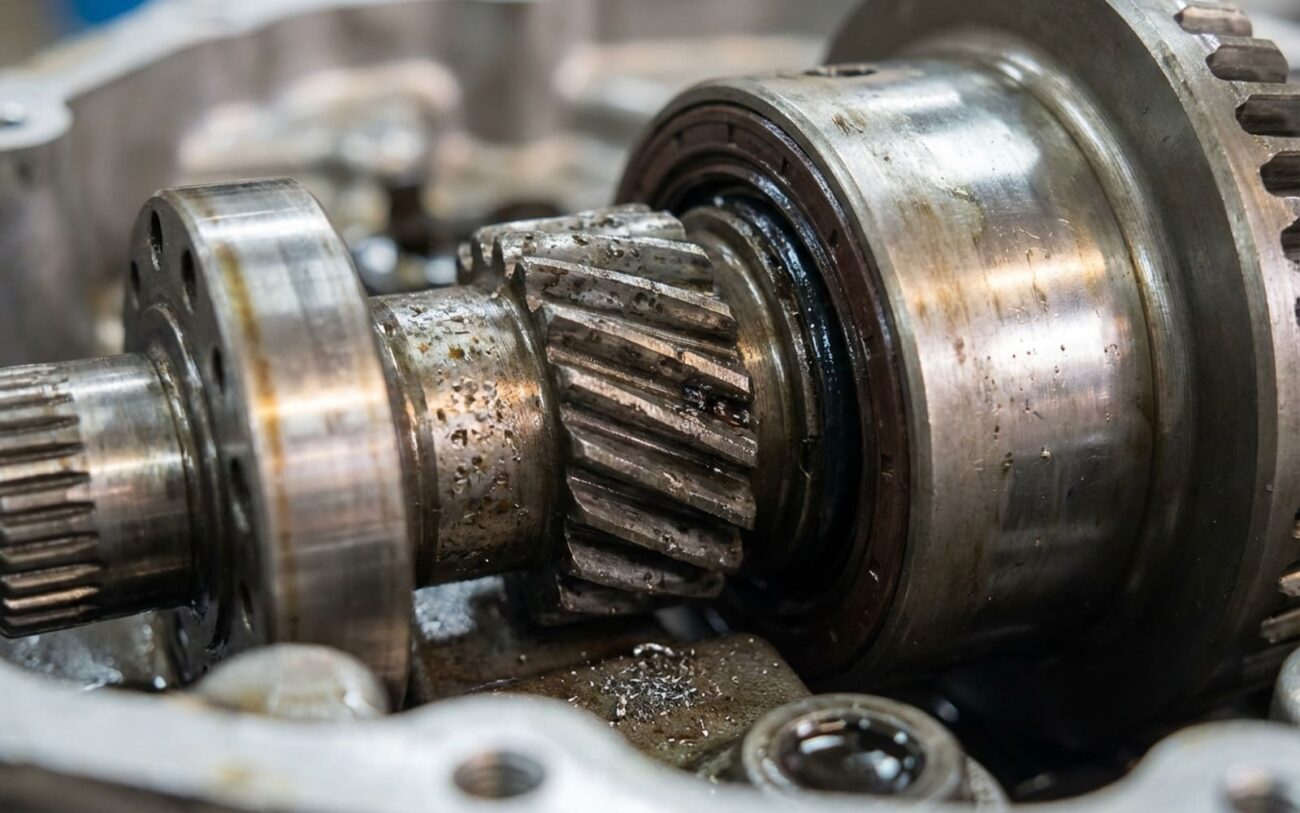
So, you’ve confirmed it’s the center diff. What’s actually going on inside that Aisin transfer case? The Torsen unit uses a gearset of precisely machined worm gears and wheels that are designed to distribute torque based on traction. Over time, usually north of 150,000 miles, these components simply wear out. The backlash increases, the gear mesh degrades, and that’s exactly what creates that characteristic whine.
The biggest culprit I see? Lubrication failure. These gears rely on a stable film of oil to prevent metal-on-metal contact. If that fluid breaks down from age, gets too hot, or if someone used the wrong spec fluid, you quickly enter what we call ‘boundary lubrication.’ That means microscopic welding and tearing of the gear surfaces, which just accelerates the wear. I’ve pulled these units apart where the worm gears look almost polished – looks nice, but it’s actually material loss.
Contamination is another silent killer. If a transfer case chain guide wears out, or a bearing fails elsewhere in the case, those metallic particles circulate. They act like a fine sandpaper on the Torsen gears, drastically shortening its life.
Now, it’s rare, but sometimes an incorrect factory preload or a machining defect could contribute. But here’s an important point: Toyota has never issued a widespread Technical Service Bulletin (TSB) specifically for Torsen whine on the 200-series. That tells me they consider this a wear item, not a design flaw. You’re not dealing with a systemic defect here; it’s mechanical wear, often accelerated by maintenance neglect or extreme use.
Important Clarification:
Just to be clear, this whine is specific to the Torsen’s internal wear. We’re not talking about a transfer case chain issue, a VCU (viscous coupling unit) failure, or a problem with the A750F transmission itself. And while a leaking output shaft seal isn’t a center diff failure on its own, if it leads to low fluid, it absolutely can cause one.
Your Options for Resolution
Professional Territory Only
Let me be blunt: the Torsen center differential isn’t a DIY repair. It’s an integral part of the transfer case assembly, and Toyota doesn’t sell it as a standalone repair part. There are no safe shortcuts here; you need specialized tools and expertise for both the diagnosis and replacement.
Transfer Case Fluid Exchange Professional Only
Additives Temporary / Last-Resort
Transfer Case Assembly Replacement Professional Only
This is a major job. In the shop, we’re looking at:
- Removing the transmission crossmember and carefully lowering the transmission a bit.
- Disconnecting both the front and rear propeller shafts.
- Getting that exhaust crossover pipe out of the way (it always seems to be in the way).
- Unplugging all the electrical connectors and vacuum lines.
Tools you absolutely can’t do without: a transmission jack, a 30mm socket for the rear companion flange, an E14 Torx bit, and a high-torque breaker bar. Torque specs are critical here: the transfer case to transmission bolts go to 46 ft-lbs, and that big rear flange nut is 235 ft-lbs. Get those wrong, and you risk damaging the transmission output shaft seal or causing driveline vibrations.
After the Work: Validation and Prevention
After a fluid change, the test is simple: drive about 50 miles under mixed conditions and listen. Did the whine reduce by more than 70%? Are there any new binding sensations during tight turns? If not, the wear is too advanced, and you’re back to considering replacement.
For a full transfer case replacement, validation is more involved. I always perform a full-lock figure-eight test on dry pavement. There should be zero binding, chattering, or resistance. Then, I verify all 4WD modes: H4F (center diff unlocked), H4L (locked), and L4L (low range, locked). The dashboard mode indicator needs to match each selection exactly.
In some cases, especially with remanufactured units, the transfer case encoder motor might not calibrate correctly. I use an OBD-II scanner to monitor the actuator position and mode switches. This ensures everything is communicating as it should. I’ve seen situations where the dash light showed H4F, but the diff was still locked—that’s dangerous in normal driving.
To Prevent Recurrence
-
Follow the Severe Service maintenance schedule for transfer case fluid changes (typically every 30,000 miles).
-
Use ONLY Toyota Genuine Transfer Case Fluid LT 75W (part number 08885-81080). No substitutes.
-
Regularly listen for faint whines during light throttle and deceleration (30-50 mph) to catch issues early.
-
Avoid extreme off-road conditions or heavy towing with worn components, as this accelerates degradation.
The Hard Truth: Cost, Risk & Your Decision
Alright, let’s talk numbers. This is where you have to decide if the repair makes sense for your specific situation.
| Repair Type | DIY Cost (Parts) | Shop Cost (Est.) | Success Rate | Secondary Risk if Failed |
|---|---|---|---|---|
| Fluid Exchange | About $80 (Fluid) | $200–$400 | Maybe 15% for noise reduction | None, but you’re just delaying the inevitable bigger repair. |
| Transfer Case Assembly Replacement | $4,000–$6,000 (Reman unit) | $7,000–$10,000 (Parts & Labor) | 98% if done correctly | Incorrect installation can damage the transmission output shaft or cause driveline vibrations. |
A $10,000 repair on a 200,000-mile Land Cruiser is a serious financial decision. I always tell my customers: if the repair cost starts to exceed 40% of the vehicle’s current market value, you really need to weigh whether fixing it or replacing the vehicle makes more sense for your long-term plans.
Early Detection Tip
Make listening a regular part of your routine. Once a year, or at every oil change, take your Land Cruiser on a quiet road between 30–50 mph. Pay close attention under light throttle and during deceleration. If you hear even a faint whine, get it checked out. An early fluid replacement can save you thousands compared to waiting until you need a full transfer case swap.
