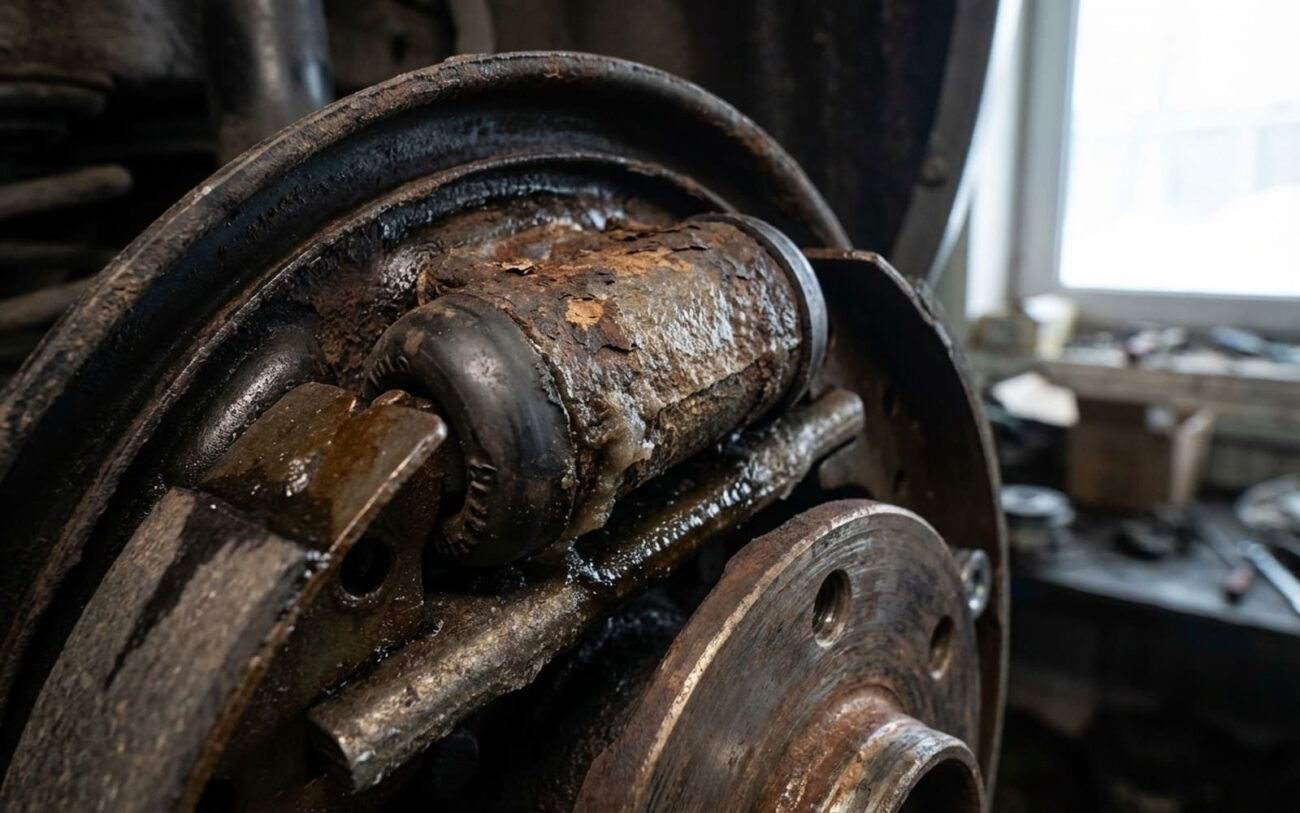
Rear Drum Brakes: The Winter Lock-Up & Dragging Mystery
If you’ve spent any time driving in cold, wet climates – especially with vehicles like a Lada Granta or Renault Logan – you’ve probably run into this headache: you fire up the engine on a frosty morning, start to roll, and bam! The back end suddenly jerks hard, or the car pulls to one side. And you haven’t even touched the brake pedal yet.
That sudden grab isn’t just startling; it’s a classic sign of rear drum brakes locking up due to winter conditions. But it’s not always so dramatic. Sometimes, it’s a more subtle, persistent drag. I’ve had customers come in complaining of a burning smell after short drives, or they’ll tell me one rear wheel feels significantly hotter than the others after a trip. Both of these point to the same problem: those rear brake shoes aren’t letting go like they should.
Rear Axle: +45°C
Initial Diagnosis: Pinpointing the Real Culprit
Before you even think about pulling that drum off, you’ve got to figure out where the problem is coming from. Is it a hydraulic issue, a mechanical one, or something with the parking brake cable? The symptoms for a seized wheel cylinder, a frozen parking brake cable, or even a collapsed brake hose can feel almost identical. The trick is to isolate that binding force. Is it brake fluid pressure that just won’t release, or is something physically stuck inside the drum?
| Symptom I See | Common Internal Drum Issues | External Mimics (Don’t Get Fooled) | My Go-To Test to Confirm |
|---|---|---|---|
| Rear Wheel Locked Solid | Usually a wheel cylinder piston that’s seized up, often from internal corrosion or ice. Or the brake shoes themselves are rusted solid to the backing plate (what I call “rust jacking”). | A flexible brake hose that’s collapsed internally, trapping pressure. Or a parking brake cable that’s frozen solid. |
Jack up the wheel. If it’s locked, crack open the bleeder screw. If the wheel suddenly spins freely, it’s a hydraulic pressure issue. If it stays locked, the problem is mechanical inside the drum. |
| Persistent Rear Brake Drag | Corrosion on the shoe contact points (the anchor ledges) on the backing plate. Sometimes, the return springs are just plain weak or broken. | A parking brake cable that’s too tight or frozen. Very rarely, a faulty residual pressure valve in the master cylinder, but I don’t see that often on these vehicles. |
First, check the parking brake cable free play – you should have about 1–2 mm at the lever. Then, with the drum off, have someone gently press the brake pedal while you watch the shoes. Do they retract fully and smoothly? |
The Usual Suspects: Why These Brakes Fail
In places with brutal winters and a lot of road salt – think around the Togliatti plant where the Granta is put together, or anywhere else with similar conditions – these drum brakes are just asking for trouble. Moisture gets in, and then corrosion starts. I’ve seen two main failure points time and time again:
Wheel Cylinder Seizure
Backing Plate Corrosion (“Rust Jacking”)
Tech Tip: Check for Service Bulletins
It’s worth noting that there are documented service bulletins for B0-platform vehicles (that’s your Granta, Logan, Sandero, etc.) specifically about rear drum brake performance in cold weather. The core problem, as I see it, often comes down to the original design not having enough environmental protection, which lets moisture and corrosion take hold.
Getting It Fixed: My Approach to Repairs
Corroded Backing Plate Ledges DIY-FEASIBLE
Failed Wheel Cylinder DIY-FEASIBLE
When to Call a Pro: Severely Damaged Backing Plate / Hub
If those contact ledges are deeply pitted, worn right through, or the backing plate itself is bent or compromised, this is where you step away and call a professional. On a lot of these models, the backing plate is actually integrated with the wheel hub and bearing assembly. That means you’re looking at a job that requires a hydraulic press and precision installation. If you don’t get it exactly right, you’ll be dealing with premature bearing failure or, worst case, a wheel separation. Trust me, it’s not a DIY job at that point.
Don’t Skip This: Post-Repair Validation
A repair isn’t truly done until you’ve verified it actually works. For a backing plate job, before you even put the drum back on, you should be able to slide those brake shoes back and forth on the ledges with just light finger pressure. Once everything’s reassembled, the wheel should rotate freely, maybe with just a very faint brush of the shoes against the drum – that’s normal. If it’s binding, you’ve still got a problem.
My Validation Trick: The Infrared Thermometer
After you’ve done the repair, take the car for a good 10–15 minute road test. Drive it normally, use the brakes a few times. When you get back, grab an infrared thermometer and check the temperature of both rear hubs. They should be within 10°C (about 18°F) of each other. If one is significantly hotter, something is still dragging, and you need to investigate further.
The Bottom Line: Costs and Your Choices
Here’s a quick rundown of what you’re looking at in terms of cost, whether you tackle it yourself or bring it into my shop:
| Repair Type | DIY Cost (Parts Only) | Shop Cost (Estimated) | My Take on Success Rate |
|---|---|---|---|
| Clean & Lube Backing Plate Ledges | $15–$25 (for grease, cleaner, maybe new springs) | $150–$300 (per side, includes labor) | High, especially if you catch mild corrosion early. |
| Replace Wheel Cylinders & Flush System | $60–$100 (for cylinders, fluid) | $400–$600 (per axle, includes labor & bleeding) | Very High, assuming proper bleeding. |
| Replace Integral Hub Assembly | $140–$180 (for the hub/bearing unit) | $500–$800 per side (this is a big job) | High, but absolutely requires professional tools and expertise. |
Keeping It From Happening Again: Prevention & Monitoring
My Maintenance Checklist for Winter Brakes
-
Brake Fluid Flush: I tell all my customers to get their brake fluid flushed every two years. Fresh DOT 4+ fluid is hydroscopic, meaning it absorbs moisture, which helps keep those wheel cylinders from corroding internally.
-
Seasonal Inspection: Before winter hits, it’s a smart move to pull the drums, clean out any dust, and apply a small amount of high-temp grease to those backing plate ledges. This is preventative maintenance that pays off.
-
Early Detection After Salt: If you’ve just driven through a bunch of road salt and it’s going to freeze overnight, try parking with the parking brake lightly engaged. Then, before you drive off in the morning, gently rock the car back and forth a bit. This can help break any ice layers that might have formed and prevent a full lock-up.
