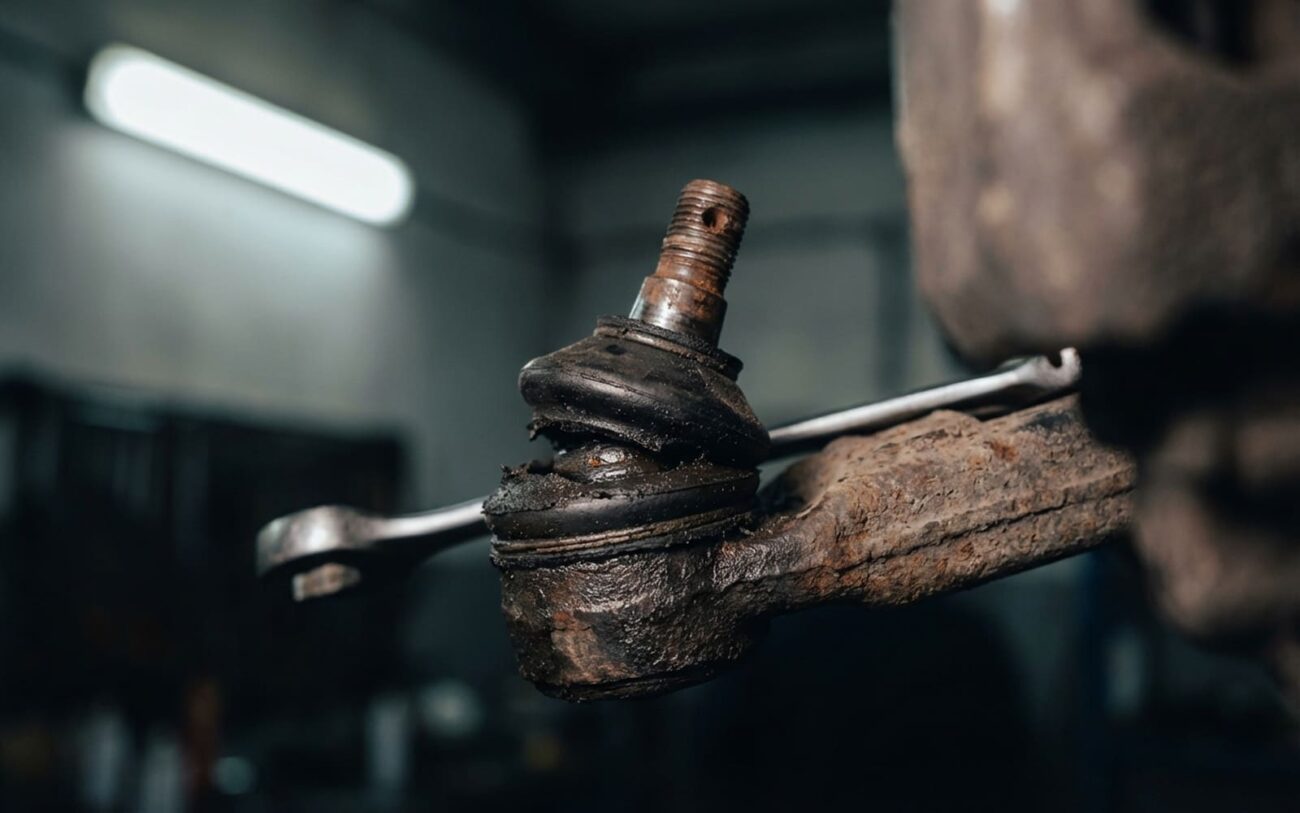
Alright, let’s talk about ball joints. After 25 years under the hood, I can tell you this isn’t just another suspension noise; it’s a critical safety issue. When a customer comes in describing a “clunk” or a “pop” from the front end, especially when they’re turning into a parking spot or rolling over a speed bump, my ears perk up. That’s usually the first sign something’s seriously wrong, and it often points straight to a failing ball joint.
Recognizing the Signs & Why It Matters
That metallic clunk or pop isn’t subtle. It feels like it’s coming right from the wheel itself, almost like something’s snapping into place. Often, this noise is paired with a vague, loose feeling in the steering. You might find yourself constantly making small corrections on the highway, fighting the wheel just to keep it straight. Over time, you’ll probably start seeing uneven tire wear too – usually on the inner or outer edges – because the suspension geometry is out of whack from all that play.
I’ve seen plenty of vehicles where the lower ball joint had over 1mm of radial movement. That’s a huge red flag, and it’s not just about comfort or tire wear at that point.
How I Diagnose a Ball Joint (No Guesswork)
You can’t just throw parts at a car based on a noise. I’ve seen too many shops replace a ball joint only for the clunk to come right back because it was actually a bad strut mount or a loose sway bar link. My approach is always methodical. You’ve got to get the car safely in the air and put some load on the suspension to really find the problem.
Checking for Radial Play (The Clunk)
This is usually what causes that sharp clunk over bumps or when turning. You’ll need to lift the vehicle, but here’s the trick: you need to support the control arm to simulate the weight of the car on the suspension. I usually use a jack stand under the control arm, close to the ball joint. Then, grab a pry bar and place it vertically under the tire. Pry up and down. If you see more than about 0.5mm of movement in the ball joint stud where it connects to the knuckle, it’s worn out. That’s your clunk.
Checking for Axial Play (The Loose Steering)
If the steering feels vague or sloppy, you’re probably looking for axial (vertical) play. For this, I keep the vehicle lifted, but the wheel needs to be free to move. Grab the tire firmly at the 6 o’clock and 12 o’clock positions. Now, rock it back and forth, pushing the bottom in and pulling the top out, then reversing. While you’re doing this, keep a close eye on the ball joint stud. If you see it moving up and down inside the knuckle, that joint is definitely shot.
Don’t forget to check other suspects while you’re under there. Sometimes a worn tie rod end, inner steering rack bushings, or even a loose subframe bolt can feel similar. That’s why these specific tests are so important – they isolate the ball joint.
Why They Fail: The Root Causes
On models like the Lada Vesta and XRAY, I’ve seen ball joint failures come up surprisingly early, sometimes well before 50,000 miles. It’s not always just rough roads, though those certainly don’t help. The primary culprit is almost always the rubber boot. These boots are designed to keep contaminants out and grease in, but if the material degrades or the seal isn’t perfect, it’s game over.
Factory Issues:
I’ve encountered new ball joints, both aftermarket and even some OEM batches, that came with minimal grease from the factory. AvtoVAZ has even issued service advisories on premature wear related to boot integrity and insufficient lubrication in certain production runs. Once that boot cracks, moisture, road salt, and grit get in, and it’s a fast track to wear.
The Only Real Fix: Replacement
No Repair, Only Replace
Once a ball joint is worn, it’s done. It’s a sealed unit, and you can’t rebuild it. The only solution is replacement. How you do it depends on how it’s attached to your control arm.
Bolted or Staked Joints (DIY Possible)
On many Vesta and XRAY models, the ball joint is bolted or staked to the control arm. This is generally the most DIY-friendly option. You’ll need a ball joint separator (the fork-type or a press-type), a good socket set, and a torque wrench. Always use a new castle nut and cotter pin. Torque the new nut to around 90 Nm, then tighten it just enough further to align the cotter pin hole. Never loosen it to align the hole – that compromises the torque and can lead to early failure.
Pressed-In Joints (Pro Job)
If your ball joint is pressed into the control arm or steering knuckle, this is not a DIY job unless you have specialized equipment. You need a hydraulic press and the correct adapters to remove and install it. Trying to hammer it out is a recipe for disaster; you risk cracking or distorting the steering knuckle. And let me tell you, a cracked knuckle is a non-repairable part that means replacing the entire knuckle, which is a much bigger, more expensive job.
“Temporary” Fixes (Don’t Do It)
I occasionally hear about people trying to inject grease into a worn ball joint. If the boot is still intact, it might quiet the noise for a bit, but it absolutely will not eliminate mechanical play. It just creates a false sense of security. The only responsible “stopgap” is to minimize driving and get it replaced immediately. Your safety isn’t worth gambling on.
Post-Repair Validation: The Final Check
My Checklist After a Ball Joint Job
-
Test Drive: This is non-negotiable. I always take the car for a good drive, hitting some bumps and making turns to ensure the clunk is completely gone and the steering feels solid and returns to center smoothly.
-
Fastener Recheck: After that initial drive, I get it back on the lift and re-verify the torque on all fasteners. Make absolutely sure that cotter pin is spread wide open too.
-
Mandatory Alignment: Replacing a ball joint, even if it’s just one, changes the steering geometry. Period. You absolutely must get a professional wheel alignment done afterward. Skip this, and you’ll be buying new tires much sooner than you’d like.
-
Boot Inspection: Before I send the car out, I do one last visual check of the new ball joint boot. Make sure it’s not pinched, twisted, or damaged during installation. A compromised boot means a short lifespan for your new part.
Cost, Risk, and Making the Call
The cost of a ball joint itself isn’t usually the killer, but the labor and the potential secondary damage if you mess it up can be. Here’s a rough idea:
| Repair Type | DIY Parts Cost | Shop Cost (Est.) | Secondary Risk if Failed |
|---|---|---|---|
| Bolted Joint | $50–$150 | $250–$400 | Catastrophic separation, loss of control, potential accident. |
| Pressed Joint | $50–$150 + Tooling | $300–$500 | Damaged steering knuckle (another $300+ part), plus the catastrophic failure risk. |
As you can see, the price of a proper repair pales in comparison to the cost of an accident or replacing a damaged steering knuckle. It’s an investment in your safety.
Prevention & Monitoring
My Best Advice
Make inspecting those rubber boots part of your regular maintenance routine – every oil change, at least. Shine a flashlight on them and look for any cracks, tears, or signs of grease flung out. If you live where they use a lot of road salt, regular undercarriage washes are crucial. That salt can accelerate corrosion and boot degradation, leading to premature failure.
