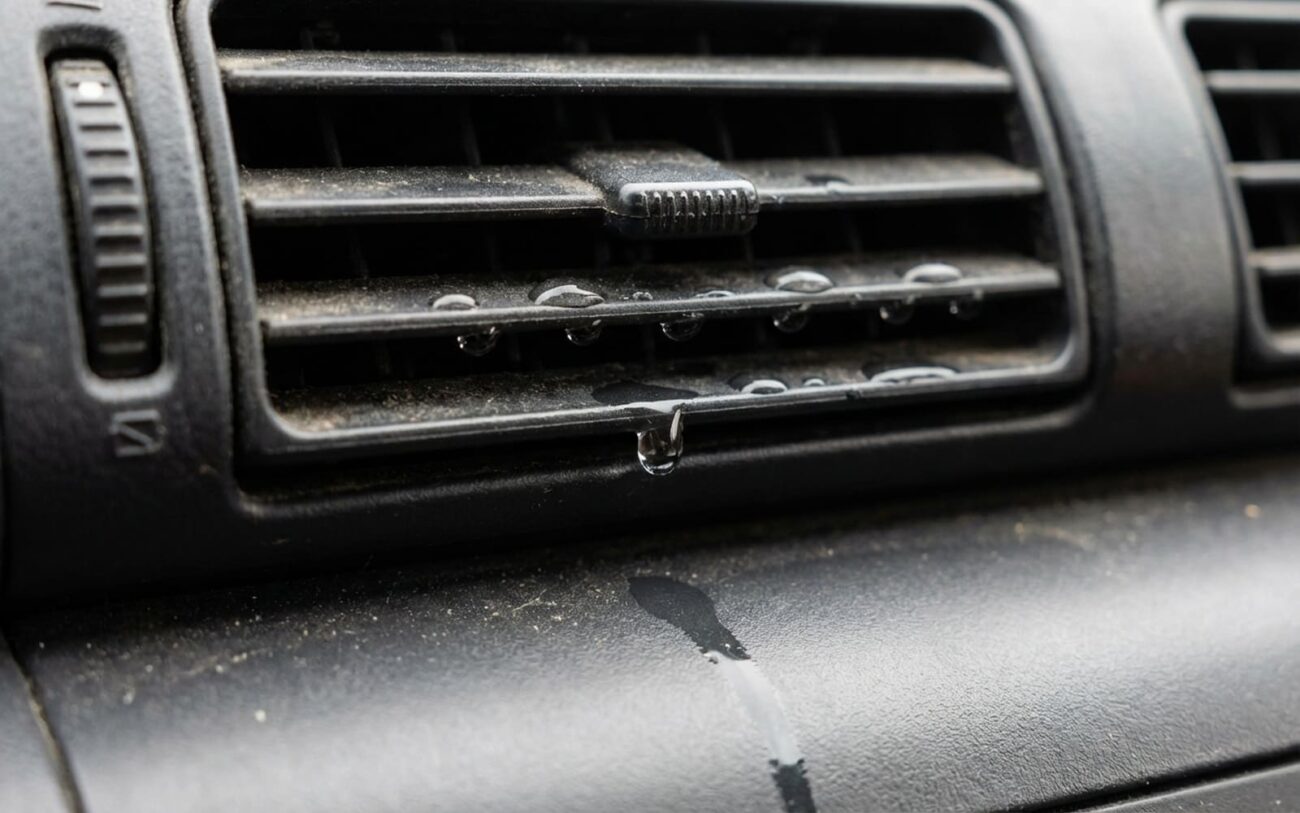
Water in the Cabin? Here’s What Your AC Is Really Telling You.
Alright, let’s get straight to it. If you’re seeing water dripping from your AC vents, or worse, pooling on your passenger floorboard, you’ve got a problem. I’ve been turning wrenches for over 25 years, and I can tell you this isn’t just a minor annoyance. It’s a clear sign your car’s air conditioning drain system has failed, and if you ignore it, you’re asking for bigger, more expensive trouble down the road.
See, your car’s AC works just like a dehumidifier. It pulls heat and moisture out of the air. That moisture condenses into water on a cold component called the evaporator core, which is basically a small radiator hidden behind your dashboard. This water is supposed to collect in a drain pan and then flow out of the car through a small rubber or plastic tube – usually poking out near the firewall on the passenger side, underneath the vehicle. When that tube gets blocked, kinked, or broken, the water has nowhere to go but back into your cabin. And trust me, it finds the path of least resistance, often right through those vents.
Beyond the Drip: Other Warning Signs and What to Rule Out
The water drip is the obvious one, but there are other clues I look for. You might notice a nasty, musty, moldy smell when you first fire up the AC. That’s not just “old car” smell; it’s usually biological growth – mold and bacteria – having a party on that damp evaporator core because the water isn’t draining properly. I’ve seen cars come in where the smell was so bad, the owners thought something died in there. And sometimes, you’ll hear a distinct sloshing sound behind the dashboard when you hit the brakes or turn a corner. That’s not coolant, folks. That’s a miniature swimming pool of trapped condensation, acting like a water balloon under your dash. I’ve seen this ignored for weeks, and it often leads to a fried blower motor or, even worse, corroded electrical modules that cost a fortune to replace.
Before we go poking around the AC drain, let’s quickly rule out other common water leaks. It’s easy to jump to conclusions, but a good mechanic always confirms the diagnosis first.
- Heater Core Leak: If the fluid on your floor feels slick, smells sweet (like maple syrup), and maybe has a reddish or greenish tint, you’re likely dealing with coolant from a leaking heater core. That’s a different beast entirely, and often a much bigger job.
- Sunroof or Windshield Leaks: Water from these usually shows up higher first – on the headliner, down the A-pillars (those posts beside your windshield), or along the door sills. Windshield leaks often track right along the top of the dash and might only appear after heavy rain or a car wash. If it’s only dripping from the AC vents and pooling on the passenger floor, it’s less likely to be these.
The Definitive Test: Confirming a Clogged AC Drain
Alright, you’ve got the symptoms, and you’ve ruled out the obvious imposters. Now, let’s confirm that AC drain is the culprit. This is the test I use in the shop, and you can do it at home.
- Locate the Drain Tube: Get under the passenger side of your car. Look for a small rubber or plastic nipple, usually about 1/2-inch in diameter, pointing down from the firewall area. It’s often tucked away, so you might need a flashlight.
- Access the Evaporator Housing: Most cars have a cabin air filter. Remove it. This usually means opening the glove box, dropping it down, and unlatching a cover. Once the filter is out, you’ll see an opening that leads directly into the HVAC housing where the evaporator core lives.
- The Water Test: With the engine off and the car on level ground, slowly pour about 16 ounces (that’s two cups) of clean water into the opening where the cabin air filter normally sits.
- Observe: Now, get back under the car and watch the drain tube. If the water doesn’t start steadily draining out from under the car within 30 to 60 seconds, you’ve got a blockage. A clear, steady flow means your drain is working as it should, and you’ll need to look elsewhere for your leak.
If your cabin air filter is clean and you still have that musty smell, even without a visible water drip, the evaporator core itself is likely the source of the mold. A borescope (a small camera on a flexible cable) through the filter housing can often confirm moisture or visible mold growth. For heater core concerns, especially if you’re seeing coolant-like fluid, I’d suggest looking into articles specifically on that topic, like: Why Does the Heater Core Leak Inside the Cabin.
Why These Drains Get Clogged (It’s Not Always What You Think)
The evaporator drain tube is a pretty simple part, just a short piece of hose or molded plastic. But it’s exposed to everything that gets pulled into your HVAC system. As air passes through the cabin filter and over that cold evaporator core, it carries dust, pollen, road grime, leaves, and all sorts of organic matter. When the moisture condenses, it washes these contaminants down into the drain pan and then into the tube. Over time, all that gunk builds up into a thick, black, slimy mess – what we call biofilm – and that hardens and restricts the flow until it’s completely blocked.
But it’s not always just gunk. I’ve seen physical damage too. Sometimes the tube gets kinked during other repairs, especially if someone was working on the engine or HVAC system near the firewall. On older cars, the plastic or rubber can get brittle and crack, especially in places with big temperature swings. And yes, I’ve even seen rodents decide it’s a cozy spot for a nest, blocking it completely. On the 2015-2017 F-150s, for example, I’ve seen this drain issue come up weekly in my shop. Manufacturers know this is an issue; there are often service bulletins out for specific models, particularly from FCA, GM, and some Asian brands, addressing water intrusion due to restricted evaporator drains.
Just to be clear: this is a drainage issue for normal condensation. It has nothing to do with your AC refrigerant leaking. A refrigerant leak will reduce your cooling performance, but it won’t put water on your floor.
The Fix: From DIY to Dealer (and When to Call a Pro)
Alright, you’ve confirmed the clog. Now, how do we get rid of it? The approach depends on how accessible that drain tube is and if it’s just a clog or actual damage.
[DIY] Clearing an Accessible Drain
[Shop Recommended] When the Drain’s Out of Reach
[Minor to Major] Repairing or Replacing a Damaged Tube
[Supplemental] Evaporator Cleaners for Odor
You Gotta Check Your Work: Confirming the Repair
Don’t just assume a few puffs of air or a poke with a brush fixed it. You need to validate the repair. Repeat that water test: remove the cabin air filter, slowly pour 16 ounces of water into the housing, and watch underneath the car. You should see water start to exit the drain tube within 30–60 seconds, followed by a steady flow until the housing is empty. If it’s slow, or doesn’t drain, the blockage is still there, possibly higher up in the pan. For odor issues, run the system on max fan for 10 minutes after cleaning, and if you have access to a borescope, check the evaporator. A dry, clean core means you’ve won this battle – for now.
My Tips to Keep It From Happening Again
-
Change your cabin air filter regularly. I tell my customers every 12–15 months, or more often if you drive in really dusty or high-pollen areas. A good filter is your first line of defense against gunk reaching the evaporator.
-
When you do change the filter, consider applying an evaporator cleaner foam. It helps keep that core sanitized and reduces buildup.
-
Try running the AC on just “vent” (not recirculate) for the last few minutes of your drive. This helps dry out the evaporator core and reduces moisture buildup overnight, which is where mold loves to start.
-
Make it a habit: after running the AC on a hot day, glance under the passenger side of your car. You should see a small puddle of clean water. No puddle? That’s your early warning sign that something’s amiss.
-
And please, avoid those cheap, undersized cabin filters. They often don’t seal properly, letting unfiltered air bypass right into the system. That extra gunk is exactly what turns a simple drain tube into a clogged mess. A few minutes of maintenance now can save you hours of dash disassembly later.
What’s This Going to Cost Me? A Realistic Breakdown.
Let’s talk money, because that’s usually the next question. The price tag for fixing this can swing wildly depending on your car and how bad the problem is. Here’s what I typically see:
| Repair Type | DIY Cost (Parts/Tools) | Shop Cost (Labor + Parts) |
|---|---|---|
| Clear accessible drain tube (mechanical + air) | $0–$50 (basic tools, optional brush) | $100–$200 (usually 1 hour labor) |
| Replace drain tube with dash disassembly | $30–$100 (part + specialized tools, if you dare) | $800–$1,500+ (this is labor-intensive, often 4-8 hours) |
Clearing a simple clog is low-cost and low-risk. If it doesn’t work, you’re out a little time and effort, but you haven’t broken the bank. However, if that water has been sitting there for a while and caused damage – say, a dead blower motor or corroded electrical modules – the bill can absolutely skyrocket. I’ve seen customers pour money into aging cars chasing one HVAC issue after another. My rule of thumb: if the repair cost starts to exceed half your car’s private-party value, it’s time to seriously consider if the vehicle is still economically viable for you. Sometimes, it’s just time to let go.
Always check your car’s warranty status before authorizing any repairs. You might be covered!
Cost-Saving Tip from My Shop
If you’re out of warranty, independent shops like mine often offer AC drain repair services, including evaporator cleaning and drain tube replacement, at estimates that can be 30–50% below dealership pricing. Just make sure you verify their experience. This isn’t a job for just any general mechanic. Find someone who knows their way around an HVAC system.
