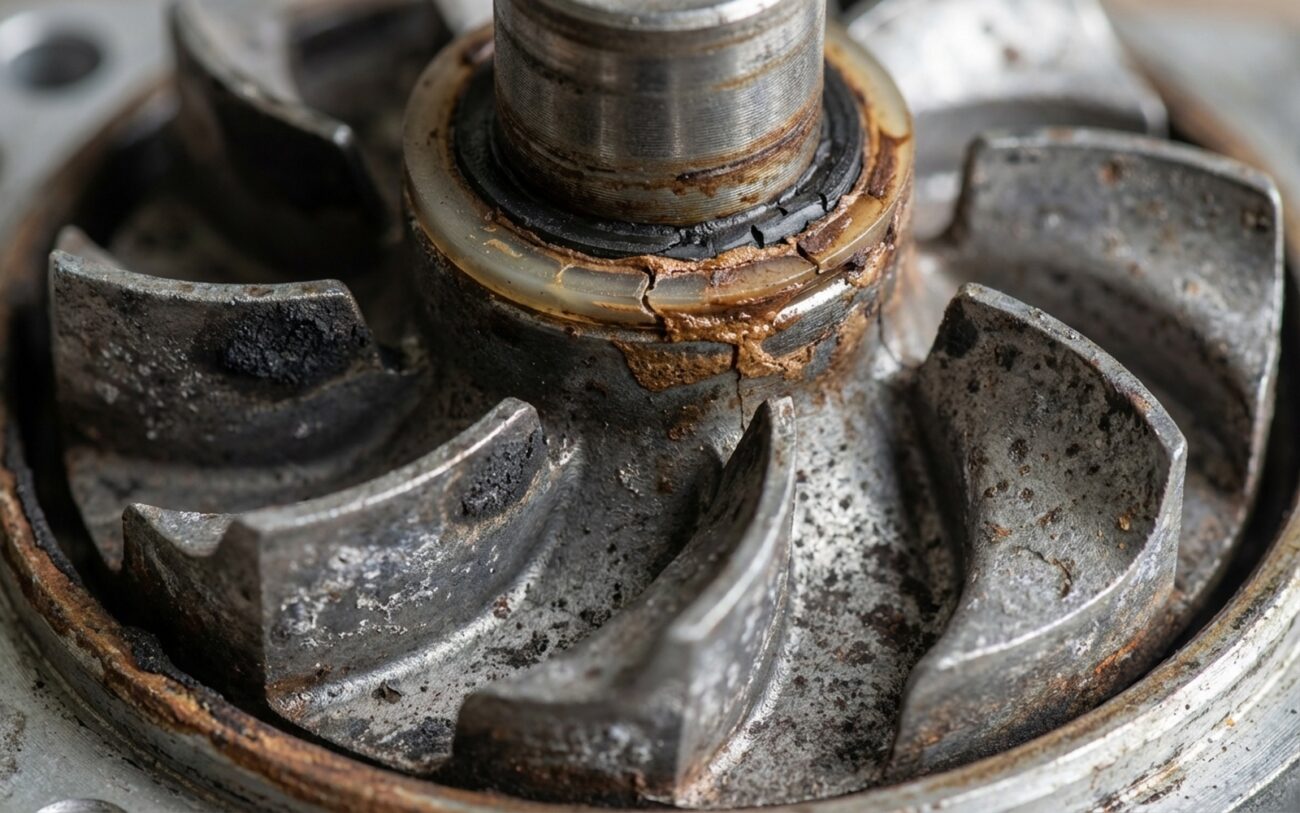
Alright, let’s talk about electric vacuum pumps (EVP) in hybrids and EVs. If you’re driving one of these, you know they’re different. And when it comes to your brakes, that difference is critical. Unlike your old gas guzzler that made vacuum for the brake booster with the engine, these newer vehicles rely on an electric pump. When that pump starts to go, it’s not just an inconvenience; it’s a safety issue. I’ve seen these things fail plenty of times over my 25+ years, and I can tell you, recognizing the signs early and diagnosing it right is key.
What You’ll Feel & See: The Warning Signs
The most common thing you’ll notice is a change in your brake pedal. If you’re used to a light, responsive pedal, a sudden change to a “hard pedal” should immediately get your attention. It’s especially noticeable on that first stop after you start the car, or when you’re just creeping along at low speeds. You’re not imagining it; without that vacuum assist, you’re literally relying on pure leg strength to push the pedal. It’s like trying to steer a car with the engine off – you can do it, but it takes ten times the effort. And that dramatically increases your stopping distance, which is dangerous, plain and simple.
Often, this hard pedal comes with a dashboard warning. It might be a generic brake warning light, or a more specific message like “Check Brake System” or “Service Brake Assist.” These alerts usually pop up because the vehicle’s control module commands the pump to build vacuum, but then it doesn’t see the pressure build up as expected. You’ll often find OBD2 codes like P0551 (brake booster pressure sensor circuit range/performance) or P0552 (low input) stored in the system.
Target: 22+ inHg
You might also hear something. A failing EVP often makes a persistent high-pitched whine, buzzing, or grinding sound. It can come from the engine bay, but I’ve also found them under the rear seat or near the trunk in some hybrid models. If that pump runs continuously after startup, instead of just cycling on and off as it needs to, that’s another strong indicator of an internal failure or a leak somewhere in the vacuum system. Don’t dismiss these noises as just background hum. I’ve seen too many drivers ignore the sound until their brakes became genuinely unsafe.
The HVAC Connection: A Sneaky Clue
In many vehicles, the vacuum that helps your brakes also controls the air blend doors for your heating and ventilation. So, if your vents are stuck on defrost, or you can’t get them to switch modes, and you’re also noticing brake pedal issues, it’s a pretty good bet that the electric vacuum pump isn’t pulling enough pressure for both systems. It’s a common cross-symptom I look for.
My Diagnostic Approach: Don’t Just Guess
Here’s where experience really matters. A hard brake pedal doesn’t automatically mean the electric vacuum pump is dead. Jumping straight to replacement without proper testing can cost you a lot of time and money. The entire vacuum system has multiple components, and any one of them can mimic a failed pump. You need a logical, step-by-step approach to isolate the real fault. This is the table I use in my head, or sometimes on paper, to walk through it.
| Symptom | Points to EVP Itself | Common External Mimics | How I Test It |
|---|---|---|---|
| Hard Brake Pedal | Worn internal vanes, a stuck check valve inside the pump, or outright motor failure. | A leaking brake booster diaphragm, a cracked vacuum hose, or a failed check valve in the line. | I connect a vacuum gauge directly to the pump’s port. A healthy unit should pull over 22 inHg within 10 seconds. If it can’t, or takes too long, the pump’s weak. |
| Continuous Operation | Internal wear reducing its efficiency, or a failed integrated pressure switch. | A significant vacuum leak somewhere else in the system – the booster, a supply hose, or even an HVAC solenoid. | I cap the pump’s outlet port. If the pump now cycles normally (runs for a bit, then shuts off), the leak is definitely external to the pump. If it still runs continuously, the pump itself is likely the problem. |
| Grinding/Whirring Noise | Seized or dry motor bearings, or damaged rotor vanes inside the pump. | Sometimes it’s a secondary coolant pump, an air injection pump, or even a worn alternator bearing. These can sound similar. | I use a mechanic’s stethoscope directly on the pump housing. If it’s loudest there, that’s your culprit. Then, I’ll pull the pump fuse to see if the noise stops completely. That confirms it. |
Why These Pumps Fail: A Look Inside
Once you’ve ruled out external leaks and you’re pretty sure the issue is within the electric vacuum pump itself, it helps to understand what’s actually going wrong. These units are usually sealed and not designed to be serviced, but knowing the common failure modes helps you figure out if it was just wear and tear, contamination, or maybe even a design flaw.
The most common failure I see is the wear of the internal carbon vanes. These little vanes spin inside an eccentric chamber to create the vacuum. Over time, especially with a lot of cycling, they wear down or can even fracture. When that happens, the pump can’t pull vacuum efficiently, leading to longer run times or just plain failing to reach the target pressure. This wear gets a lot worse if the pump starts sucking in contaminants. For example, a failing PCV (Positive Crankcase Ventilation) system can push oil vapor into the intake side of the vacuum pump, coating those vanes and reducing their sealing ability. That’s a killer.
The electric motor itself is another weak point. Older designs often used brushed motors, and those brushes and commutators wear out. As they degrade, resistance goes up, and you get insufficient power or even open circuits. I’ve also seen the armature bearings seize up due to dried lubricant, especially if the pump is running constantly or getting too hot. On some of those early hybrid models, the pumps cycled way too aggressively because of the software logic, causing thermal stress on the windings. That can break down the insulation and lead to short circuits, often triggering that P0551 code we talked about.
Getting It Fixed: Your Options & My Advice
Safety First!
Look, in hybrids and EVs, you’re dealing with high voltage. Always, and I mean always, disconnect the high-voltage system according to the manufacturer’s specific procedure before you even think about touching the 12V battery or any component near those orange high-voltage cables. This isn’t optional; it’s absolutely critical for your personal safety.
The Easy Fix: Electrical Service DIY-FEASIBLE
When It’s Time for a New Pump PROFESSIONAL-ONLY
Emergency Workaround TEMPORARY ONLY
Proof It’s Fixed: Post-Repair Validation
Replacing a part isn’t the end of the job; it’s just the beginning of verifying the fix. You absolutely have to confirm that the system is working correctly and safely. Start by making sure all vacuum lines are reconnected, seated properly, and clamped tight. Then, power up the system.
I always use a good scan tool to command the electric vacuum pump on. It should run for a few seconds – typically anywhere from 5 to 30 seconds, depending on the vehicle – and then shut off automatically once it hits target vacuum. While it’s running, I’m monitoring the brake booster vacuum sensor PID in live data. It should quickly reach and hold at least 22 inHg, but I prefer to see it hit 25–27 inHg. If it struggles to build pressure, or doesn’t hold it, you’ve either still got a leak or an electrical issue somewhere.
The Vacuum Hold Test
Once the pump has cycled off, I attach a reliable vacuum gauge to the system. The vacuum should drop no more than 2–3 inHg over one minute. If it drops faster than that, you’ve still got a leak somewhere. And in my experience, it’s usually in the brake booster diaphragm, a hose, or that one-way check valve.
Finally, once all the numbers look good, I take the car for a low-speed test drive in a controlled environment. I verify that the brake pedal feels completely normal on the first press and throughout several repeated applications. I make sure no warning lights come back on, and that the HVAC vent operation is fully restored. If all those checks pass, then I’m confident the job’s done right.
Costs, Prevention & My Final Thoughts
Let’s talk about the money and how to keep this from happening again. Here’s a rough idea of what you’re looking at, and then some tips to prevent future issues.
Electrical Cleaning
This is for the DIY cost of cleaner and dielectric grease. If a shop does it, you’re usually looking at about 0.5 hours of labor.
EVP Replacement
This includes a quality OEM or aftermarket pump and typically 1-2 hours of labor, depending heavily on how hard it is to access the pump on your specific vehicle.
Full System Overhaul
This is if both the brake booster diaphragm and the electric vacuum pump have failed. It’s a bigger job, obviously.
Keeping Your EVP Healthy: Prevention is Key
-
Maintain your PCV system: I can’t stress this enough. A clogged PCV valve allows oil vapor to get sucked into the vacuum pump, which will absolutely ruin those internal seals and vanes over time.
-
Monitor startup behavior: The EVP should run briefly – usually 5-10 seconds – at startup to build initial vacuum. Pay attention to any changes in its noise or how long it runs.
-
Check that first-press feel: If your brake pedal feels hard after the car has been sitting overnight, don’t wait. Investigate the vacuum system immediately.
-
Stay updated: Make sure you get those hybrid/brake control module software updates installed. They’re often designed to optimize pump cycling and reduce thermal stress, extending the pump’s life.
