The CAN Bus: Your Car’s Brain-Highway and Why It’s So Critical
Back when I first started turning wrenches, cars were a jungle of wires. Every sensor, every switch, every actuator had its own dedicated line running back to a control unit. We’re talking hundreds of feet of copper, adding weight, complexity, and making troubleshooting a real nightmare. Then came the Controller Area Network (CAN) bus, and it changed everything.
Now, instead of a thousand individual wires, all the major control modules – your Engine Control Module (ECM), Transmission Control Module (TCM), Body Control Module (BCM), ABS, airbag, you name it – they all talk to each other over just two wires: CAN High and CAN Low. This twisted pair is like the central nervous system of your car, carrying data in both directions. It allows systems to share real-time info, like how fast you’re going, your throttle position, or if you’re hitting the brakes. It’s efficient, scalable, and seriously cuts down on wiring.
But here’s the kicker: because so many critical systems rely on this single communication highway, any hiccup in the CAN bus can bring the whole show to a screeching halt. It doesn’t matter if all the individual modules are perfectly fine; if the highway collapses, nothing gets through. That’s why a break in this network won’t just disable one function; it can cripple the entire vehicle.
Term: 60 Ω
When the CAN Bus Goes Down: Symptoms I Look For
When the CAN bus fails, you don’t usually see just one little warning light. No, it’s a systemic meltdown. I’ve seen cars come in looking like a Christmas tree, with multiple, seemingly unrelated systems all throwing codes at once. The check engine light, ABS, traction control, airbag, electric power steering – they’ll all be lit up. The instrument cluster might go completely dead or start displaying gibberish. The transmission might lock into limp mode, or just refuse to shift at all. Sometimes, the throttle pedal won’t respond, or the cooling fans will just run non-stop, even with the engine off.
Diagnosing the CAN Bus: Is It Really the Network, or Just a Mimic?
Before you start tearing into wiring harnesses, you’ve got to rule out the simpler stuff. I’ve seen countless times where a weak battery or a dying alternator causes modules to reboot or drop offline. That’ll trigger a flood of Diagnostic Trouble Codes (DTCs), especially those “U” codes that point to network issues. But it’s not always the CAN bus itself. So, the first thing I do is test the network’s physical layer.
| What You See | Likely CAN Bus Problem | Common Mimics (Check These First!) | My Go-To Test |
|---|---|---|---|
| Multiple warning lights on the dash | A short or open circuit in the CAN High or CAN Low wiring. | Low system voltage (below 10.5V), failing alternator, bad engine/chassis ground. | Measure voltage at the OBD-II port (Pins 6 and 14). You should see CAN High around 2.6V and CAN Low around 2.4V. |
| Scan tool can’t communicate with any modules | A complete physical break or short, often near the OBD-II port or the gateway module. | Blown fuse for OBD-II power (Pin 16), or sometimes, believe it or not, a defective scan tool itself. | With the battery disconnected, check resistance between Pin 6 and Pin 14 at the OBD-II port. It should be around 60 ohms. If it’s 120 ohms, you’re missing one of the two termination resistors. |
| Modules randomly dropping offline, intermittent issues | Intermittent wiring damage (chafing, corrosion) or a “dominant node” failure where one module is flooding the bus. | A faulty gateway module, or an individual module with its own power or ground issue. | Hook up an oscilloscope to the CAN lines. A healthy signal shows two mirrored, differential waves. Any spikes, dropouts, or flatlining indicates a problem. |
What I Typically Find: Common Causes of CAN Bus Failure
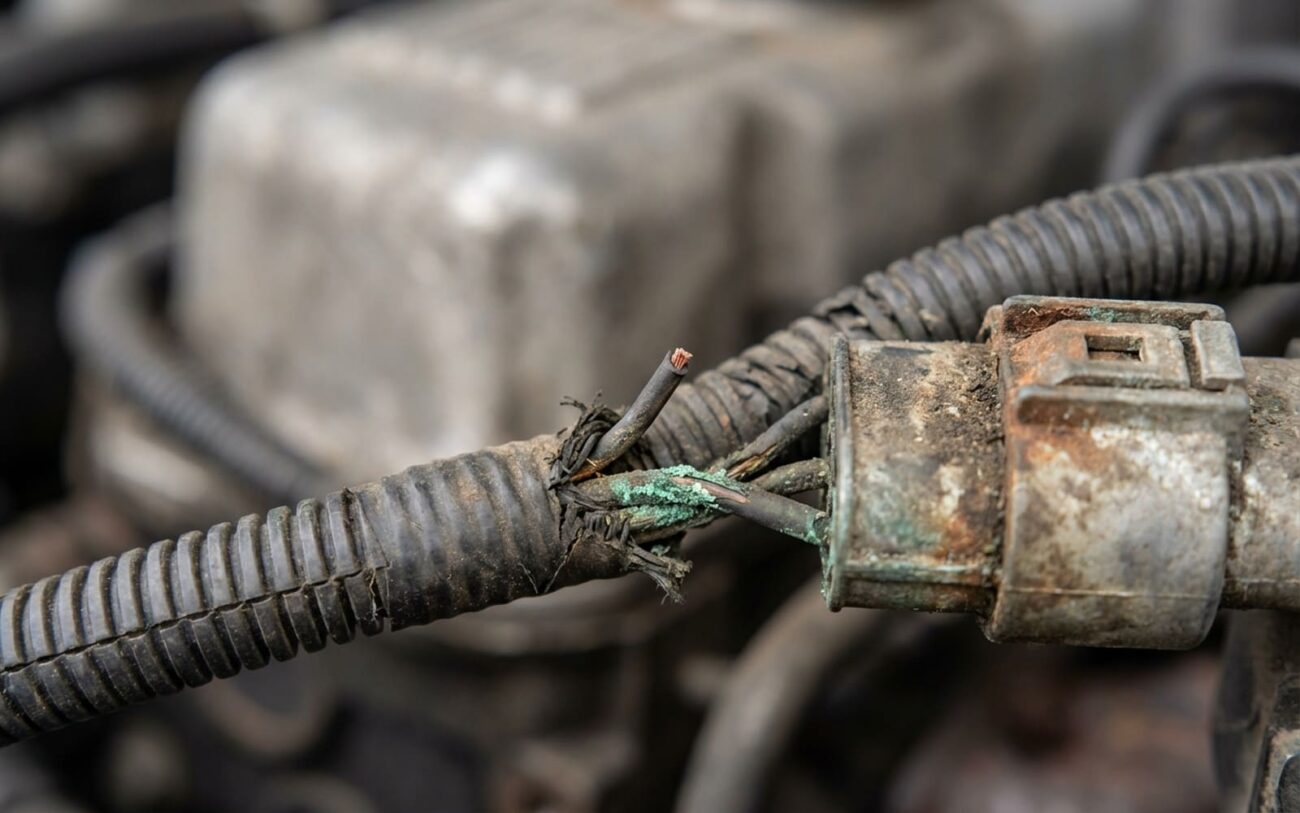
When it comes down to it, the root cause is almost always physical damage. We’re talking damaged wiring, corroded connectors, or an internal module failure. The twisted pair design of CAN wires is brilliant for rejecting electromagnetic interference, but it’s still vulnerable at stress points. I’ve seen chafed wires under seats from repeated seat movement, especially in older GM and European models. Wires running through firewall grommets or near suspension components are also common spots for damage due to vibration and movement. And let’s not forget rodent damage – those little critters can cripple a network overnight, and I’ve seen it happen more times than I can count.
Fixing the Network: From a Simple Splice to a Full Module Swap
Signal Integrity is Everything
Remember, the twisted pair isn’t just a design choice; it’s absolutely critical for noise cancellation. Any repair that doesn’t maintain the original twist rate or uses improper connectors is going to fail, usually sooner rather than later. Don’t cut corners here.
Simple Wire Repair DIY-Feasible (With Caution)
Harness Section Replacement Professional Only
Module Replacement & Programming Specialized Tool Required
Temporary Bypass Last Resort (Triage Only)
Proving the Fix: My Post-Repair Checklist
You don’t just fix a CAN bus problem and send the car out the door. You prove it’s fixed. This is where precision matters. I always run through a validation checklist to make sure the network is back to factory spec.
My Validation Checklist
-
Verify the resistance between CAN High and Low is back to ~60 ohms. This tells me the termination is correct.
-
Confirm the voltages are stable (around 2.6V for CAN High, 2.4V for CAN Low) and there are no shorts to ground on either line.
-
Check the waveform on an oscilloscope. I’m looking for clean, mirrored transitions and absolutely no noise or glitches.
-
Clear all U-codes, then perform a full drive cycle. This is crucial to ensure the codes don’t return and all systems are happy.
What You’re Looking At: Costs and Risks
Let’s talk brass tacks. Fixing CAN bus issues can range from pretty straightforward to a real wallet-buster, depending on what’s actually broken. Here’s a general idea of what you might expect:
| Repair Type | DIY Cost (Parts) | Shop Cost (Parts + Labor) | My Success Rate | Secondary Risk I’ve Seen |
|---|---|---|---|---|
| Simple wire repair | $20–$50 | $150–$400 | High (>95%) | Intermittent faults creeping back from poor splicing or improper twist rate. |
| Harness section replacement | $100–$300 | $500–$1,500 | Very High | Incorrect routing causing new chafing or damage down the road. |
| Module replacement + Programming | $300–$1,000 | $500–$2,000+ | High | Module lockout or “bricking” during the software flash if not done correctly. |
How to Avoid This Headache in the First Place
Proactive Maintenance is Your Best Friend
When I’m working on a car, especially near seats, door jambs, or under the dash, I always take a quick look at the wiring harnesses for any signs of rubbing or chafing. It takes two seconds and can save a huge headache. Apply a small amount of dielectric grease to connectors in high-moisture areas – it’s cheap insurance against corrosion. And please, don’t ignore those intermittent warning lights! They’re the canary in the coal mine, telling you something’s starting to go wrong before it completely strands you.
