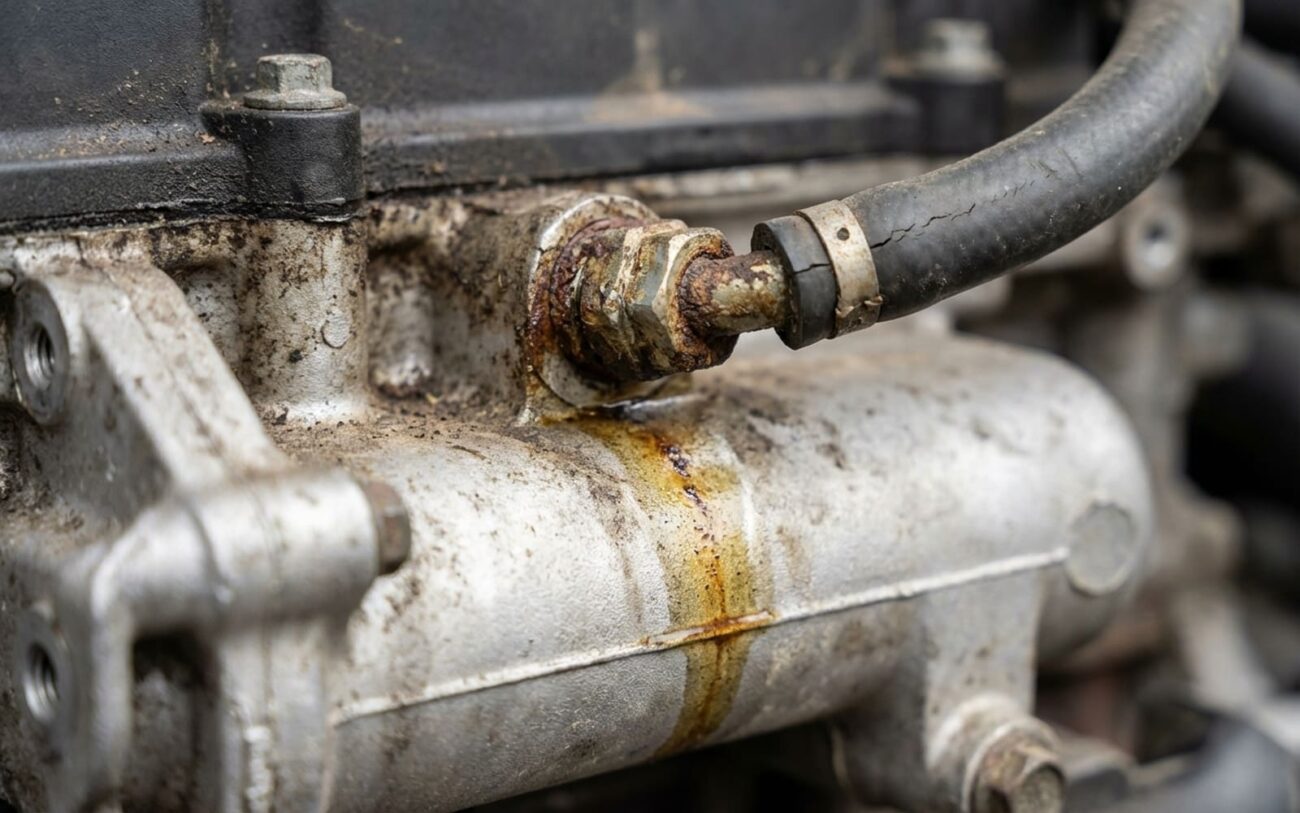
Alright, let’s talk about fuel tank leaks. After 25 years under the hood, I can tell you this isn’t just another service light. This is serious business. When you smell gas, most folks pop the hood first, right? But a tank leak? That’s a whole different animal, usually happening way in the back of your ride. And if you’ve got one, you need to know it, and you need to deal with it, fast.
Spotting a Real Tank Leak: What I Look For
So, how do you know it’s the tank and not just some minor vapor issue? It comes down to a few key indicators I’ve learned to trust over the years:
-
That Unmistakable Smell: You’ll catch a strong, heavy gasoline odor, and it’ll be coming from the back of the car. We’re talking around the fuel filler door, the rear axle, or the wheel wells. Unlike those fleeting EVAP system vapors that come and go, this smell is persistent. It hangs around, even after you’ve shut the engine off. It’s not a faint whiff; it’s a “someone spilled gas” kind of smell.
-
Visible Dripping: If you see actual liquid dripping from the underside, especially near the center or rear, that’s a huge red flag. Raw fuel is clear, highly flammable, and has that distinct smell. It won’t be oily like engine oil, and it won’t be red or brownish like transmission fluid. If it looks like water but smells like gas, you’ve got a liquid fuel leak, plain and simple.
-
Unexplained Fuel Loss: Your fuel gauge is dropping faster than your driving habits explain? And you’ve already ruled out a leak up front (like a leaky injector or fuel line)? Then the tank itself is a prime suspect. This is especially true if you don’t see a visible puddle, meaning it might be a slow weep or evaporating quickly.
-
Smell Worsens After Refueling or When Full: This is a classic tell. If the gasoline odor inside the cabin or outside spikes right after you fill up, or when the tank is completely full, that tells me pressure is forcing fuel or vapors out through a crack or a failing seal. It’s a strong indicator the leak is tied directly to the tank’s volume or internal pressure.
Diagnosing the Source: It’s Not Always the Tank Itself
Now, just because you smell gas from the rear doesn’t automatically mean the tank shell is cracked. I’ve seen plenty of cases where other components in the same area mimic a tank leak. This is where accurate diagnosis saves you a lot of money and headaches. The goal is to isolate the leak: is it the tank’s structure, or something attached to it?
Common Culprits That Mimic a Tank Leak:
-
Fuel Filler Neck Hose: These rubber hoses connect the filler cap to the tank. They degrade, crack, or loosen over time.
-
Vapor Lines: Part of the EVAP system, these small lines can crack or become brittle, especially where they connect to the tank or other components.
-
Fuel Pump/Sender Unit Gasket: The fuel pump and fuel level sender are usually mounted on top of the tank, sealed by a rubber gasket. These gaskets harden and fail, leading to leaks, especially when the tank is full.
-
Quick-Connect Fuel Lines: Modern cars use quick-connect fittings for fuel lines. The O-rings inside these can fail, or the plastic clips can break, leading to a leak right at the connection point.
These external components are often much easier and cheaper to fix than replacing the entire tank. That’s why proper testing is non-negotiable.
My Diagnostic Approach and Tools:
To really pinpoint the source, you need the right tools. Guessing is just throwing parts at a problem, and that gets expensive. Here’s what I do:
| Symptom | Likely Tank Issue | Common External Mimics | How I Confirm (Definitive Test) |
|---|---|---|---|
| Fuel odor or visible puddle at vehicle rear | Crack, seam failure, or corrosion hole in tank body (plastic or metal) | Failing filler neck hose, cracked vapor vent line, leaking fuel pump module gasket, loose quick-connect fuel line. |
First, I clean and dry the entire tank exterior and surrounding components. Then, I pressurize the fuel system (usually through the EVAP vapor port) to about 5 psi using a hand pump. I apply soapy water to every suspect area—the tank body, seams, filler neck, pump gasket, fuel lines—and watch for bubbles. This is my go-to for liquid leaks. |
| Gasoline fumes inside cabin, especially after refueling | Crack in upper tank section or failed seam allowing vapors into passenger compartment. | Leaking fuel line under chassis, faulty EVAP canister, leaking fuel rail or injector (less common for cabin smell, but possible). |
This calls for a smoke machine on the EVAP system. I’ll connect it to the EVAP service port and pump smoke into the system. Then I visually trace the escaping smoke. This often means removing the rear seat or trunk liner to get a good look at the top of the tank and its connections. A faint hiss with an electronic stethoscope can also help narrow it down before the smoke. |
Without tools like a fuel pressure/vacuum hand pump, soapy water, an electronic stethoscope, and especially a hydrocarbon smoke machine, you’re just guessing. And a wrong guess means unnecessary repairs or, worse, missing a dangerous leak. For example, a strong gas smell under the hood is almost never the tank; that’s usually fuel rail, injector, or EVAP issues up front.
Why Do Fuel Tanks Fail?
When I say a fuel tank has “failed,” I mean the structural integrity of the tank’s shell is compromised. This is distinct from a leak at a hose, fitting, or gasket, which are typically serviceable parts.
Plastic Tanks (HDPE):
Most modern vehicles use High-Density Polyethylene (HDPE) plastic fuel tanks. They’re great for corrosion resistance, but they’re not bulletproof. What I see most often are stress cracks. These usually pop up along factory weld seams or at mounting points where vibrations are concentrated. I’ve also pulled tanks with cracks right at the in-tank fuel pump flange—often due to material stress or, sometimes, improper torque if someone overtightened it during a previous service. Rare, but manufacturing defects can lead to early cracking, especially if the tank is too close to a hot exhaust component, causing thermal cycling. And yes, plastic can get brittle over time, especially with prolonged heat exposure or certain low-quality fuel additives.
Steel Tanks (Older Vehicles):
For older vehicles with steel tanks, corrosion is almost always the culprit. Road salt, moisture, and neglected undercarriage cleaning are rust accelerators. I see it worst where the tank straps clamp down, or where water tends to collect. Punctures from road debris or improper jacking are also common. I’ve even dropped tanks that looked okay from the outside, only to find the bottom rusted right through from the inside out, thanks to condensation and water buildup over the years.
It’s absolutely critical to differentiate a true tank failure from one of those component leaks I mentioned earlier. A leak at the fuel pump gasket, a fuel filter housing, a quick-connect line, or the filler neck hose isn’t a “tank problem”—it’s a replaceable part problem. Swapping a $25 rubber hose is a world away from dropping the whole tank for a full replacement. Misdiagnosing this is one of the most common and costly mistakes I see in the field.
Repairing a Leaky Tank: Your Options (and My Advice)
This is Professional Territory. Period.
Your repair options depend entirely on the tank material, the exact leak location, and how bad it is. There’s no one-size-fits-all fix here. And let me be clear: working on a fuel system demands specialized safety protocols. One spark, one mistake, and you’ve got a major problem.
Metal Tank Patching [TEMPORARY / PROFESSIONAL-ONLY REPAIR]
Full Tank Replacement [PROFESSIONAL-ONLY → REPLACE]
Internal Damage [NON-REPAIRABLE]
Verifying the Repair: Don’t Skip This Step
Never, ever assume the repair is good just because you don’t smell fuel right away. That’s a rookie mistake. You absolutely must validate it properly. Here’s how I confirm a job’s done right:
-
For an Epoxy Patch (if you went that route): The bar is incredibly high here. I demand zero odor or seepage after a full 24 hours. Then, I’ll re-pressurize the tank to 5 psi and monitor that pressure gauge for at least 15 minutes. Any drop means an ongoing leak. If it holds, I’ll drive the vehicle under normal conditions and recheck after a few days. If the smell returns, the patch failed, and you’re back to square one.
-
For a Full Tank Replacement: This validation is more involved. First, obviously, no fuel odor—inside or outside the vehicle. Next, I perform a smoke test on the entire EVAP system. This is crucial for catching any small vapor leaks at connections, especially with the new filler neck or vent lines that might have been disturbed. I use a scan tool to monitor the EVAP system readiness monitor and confirm no OBD2 codes return—especially P0455 (large EVAP leak) or P0456 (small EVAP leak). These codes can sometimes pop up days later if a hose wasn’t sealed perfectly.
-
Drive Cycle Completion: Finally, I drive the vehicle through a full drive cycle to ensure all monitors run and the system passes emissions testing. A properly repaired fuel system should be completely sealed and undetectable by both your nose and the scanner.
Costs, Risks, and Making the Tough Call
Repair costs vary wildly, and you really need to weigh them against safety and your vehicle’s overall value. Here’s a realistic breakdown based on what I see in my shop:
| Repair Type | DIY Cost (Parts Only) | Shop Cost (Parts & Labor) | My Success Rate Estimate | Secondary Risk if Failed |
|---|---|---|---|---|
| Epoxy Patch (Temporary, Metal Tanks Only) | $30–$50 | $150–$300 | <50% | Sudden, uncontrolled fuel spill, major fire hazard, dangerous vapor buildup in enclosed spaces. |
| Tank Replacement | $400–$800 | $1,000–$2,000+ | >95% | Poor installation can damage fuel lines or wiring, leading to new EVAP codes or fuel delivery issues. |
That labor cost for a tank replacement isn’t just pulling a few bolts. Dropping a fuel tank involves disconnecting fuel lines, EVAP hoses, electrical connectors, and often requires dropping parts of the exhaust or even rear suspension components. It’s a significant job, not a quick swap.
Now, for the hard truth: if the repair costs more than half your car’s market value, you’re in a tough spot. Putting $2,000 into a car that’s only worth $2,500 might not make financial sense in the long run. But here’s the kicker: safety can’t be ignored. Driving a vehicle with a known or poorly patched tank leak is incredibly risky and, frankly, irresponsible, especially if you carry passengers or park in an enclosed garage. In many cases, the decision comes down to whether the rest of the car is otherwise solid. If it is, and you plan to keep it, a full replacement is the only safe and reliable path forward. If the car’s on its last legs anyway, it might be time to let it go.
My Tips for Avoiding Future Leaks
Prevention Habits I Recommend
-
If you live in a snowy climate and have a metal tank, get under there and rinse the underside of your vehicle monthly during winter. Road salt and grime are rust’s best friends.
-
Try to avoid consistently running your tank below a quarter full. This reduces condensation and water buildup inside the tank, which is a major cause of internal rust in metal tanks. Plus, keeping more fuel in there helps keep your fuel pump cool.
-
Never, ever ignore a fuel smell. Even a faint hiss or a slight odor can be an early warning sign of a vapor leak that will only get worse. Investigate it immediately.
-
During routine maintenance, like oil changes or tire rotations, take a minute to visually inspect the fuel tank area. Look for any wet spots, stains, or visible cracks on hoses. A few seconds of looking can save you thousands later.
