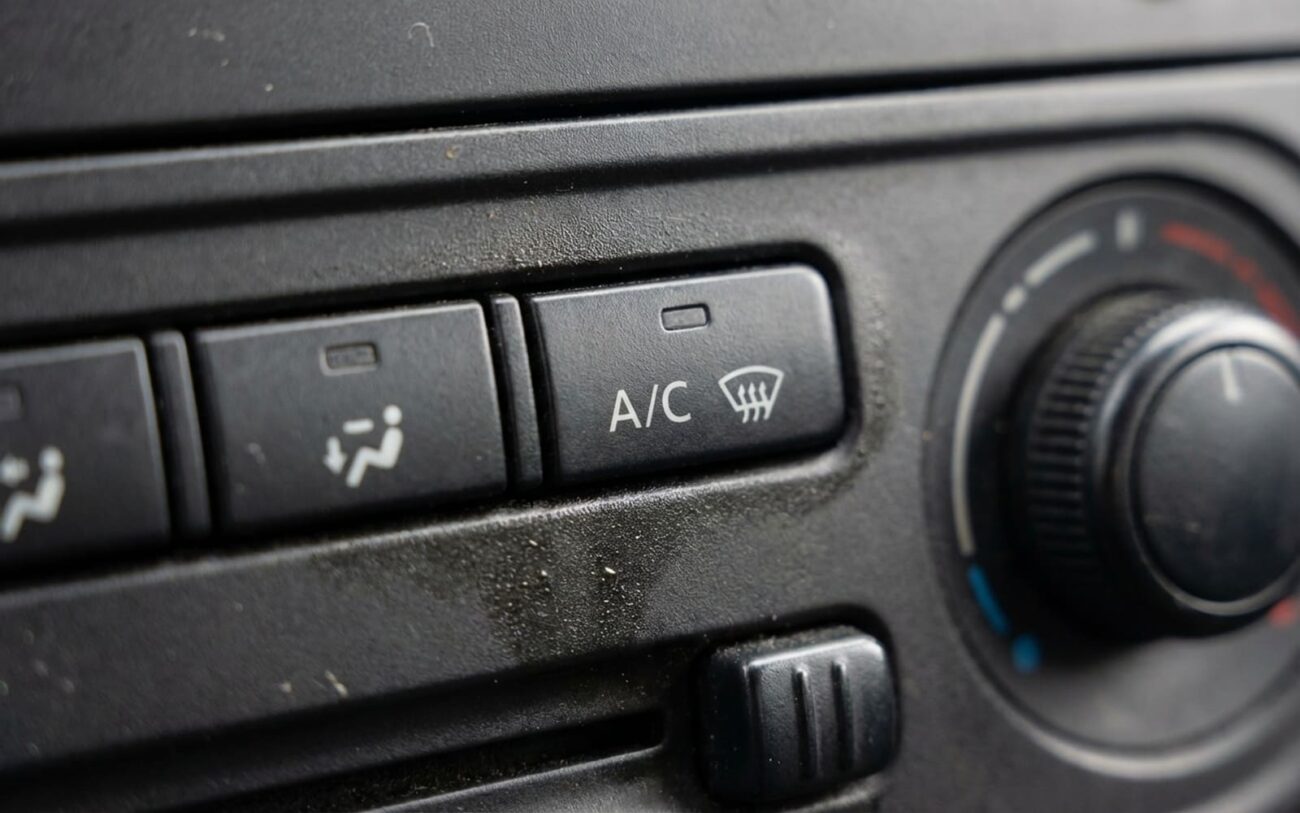
I’ve pulled more HVAC control modules than I can count — from beat-up Corollas to luxury SUVs with touchscreens built into the dash. When the buttons don’t light up, most people assume the whole unit is shot. But 70% of the time, it’s not dead — it’s just dark. And that changes everything.
Symptom First, Tools Later
Before you touch a screwdriver, ask: is the panel unresponsive or just dark?
If the fan changes speed, the A/C kicks on, and the temperature dial still works — but the buttons are dark — you’ve got a lighting issue, not a dead module. That’s good news. We’re not chasing CAN bus ghosts or body control module failures here.
But if the entire dash cluster is dark — radio, window switches, instrument panel — stop. That’s not a HVAC problem. Check fuses, grounds, and the dimmer circuit first. I’ve seen techs replace perfectly good control modules because they skipped this step.
Now, if only one button is dark? That’s usually a localized failure. Either the bulb or LED for that button is dead, or the light guide inside the button is cracked or fogged. I see this a lot on Honda and Toyota HVAC panels — the plastic guide yellows over time and blocks the light, even if the LED is fine.
Whole panel dark? Then the fault is likely in the shared power rail. Could be a blown trace on the PCB, a failed current-limiting resistor, or a voltage regulator that gave up. But don’t assume it’s internal. I’ve wasted hours chasing board issues only to find a $2 fuse blown under the dash.
Test Before You Tear It Down
Here’s what I do before removing the panel: back-probe the illumination wire at the connector.
Find the ILL+ or DIM wire in the HVAC harness (pull up the wiring diagram for your year/make/model — don’t guess). With the headlights on and the dimmer turned up, check for 12V with a multimeter. Got voltage? Then the problem is inside the module. No voltage? Then the issue is upstream — fuse, dimmer switch, or headlight switch rheostat.
This one test saves hours. I had a 2016 Silverado come in last month — dead HVAC lights. Customer had already bought a new $400 module. I checked the dimmer wire: 0V. Ten minutes later, found a blown 5A fuse labeled “INST LPS.” Fixed. Panel lights up. New module goes back in the box.
What Actually Fails — And Why
Bulbs die. LEDs fail. Boards crack. But the reasons matter.
Older cars use incandescent bulbs — T5, T10 wedge base. They fail from thermal cycling. Turn the headlights on, filament heats to 2000°C in seconds. Do that thousands of times, and the metal fatigues. Add engine vibration, and it’s a wonder they last as long as they do.
Modern units? All surface-mount LEDs. They last longer, but they’re fragile. I’ve seen them killed by static discharge during installation — especially if the tech didn’t ground themselves. One zap, and the semiconductor junction is toast.
Heat is the silent killer. These modules sit under the dash, right above the heater core. In summer, ambient temps inside the cabin hit 160°F. If the PCB lacks thermal relief or copper pours to pull heat away, the LED junction overheats. You’ll see dimming first, then flickering, then nothing.
And don’t forget solder joints. Repeated heating and cooling causes expansion and contraction. Over time, solder cracks — especially on heavier components like voltage regulators or connectors. Looks fine to the eye, but it’s an open circuit. A cold joint like that kills power to the whole lighting rail.
Liquid spills? Yeah, they’re real. Coffee, soda, energy drinks — people treat the center console like a desk. Electrolytes in those drinks corrode copper traces. I’ve pulled boards where half the backlight circuit was eaten away. One guy spilled Mountain Dew in his Camry — three months later, the entire HVAC panel was dead. Board looked like Swiss cheese.
How I Fix It — Based on What’s Broken
Single Bulb Failure (Socketed) DIY-FEASIBLE
Failed SMD LED or Soldered Bulb Advanced DIY
Broken PCB Trace Advanced DIY
Multiple Failures or Corrosion NON-REPAIRABLE → REPLACE
Temporary Fix? Not applicable
Did It Work? Test Like a Pro
Don’t just turn on the lights and walk away. Test it.
For bulb or LED repairs: verify even illumination. Use your DMM — voltage at the repair site should match adjacent lights (12V for incandescent, ~5V for regulated LED circuits). Check for solder bridges or cold joints under magnification.
If you jumped a trace: measure resistance across the wire. Should be less than 1 ohm. Then power it up and check voltage drop — more than 0.1V means poor conduction. Finally, check for shorts to ground or adjacent traces.
For a full replacement: test every function — fan speeds, A/C, recirc, defrost. On modern cars, scan for HVAC DTCs. Some systems throw a U0100 (lost communication) if the module isn’t recognized. You may need to reprogram or recalibrate.
Cost vs. Risk: What’s the Smart Move?
| Repair Type | DIY Cost | Shop Cost | Success Rate | Secondary Risk |
|---|---|---|---|---|
| Single bulb (socketed) | $5–$20 | $75–$150 | 99% | Minimal — just don’t force the socket |
| SMD LED or trace repair | $10–$50 | $150–$400 | 85% (skill-dependent) | High — heat damage, lifted pads, shorts |
| Full module replacement | $100–$600 | $250–$800+ | 100% | Medium — programming issues, wrong part |
My rule: if a new OEM module costs more than 35% of the car’s value, go used or aftermarket. But verify compatibility. I had a guy install a junkyard module on his 2014 Traverse — didn’t realize it needed BCM pairing. Spent another $120 at the dealer to code it.
And consider labor. If your shop charges $120/hour, a $400 repair that might fail again in six months isn’t worth it. Just replace the unit.
Keep It From Happening Again
To Prevent Recurrence
-
No drinks near the console. I don’t care if it’s “just water.” Condensation seeps in. One spill, and corrosion starts. If it happens, pull the panel, clean with 90%+ isopropyl alcohol, and let it dry 48 hours.
-
Check dash lights monthly. When you turn on the headlights, glance at the HVAC panel. Catch one dark button early, and you save the whole unit.
-
Handle bulbs with gloves or a cloth. Skin oils create hot spots on the glass. That’s how filaments fail early.
-
Test the dimmer knob regularly. If the lights don’t respond, you’ve got an early warning of a failing rheostat — before it kills your HVAC lighting.
