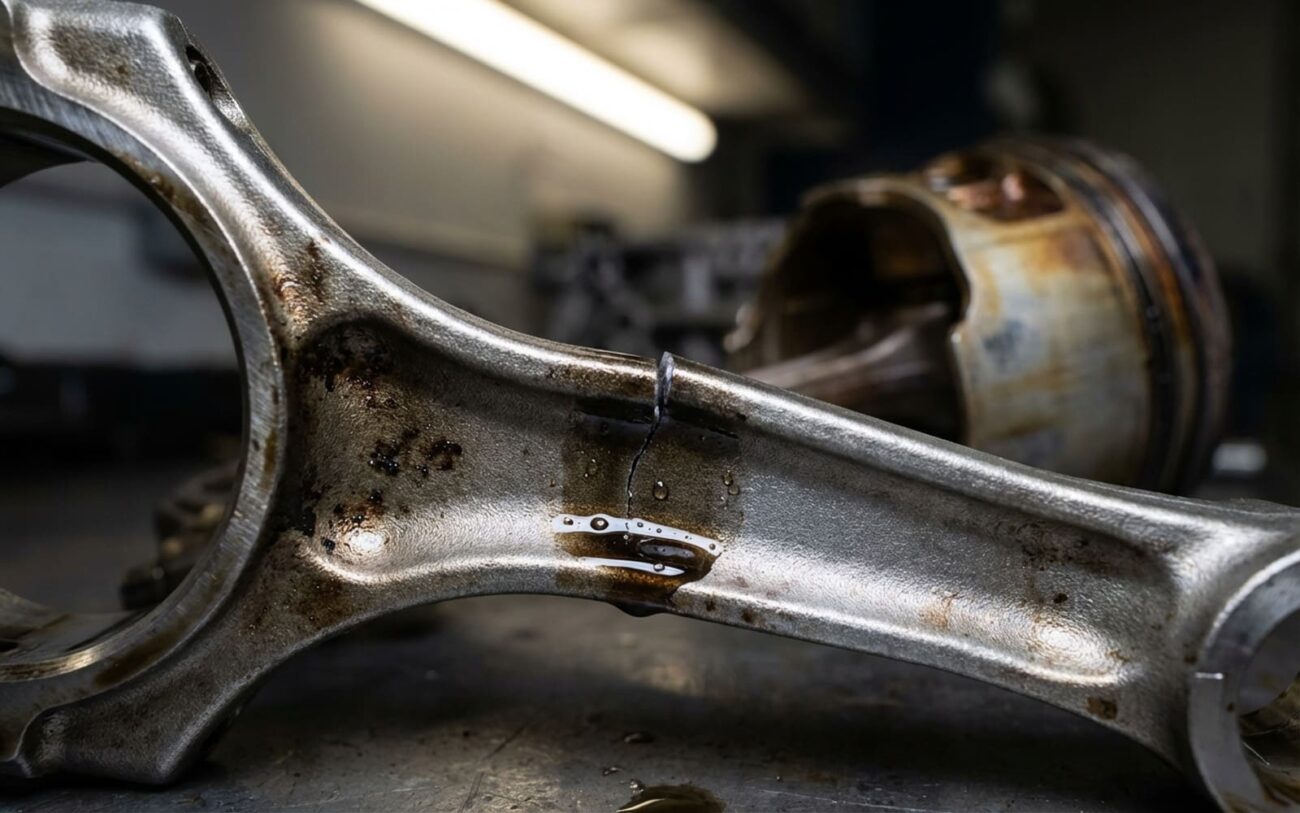
Alright, let’s talk about A/C compressors. Specifically, what happens when moisture gets into your system and turns a simple cooling problem into a full-blown mechanical disaster. I’ve been wrenching on cars for over 25 years, and I can tell you, a hydrolocked or seized compressor isn’t just a part failure; it’s a symptom of a much deeper issue that most folks miss. When I see a compressor come into my shop that’s been taken out by moisture, it’s usually a pretty clear story if you know what to look for.
Spotting a Dying Compressor: The Red Flags
The first sign of trouble often comes from under the hood the moment you hit that A/C button. You’re listening for a few key things:
-
The Loud Squeal or Burning Rubber Smell: This is probably the most common. You turn on the A/C, and you hear a nasty squeal, maybe even see smoke or smell burning rubber from the front of the engine. What’s happening? The compressor clutch is trying to engage, but the internal components are seized solid. The serpentine belt is fighting against a locked pulley, slipping, and burning. If you see or hear this, shut the engine off immediately. Continuing to run it can throw the belt, potentially taking out your radiator, water pump, or alternator. I’ve seen a simple compressor failure turn into a multi-thousand dollar repair because someone kept driving.
-
Deep Metallic Knocking or Hammering: This is a more ominous sound, usually a deep, rhythmic knock that starts the instant the A/C clutch engages and stops when it disengages. This isn’t a bearing whine or a loose pulley; it’s the sound of pistons or scroll plates inside the compressor trying to compress liquid. Remember, liquids are nearly incompressible. When that happens, the hydraulic pressure spikes instantly, putting immense stress on the internal parts. If you hear this, the compressor is already on its way out, likely suffering from what we call “liquid slugging.”
-
Physical Damage: Sometimes, the failure is so catastrophic that you’ll see it. A cracked compressor housing, a discharge port that’s literally blown out, or a shaft seal violently ejected from the unit. These aren’t just leaks; these are signs of internal pressure events so extreme they exceeded the strength of the aluminum casting. It’s like a pressure cooker exploding.
Here’s a critical point many people miss: when a compressor fails this way, it doesn’t just die in isolation. It sends metal shrapnel, corrosive acid, and sludge through the entire A/C system. That means your condenser, evaporator, lines, and expansion valve are all contaminated. If you just replace the compressor and recharge, that new compressor will fail in weeks, sometimes days. I’ve seen too many repeat failures because someone thought a new compressor and a quick recharge would solve everything. The contamination left behind will destroy the replacement just as fast as it killed the original.
Confirming the Culprit: Targeted Diagnostics
Not every noise from the front of the engine is an A/C compressor issue. Jumping to conclusions can cost you a lot of time and money. You need to be sure the fault is in the compressor, not the engine or another accessory. Here’s how I confirm it in the shop:
If you hear a loud knock when the A/C engages:
This is often mistaken for an engine rod knock or a bad idler pulley. To confirm it’s the compressor, locate the A/C compressor clutch electrical connector (it’s usually a two-wire plug going to the front of the compressor). Disconnect it. Then, start the engine and turn the A/C on. If the knocking noise disappears, you’ve pinpointed the problem to the compressor. If the knock persists, then you’re looking at something mechanical in the engine or the drive system itself.
If the compressor appears seized (belt slipping, won’t turn):
A seized compressor means the internal components are locked up. But sometimes, it’s just the clutch bearing that’s failed, and the compressor itself might be okay (though rare with moisture issues). To check, first, remove the serpentine belt. Then, try to turn the center hub of the compressor clutch by hand, or use a wrench on the center bolt. If it won’t rotate at all, the compressor is internally seized. If the hub does turn, but the outer pulley (where the belt rides) doesn’t spin freely, then the clutch bearing is the culprit. This is a much simpler, less expensive repair, but still requires proper A/C system service.
If you see oil leaking from the compressor shaft seal:
Oil around the front of the compressor can be confusing, as it’s near other potential leak sources like a valve cover gasket or power steering pump. To definitively identify an A/C shaft seal leak, thoroughly clean the area around the compressor. Then, add UV dye to the A/C system (if it’s not already present) and run the A/C for 15-20 minutes. Inspect the area with a black light. A glowing leak precisely at the shaft where it enters the compressor indicates a failed shaft seal, often a symptom of high internal pressure or degraded oil.
The Real Killer: How Moisture Destroys Your Compressor
Moisture doesn’t just “cause problems”; it starts a predictable and destructive chain reaction inside your A/C system. Understanding this is key to preventing repeat failures:
-
Liquid Slugging: This is the primary killer. When liquid refrigerant (or even water) enters the compressor’s cylinders or scroll chamber instead of vapor, it’s like trying to compress a brick. Liquids are nearly incompressible. The mechanical components—pistons, connecting rods, swash plates—experience massive resistance. This can bend rods, crack pistons, or fracture internal valves. The result is immediate mechanical failure and a shower of metal debris throughout the system. I’ve seen crankshafts snap clean off inside these things.
-
Acid Formation & Oil Dilution: Moisture, especially when mixed with refrigerant (like R134a) and compressor oil, forms corrosive acids—primarily hydrochloric and hydrofluoric acid. These acids degrade the oil’s lubricating properties, leading to excessive bearing wear and increased friction. Even worse, liquid refrigerant can migrate into the oil sump during off-cycles and dissolve into the oil, thinning it out. When the compressor starts up, it’s essentially running dry for a few seconds, accelerating wear dramatically.
-
Internal Corrosion & Particulate Generation: The acids don’t just thin the oil; they actively attack the aluminum and steel components inside the compressor. This creates microscopic pits and tiny metal shavings. These particles then circulate with the oil, acting like sandblasting grit. They score bearings, clog tiny oil passages, and damage the delicate reed valves or scroll plates. Over time, this abrasive wear leads to seizure or lockup.
The technical standards back this up. SAE J2788 recommends moisture levels below 500 parts per million in R134a systems to prevent acid formation. In my experience, vehicles driven through deep water or those with improperly serviced A/C systems often have moisture levels three or four times higher than that. Some manufacturers have even issued service advisories warning of hydrolock risk after water immersion, especially in trucks and SUVs where the condenser is mounted low. So, while a stuck expansion valve or an overcharged system can also flood the compressor with liquid, the root cause often traces back to moisture compromising the oil and desiccant capacity. The compressor might be the “victim,” but the real failure started with poor system maintenance or a breach.
The Fix: Rebuilding a Contaminated System (Not Just a Part)
Once you’ve confirmed a moisture-induced compressor failure, your repair path depends on the severity. But let me be clear: this is not a DIY-friendly job for most people. It requires specialized tools, precision, and a deep understanding of refrigerant handling and EPA regulations.
Full System Replacement: When the Compressor is Dead
If your compressor is seized, knocking, or physically damaged, you’re not just replacing a single part; you’re essentially rebuilding a contaminated closed-loop system. Here’s the process I follow:
- Refrigerant Recovery: First, the refrigerant must be recovered using an EPA Section 609-certified machine. This isn’t optional; it’s the law and it protects the environment.
- Component Removal: Remove the old compressor, the accumulator (or receiver/drier), and the orifice tube or expansion valve. These are all contaminated and cannot be reused.
- System Flushing: This is the most critical step and where many DIYers fail. The condenser and evaporator must be flushed with a proper A/C flush solvent like RX-11 or an equivalent, then thoroughly blown out with dry nitrogen. You’re trying to remove every last speck of metal shrapnel, acid, and sludge. Skipping this step guarantees the new compressor will fail. A filter can’t catch everything.
- New Parts Installation: Install a new compressor (usually prefilled with the correct amount of PAG or POE oil, but always double-check), a new accumulator or receiver/drier (with fresh desiccant), and a new orifice tube or TXV. Do not reuse any old components.
- Torque Specs: Pay close attention to compressor mounting bolt torque specs. Many housings are aluminum and can easily crack if overtightened.
- Deep Vacuum: This is non-negotiable. Use a certified vacuum pump to pull a deep vacuum, reaching below 500 microns, and hold it for at least 30 minutes (I usually go for 45-60 minutes). This boils off any residual moisture in the system and verifies system integrity (no leaks). If your micron gauge rises quickly, you either have a leak or still have too much moisture.
- Recharge: Only after a stable, deep vacuum should you recharge the system with the exact amount of refrigerant specified by the OEM. Overcharging or undercharging can lead to poor performance and premature failure.
[PROFESSIONAL-ONLY] Early Intervention: If moisture is detected early—maybe you see high discharge pressure, low suction, or a moisture indicator changes color—and the compressor is still functional (no knocking, no seizure), you might avoid a full system replacement. In this scenario, recover the refrigerant, replace only the accumulator or receiver/drier (its desiccant bag is saturated), and pull a deep vacuum to 500 microns or lower for at least 45 minutes, sometimes an hour or more. This extended vacuum cycle is crucial for boiling off moisture. Then recharge with the correct refrigerant weight. Do not use sealants or “stop leak” additives. I’ve seen more systems ruined by these “quick fixes” than by moisture alone. They clog expansion valves, orifice tubes, and condensers, leading to complete system failure and an even more expensive repair.
Post-Repair Validation: Is It Actually Fixed?
A repair isn’t complete until it’s verified. You need to check performance, pressure, and confirm the system is dry and sealed. Here’s my checklist:
-
Performance Check: On a day above 70°F (or in a heated shop), set the A/C to max recirculate, blower on high, and let it run for 5–10 minutes. The low-side pressure should stabilize between 25 and 40 psi, and the high side between 150 and 250 psi. These numbers will vary with ambient temperature, so always cross-reference with a pressure chart for your specific refrigerant. The air from the center vent should be between 35°F and 45°F. If it’s not, something is still wrong.
-
Leak Detection: Don’t rely on soap bubbles for A/C leaks; they’re often too small to see. Use an electronic halogen leak detector on every joint, valve, and connection. I also prefer a static pressure test with nitrogen or, even better, a vacuum hold test. Pull a deep vacuum, close the manifold gauge valves, and monitor the micron level for 10–15 minutes. If the micron level rises, either moisture is still boiling off (meaning you need more vacuum time) or there’s a leak. A stable vacuum confirms the system is dry and sealed. This step is absolutely critical—I’ve seen countless “bad compressors” fail again because moisture was never fully removed during the initial repair.
Cost, Risk & When to Walk Away
Let’s not sugarcoat it: this repair is expensive, and the risk of failure is high if you don’t have the proper tools, knowledge, and experience. Here’s a realistic breakdown:
DIY Cost for Full System Replacement: You’re looking at $500–$1,000 just for parts (compressor, accumulator, orifice tube, flush solvent, refrigerant). Add to that the cost of specialized tools you’ll need: a good vacuum pump, a micron gauge, manifold gauges, and a recovery machine (which you can’t really buy, only rent or have a pro use). Without these, your success rate is very low, probably less than 30%. The secondary risks are high: refrigerant loss, repeated compressor failure, contaminating new parts, and potentially violating EPA regulations by venting refrigerant.
Shop Cost for Full System Replacement: In a professional shop, this repair typically runs $1,200–$2,500. This covers the labor-intensive process, the specialized certified equipment, and the expertise. The success rate is much higher, assuming a competent technician.
Here’s a rule I use in my shop: if the repair cost exceeds 40% of the vehicle’s current market value, it’s time to seriously reconsider. A/C is nice, but it’s not worth sinking $2,000 into a car that’s only worth $5,000. In those cases, living without A/C or planning for vehicle replacement may be the smarter economic choice. And remember—skimping on the flush or skipping the deep vacuum won’t save you money. It’ll just guarantee a repeat failure, and then you’re paying for it all over again.
Prevention: Keep That Moisture Out!
The best way to avoid a hydrolocked compressor and this whole expensive mess is to keep moisture out of your A/C system from the start. It’s really that simple, but it requires diligence:
-
Replace the Receiver/Drier or Accumulator Every Time: This is non-negotiable. Every single time the A/C system is opened—even for a quick hose replacement—the receiver/drier or accumulator must be replaced. That desiccant bag inside is a one-time-use component. Once exposed to ambient air, it starts absorbing moisture immediately and loses its effectiveness. You can’t “save” it for later; it’s already compromised.
-
Always Use a Vacuum Pump and Micron Gauge: When reassembling any A/C system, a deep vacuum is essential. The vacuum pump lowers the boiling point of water, allowing any trapped moisture to evaporate at room temperature and be pulled out of the system. It’s the only reliable way to dry the system completely. Don’t skip this, and don’t rely on just a few minutes of vacuum; you need to see those micron numbers drop and hold.
-
Use OEM-Specified Compressor Oil: Always use the correct type and viscosity of compressor oil—PAG or POE—as specified by the OEM. The wrong oil won’t circulate properly, won’t mix correctly with the refrigerant, and will lead to poor lubrication and early failure. It’s not a place to cut corners.
-
Early Detection: Listen carefully when you turn on the A/C each season. A clunk, knock, or hesitation at engagement can be your first warning sign. Annual pressure checks with a manifold gauge set can also catch moisture buildup or other issues before they cause catastrophic damage. Catching it early, when only the drier needs replacement and a deep vacuum, can save you thousands.
