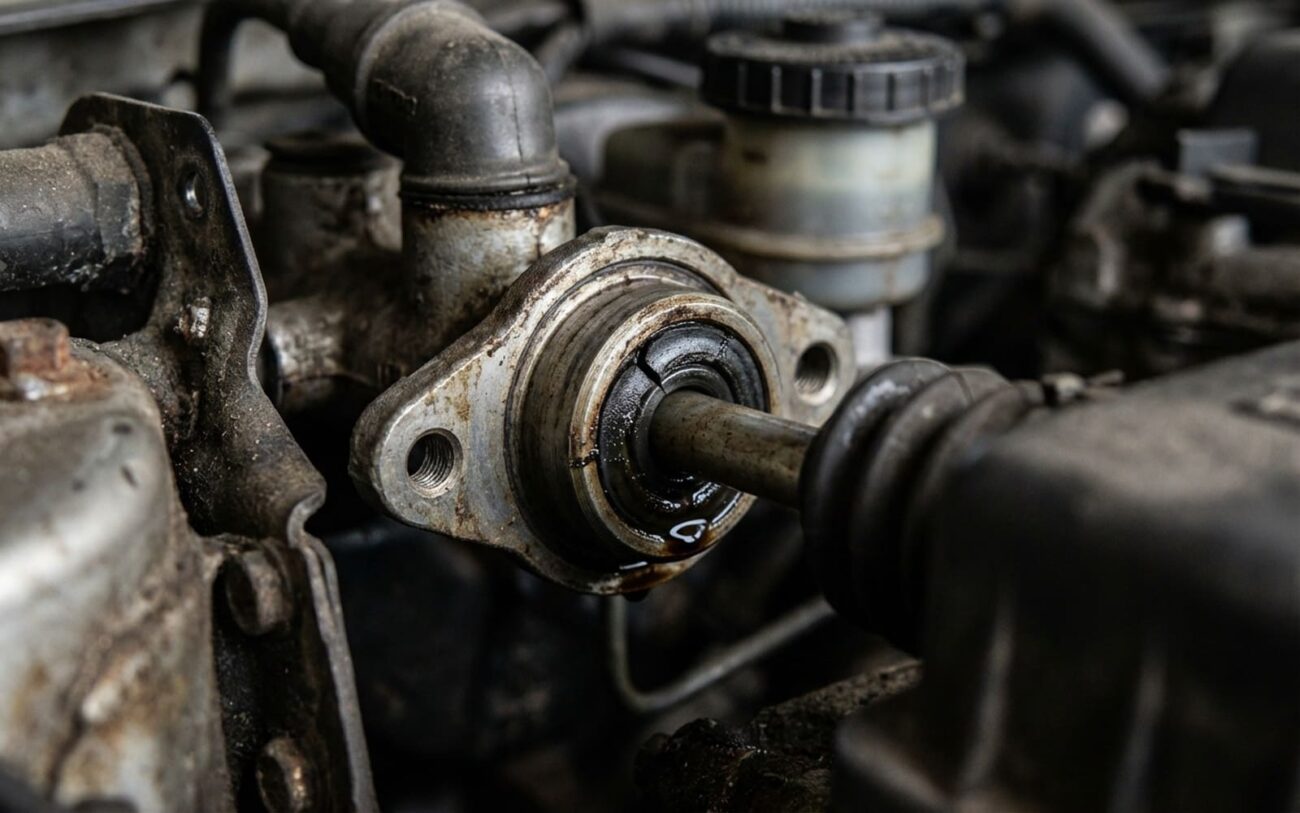
Alright, let’s talk brakes. Specifically, that unnerving feeling when you’re stopped at a light, foot on the pedal, and it just… slowly sinks to the floor. Or maybe it feels spongy, like stepping on a wet sponge, and you have to pump it a couple of times to get a firm stop. If you’re experiencing either of these, you’ve got a hydraulic problem, and in my 25+ years turning wrenches, the master cylinder is almost always the prime suspect.
Recognizing the Red Flags: What Your Pedal is Telling You
When that brake pedal goes soft or starts to sink, it’s a direct signal that your hydraulic system isn’t holding pressure like it should. There are a couple of classic scenarios I see in the shop:
- The Slow Sinker: You’re holding the pedal steady at a stop, and it gradually drops towards the floor. This is the textbook sign of internal bypass within the master cylinder. What’s happening is the seals inside aren’t holding the line pressure. Instead of forcing fluid down to the calipers, the fluid is just slipping past those worn seals, back into the reservoir. Your foot might be pushing, but the pressure isn’t getting where it needs to go.
- The Spongy Pump-Up: The pedal feels soft, maybe even goes down a good ways, but if you pump it once or twice, it firms right up. Now, a lot of folks immediately think “air in the lines” here, and often, they’re right. Air compresses, fluid doesn’t, simple as that. But — and this is a big “but” — a failing master cylinder can absolutely mimic this. I’ve seen plenty where the rear piston seal is weak, allowing air to get sucked in from the reservoir, or even letting fluid leak into the brake booster. You bleed the brakes, it feels better for a bit, then the problem comes right back. That’s a master cylinder tricking you.
My Approach to Diagnosis: No Guesswork Allowed
Because these symptoms can overlap so much, you can’t just throw parts at it. You need to narrow it down. Here’s how I go about isolating whether it’s truly the master cylinder or something else:
1. The Static Pressure Test (for that sinking pedal)
If the pedal is sinking when held steady, this is my go-to. I’ll connect a pressure gauge to one of the bleeder screws – usually the front left, as it’s often the easiest to access. Pump the pedal until the gauge reads around 300 psi, then hold it. If that pressure drops significantly (say, more than 50 psi) within a minute, and you don’t see any external leaks at the calipers, lines, or wheel cylinders, you’ve got internal bypass. That’s the master cylinder seals giving up.
2. The In-Car Bench Bleed (for spongy pedal, especially after bleeding)
When a spongy pedal keeps coming back, even after a proper bleed, I suspect the master cylinder is sucking in air. What I do is disconnect the brake lines from the master cylinder and loop them back into the reservoir ports using short pieces of brake line or special adapters. Then, with the engine off, I slowly press the brake pedal. If you see persistent bubbles coming up into the reservoir, even after several strokes, that master cylinder is definitely ingesting air. It’s a dead giveaway.
3. The Booster Inspection (for unexplained low fluid)
If the brake fluid level is consistently low, but you can’t find a single external leak anywhere – not at the wheels, not on the lines, not on the ground – then I start looking at the brake booster. The master cylinder has a secondary seal that can fail, allowing fluid to leak past it and into the brake booster cavity. To check this, you’ll need to carefully remove the master cylinder from the booster. If you see brake fluid inside the booster, or if it drips out when you separate the two, you’ve found your leak. That fluid is gone, but it’s not on the ground, so it’s easy to miss.
Why They Fail: The Guts of the Problem
When a master cylinder gives up the ghost, it’s almost always an internal breakdown. The rubber piston seals and the bore they slide in are the weak links. Here’s the deal:
The Problem
“Brake fluid is like a sponge; it absorbs moisture from the air. Once it’s saturated, it stops protecting and starts corroding the very metal it lives in, especially the master cylinder bore.”
That moisture is the real enemy. It causes the rubber seals to degrade – they swell, harden, or crack, losing that critical elasticity needed to maintain a tight seal under pressure. And it doesn’t stop there. Moisture also leads to rust and pitting inside the master cylinder bore. When those pistons move, those rough spots can nick or tear the seals, creating an easy path for fluid to bypass, or for air to get sucked in.
A Quick Word on Fluid Types:
Using the wrong brake fluid is a surefire way to kill a master cylinder fast. I’m talking about putting DOT 5 (silicone-based) into a system designed for DOT 3 or DOT 4 (glycol-based). Those rubber seals are specifically formulated for glycol fluid; DOT 5 will often cause them to swell and fail almost immediately. Don’t mix them up.
The Fix: What I Recommend
Rebuild Kits? Skip ‘Em.
Look, I’ve been doing this a long time. While master cylinder rebuild kits exist, I almost never recommend them. The tolerances are incredibly tight, and if there’s any pitting or scoring in that bore – which there usually is if the seals are shot – new seals won’t last. It’s a waste of time and effort. Just replace the whole unit.
Master Cylinder Replacement My Recommended Fix
Full System Bleeding (After Replacement)
Don’t Call It Done Yet: Post-Repair Validation
Just because the new part is in and the lines are bled doesn’t mean you’re finished. You’ve got to validate the repair. Your life, and the lives of others, depend on those brakes working perfectly.
My Final Checklist:
-
Repeat the Static Pressure Test: After everything is buttoned up, pressurize the system to 300 psi again. A healthy, properly bled system should hold that pressure with minimal loss – less than 50 psi over a minute is what I look for.
-
Road Test: Take the vehicle out. Perform several stops from various speeds (30 mph, 50 mph). The pedal needs to feel firm, consistent, and predictable. No sponginess, no sinking.
-
Check for Warning Lights: Make sure the Brake and ABS warning lights are off on the dash. If they come on, scan for codes to see what’s going on.
-
Fluid Level Overnight: The next morning, double-check the brake fluid reservoir. It should be at the MAX line, and the fluid itself should look clear, not foamy.
Cost & Prevention: Thinking Long-Term
Replacing a master cylinder isn’t the cheapest repair, but it’s absolutely essential. For parts alone, you’re usually looking at $100-$300 for a good quality unit. If you take it to a shop, expect to pay anywhere from $400-$800, which includes the part, labor, and a full system bleed. Trying to save a few bucks by just bleeding the system when the master cylinder is truly bad is a false economy – the problem will just come back, and you’ll be right back where you started, potentially with a bigger safety risk.
Prevention is Key:
The best way to avoid master cylinder failure is regular brake fluid maintenance. I tell all my customers to replace their brake fluid every 2 to 3 years. This flushes out that moisture and contaminants before they can start corroding the internal components. Also, make it a habit to check your brake fluid reservoir level monthly. A slow drop in fluid with no visible leaks is often the first sign of an internal leak into the booster, and catching it early can prevent a much bigger headache – or worse.
