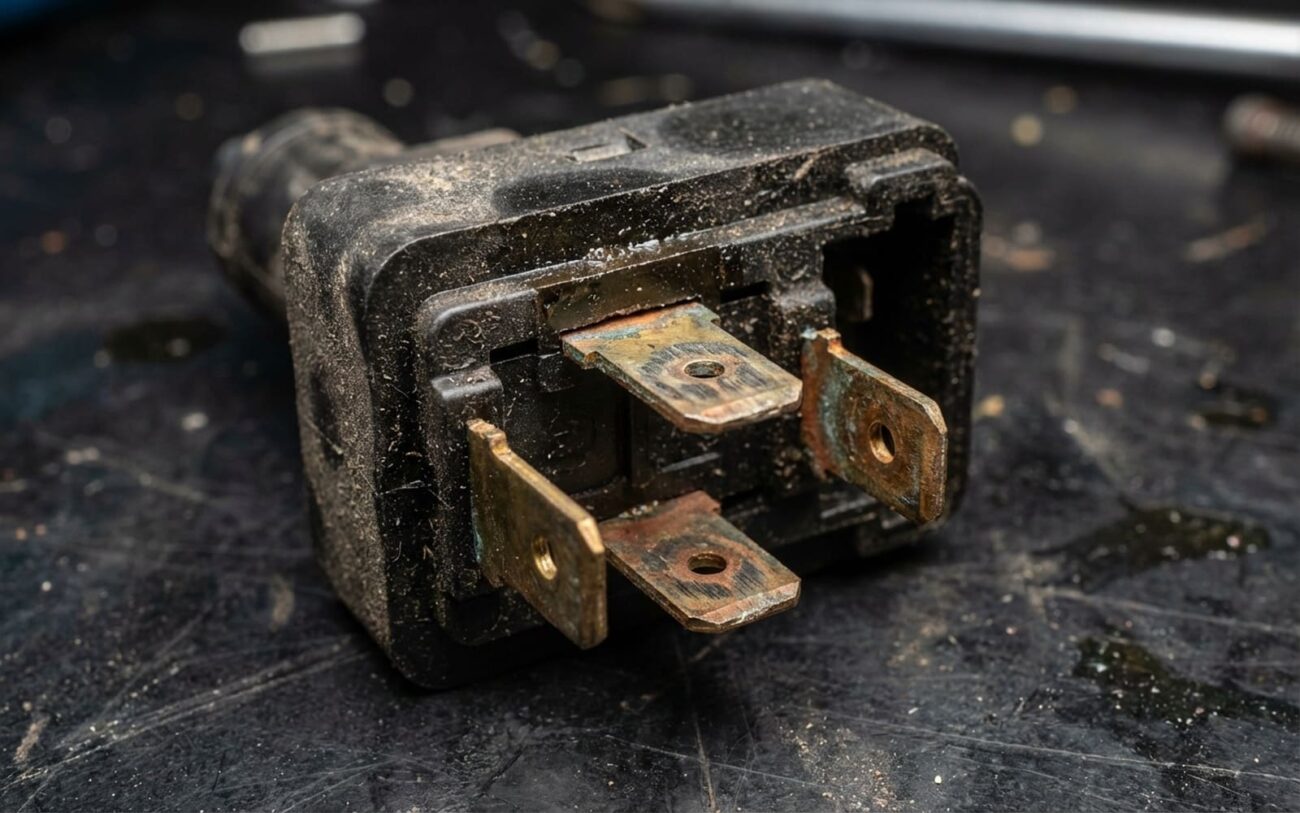
Brake lights out but the bulb’s fine? Don’t just throw parts at it. I’ve torn into hundreds of these cases—Chevys, Hondas, Fords, you name it—and more often than not, it’s not the bulb, not the fuse, not even the wiring. It’s that little switch on the brake pedal. But—and this is a big but—you don’t get to assume. Not until you test. Because the same symptom—no brake lights—can come from a $5 fuse or a $600 BCM. And if you skip the meter, you’re just guessing.
Symptom First, Then Diagnosis
Start with what you see. No brake lights? Lights stuck on? Cruise control dead? Shifter won’t come out of Park without the override? These aren’t separate issues—they’re clues. On the 2015–2017 F-150s, I see this weekly: customer says “brake lights don’t work,” but the real story is the cruise died at the same time. That’s not a coincidence. That’s the brake light switch feeding bad data to the PCM and BCM.
So here’s how I triage it:
| Symptom | Likely Root Cause | What Else Could Fake It | Definitive Test |
|---|---|---|---|
| No brake lights, bulbs good | Switch contacts failed open (no continuity) | Blown fuse, broken wire, bad ground, BCM fault |
Test: Ignition ON, multimeter on DC volts. Probe the switch output wire (usually red/white). Press the pedal. You should see 12V appear. No change? Check input power first. If input’s hot and output’s dead, switch is bad—or misadjusted. |
| Brake lights stuck on | Plunger stuck, switch shorted, or misadjusted | Short to power in harness, melted connector, BCM latch-up |
Test: Unplug the switch. If lights go out, the switch or its adjustment is the problem. If they stay on, you’ve got a short downstream—probably in the harness near the pedal bracket or firewall. |
| No brake lights, cruise and shift interlock dead | Failed multi-circuit brake switch (common on post-2012 vehicles) | Multiple system failures (rare) |
Test: Scan tool. Pull up Brake Pedal Position in the BCM or PCM datastream. It should toggle cleanly between “Released” and “Pressed.” No change? Confirm power and ground at the switch. Still nothing? Switch is toast. |
Fixing It: Replace, Adjust, or Walk Away?
Once you’ve confirmed the switch is bad, your path is clear: replace it. But let’s be real—some shops charge $180 to swap a $25 part. You can do it yourself. I do. Every time.
Here’s how I do it:
- Disconnect the negative battery terminal. Not optional. Prevents shorts and resets any modules that might be in a fault state.
- Remove the lower dash panel or knee bolster. On a Honda, it’s usually two 10mm bolts and a twist. On a Ford, might be a few push clips. Keep track of them.
- Unplug the switch connector. Don’t yank—press the tab.
- Twist or unclip the switch. Most rotate 90 degrees and pull out.
- Do not press the brake pedal with the switch out—unless your service manual says it’s okay. On some GMs and Toyotas, that can mess up the pedal position learn routine. And on older cars, you risk pushing the master cylinder piston too far and blowing a seal.
- Install the new switch. OEM or high-quality aftermarket (I like Akebono or Standard Motor Products). Push it in until it clicks. It should sit flush, with the plunger slightly compressed by the pedal arm when at rest.
- Reconnect the battery. Test everything.
Adjustment? Yeah, some older switches let you tweak the plunger gap. If the lights were stuck on and unplugging the switch killed them, you might get away with adjusting instead of replacing. But only if the switch is otherwise functional. Loosen the lock nut, rotate the body to get 0.5–1.0 mm gap between plunger and pedal arm, then tighten. Check the factory manual if you can—some specify exact clearance.
Cleaning the contacts? I don’t recommend it. But if you’re stranded and have no spare, spray a little DeoxIT into the switch body and work the plunger. Might buy you a day. But that’s all. The housing is sealed for a reason—once you compromise it, moisture gets in, and it’s game over.
Did It Work? Don’t Guess.
Test like you’re getting paid for it. Have someone watch the lights—or back up to a garage door and watch the reflection. All three brake lights (including the CHMSL) should come on instantly with pedal press and shut off immediately when released. No lag. No flicker.
Then check secondary functions:
- Cruise control should disengage the moment you tap the brake.
- Shifter should release from Park only when the pedal is down.
If you’ve got a scan tool, pull up the Brake Pedal Position parameter. Watch it toggle cleanly. That’s the gold standard. It means the signal is getting through—not just to the lights, but to every module that needs it.
Cost: What You’ll Actually Pay
| Repair | DIY Cost | Shop Cost | Success Rate | Risks |
|---|---|---|---|---|
| Switch Replacement | $15–$50 | $80–$180 | 98% | Cheap switches fail fast—wrong plunger travel, weak contacts. Stick to OEM or reputable brands. |
| Switch Adjustment | $0 (if functional) | $40–$80 | 95% | Too tight: lights stay on, wear out switch. Too loose: no activation. It’s a balance. |
| Harness or BCM Repair | $10+ (wire, connectors) | $150–$600+ | 99% | BCM failure is rare but expensive. If the quote’s over $600 and the car’s worth under $3,000, think hard. A used, programmed BCM might be your best bet. |
How to Keep It From Happening Again
The switch isn’t a wear item, but you can kill it early. Don’t spray lube under the dash—especially silicone sprays. They attract dust, gum up the plunger, and lead to binding. If you need to clean it, use electronics-safe contact cleaner, and don’t soak it.
Best prevention? Pay attention. Every time you start the car, glance at the brake light reflection in the garage door or window. Delay? Flicker? Cruise acting up? Don’t wait. Get it checked. I’ve saved dozens of customers from tow bills just because they noticed a flicker early.
And if you’ve had water in the cabin—say, after a leak or interior detailing—check for moisture in the pedal area. Water and electronics don’t mix. For more on that, see the guide on water damage to control modules. Same principles apply.
