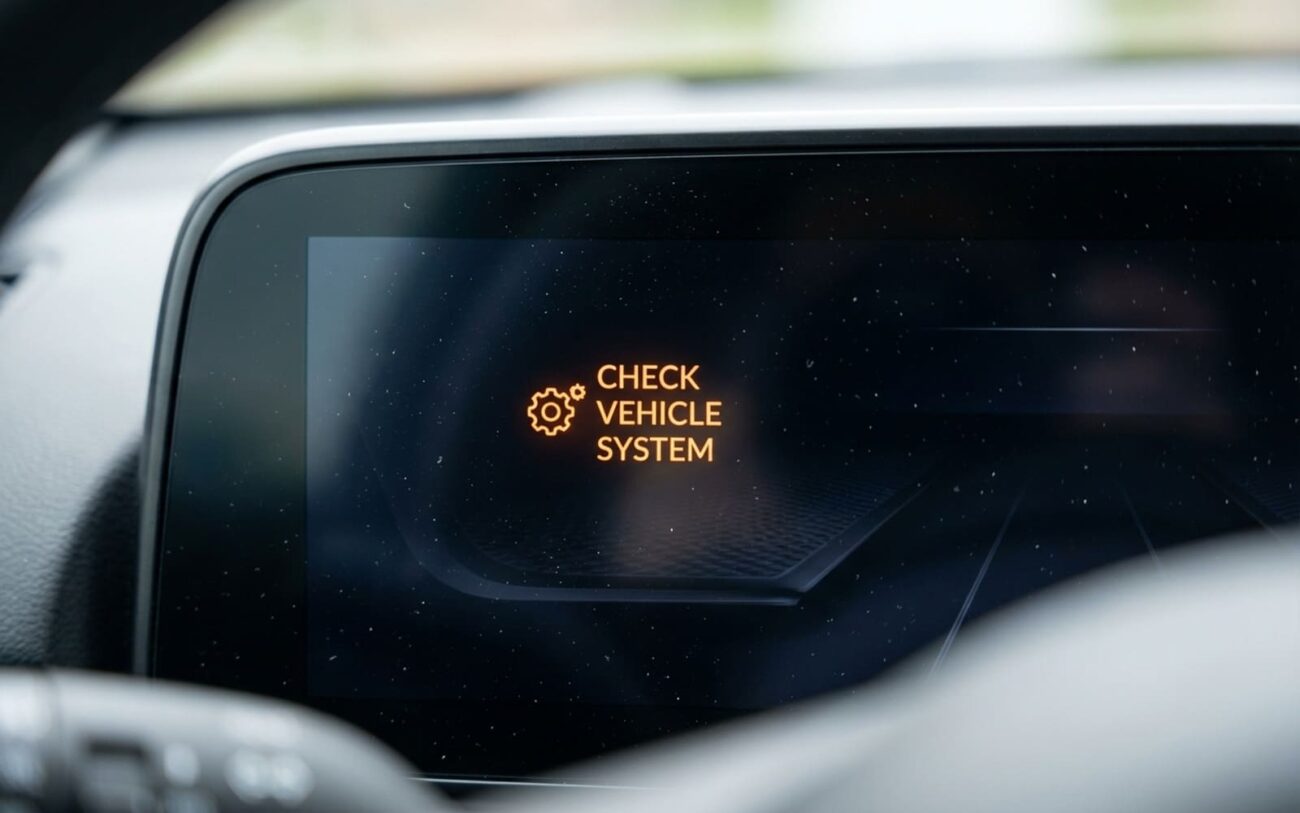
A dead Tesla screen isn’t a glitch. It’s a systems collapse. I’ve pulled apart over seventy of these MCUs—some with soldering irons still warm from the last repair—and what you’re seeing on the dash is just the tip of the iceberg. No screen? You can’t turn on the defroster. Can’t signal. Can’t even shift gears on early Models S and X. This isn’t infotainment. It’s the car’s central nervous system, and when it goes down, you’re flying blind.
Symptoms That Mean Business
First thing I ask a customer: “Was it sudden, or did it act up first?”
If it went black overnight—no warning—it’s likely power or hardware. If it started lagging, freezing, or rebooting randomly, that’s eMMC decay. I’ve seen Model S units from 2015–2017 come in with 45-second boot times. The system hangs at the Tesla “T” logo. That’s not software. That’s the NAND flash wearing out from constant logging and updates.
And don’t kid yourself—this isn’t just about navigation. I had a guy in Utah last winter pull into my shop with fogged glass and no way to clear it. Screen was dead. No fan control. No defroster. He’d been driving blind for two days. That’s not inconvenient. That’s dangerous.
Same with safety alerts. Low tire pressure? Brake fault? 12V battery warning? All display only on the center screen. No screen, no warning. I’ve torn down cars where the brake booster was failing, but the driver never knew—because the alert never showed.
MCU STATUS
Timestamp: –:–
Don’t Jump to Conclusions
I’ve had three customers this year show up convinced they needed a new MCU. All three had weak 12V batteries—below 11 volts. Tesla’s system won’t boot the MCU if voltage sags. It looks like a dead computer, but it’s just starving.
So before you pull the dash apart, check the basics:
Rule out the simple stuff first:
Test the 12V battery under load. Check fuses. Verify Gateway module communication with a scan tool. If the Gateway is down, the MCU won’t talk—even if it’s fine.
| Symptom | Likely in Central Compute System | Common External Mimics | Definitive Test to Confirm Source |
|---|---|---|---|
| Black screen, no response to reboot (two-scroll wheel) | MCU eMMC failure, MCU power supply failure | 12V battery below 11V, Gateway module failure |
Use a multimeter to verify 12V and ground at the MCU connector. If voltage is present, connect a diagnostic scan tool. If the MCU node is unreachable, the unit is likely faulty. |
| Screen is on but tactile inputs are unresponsive or laggy (>2 second delay) | MCU processor overload, failing touchscreen digitizer | Software bug, aftermarket screen protector |
Enter service mode and run the touchscreen diagnostic. Failed calibration or inconsistent touch registration points to a hardware fault in the screen or its connection to the MCU. |
| Specific function fails (e.g., climate control) but others work | Software corruption, internal CAN messaging fault within MCU | Fault in subordinate controller (e.g., HVAC module), CAN bus issue |
Use a scan tool to command HVAC actuators directly. If they respond to commands but not via the touchscreen, the MCU is failing to process input. |
What’s Actually Failing Inside
Let’s get inside the box.
The #1 killer in MCU1 units? The eMMC chip. It’s a 64GB or 128GB NAND flash chip soldered to the board. Tesla didn’t use wear-leveling firmware early on. So every time the car logs data—speed, battery temp, charging cycles—it writes to the same memory blocks. Over 5–7 years, those cells wear out. Corrupt. Fail.
I’ve pulled chips off dead MCUs and read them with a TSTool. Half the sectors are unreadable. That’s not a software issue. That’s hardware decay.
Other failures:
-
Power regulators on the MCU board—especially the 3.3V rail. If that fails, the unit won’t power. Check with a multimeter at the connector.
-
LCD backlight inverter. You’ll hear chimes, voice prompts, even the seatbelt alarm—but the screen’s black. That’s not the MCU. That’s the display power stage.
-
Touchscreen digitizer. Sun exposure in Arizona or Texas? That touch layer delaminates. You’ll get dead zones, ghost touches. I’ve seen it on units with less than 60k miles.
How I Fix It
Three real paths. No fluff.
eMMC Chip Replacement
Only if you have a hot-air station, TSTool, and micro-soldering skills. Desolder the old chip. Solder in a new 128GB eMMC. Flash a clean image via the debug port. One slip—lift a pad, crack the board—and it’s scrap.
Full MCU Replacement / MCU2 Upgrade Professional Only
Touchscreen Assembly Replacement Professional Only
Did It Stick?
Don’t call it fixed until you’ve tested it.
For an eMMC repair: boot time under 45 seconds. No freezes. No “storage corruption” codes after 10 power cycles. If it throws a code on cycle #8, it’s not stable.
For a full MCU swap: the car must accept an OTA update. That’s the real test. If it can’t download and install firmware, the MCU isn’t fully integrated.
For a new screen: calibration error under 2mm across all quadrants. I use the physical targets—printed crosshairs taped to the display. If touch is off, reseat the flex cable. Still off? The unit’s defective.
Cost vs. Value: What I Tell My Customers
eMMC Chip Replacement
DIY: $150–$300 (chip & tools). Shop: $500–$800. Success 85% (skill-dependent). Risk: potential to brick mainboard.
MCU2 Infotainment Upgrade
DIY: $1,500–$2,000 (part). Shop: $1,800–$2,500. Success 99% (when performed to spec). Low risk; often covered by warranty.
Touchscreen Display Replacement
DIY: $800–$1,200 (part). Shop: $1,300–$1,800. Success 95%. Risk: damaged trim, poor fitment, or calibration failure.
Check your VIN. Tesla has extended warranties and recall programs for MCU2 upgrades on certain model years. I’ve had customers get it done for free.
Economic Decision Rule:
If the repair costs more than 40% of the car’s value, pause. A $3,000 fix on a $7,000 car? Maybe, if the rest is solid. But on a high-mileage Model S with worn bushings, suspension, and tires? That’s a money pit. I tell customers: look at total ownership cost, not just the screen.
How to Make It Last
To Extend MCU & Screen Life
-
Keep MCU1 software updated. Tesla improved wear-leveling in later firmware.
-
Watch for slow boots, missing map tiles, or random reboots. Early signs of eMMC failure.
-
Use a sunshade. Dashboard temps over 160°F accelerate solder fatigue and screen delamination.
-
Enable cabin overheat protection. Keeps interior under 105°F even in Phoenix July.
-
Park in the shade. Thermal cycling cracks solder joints. I see it every time.
