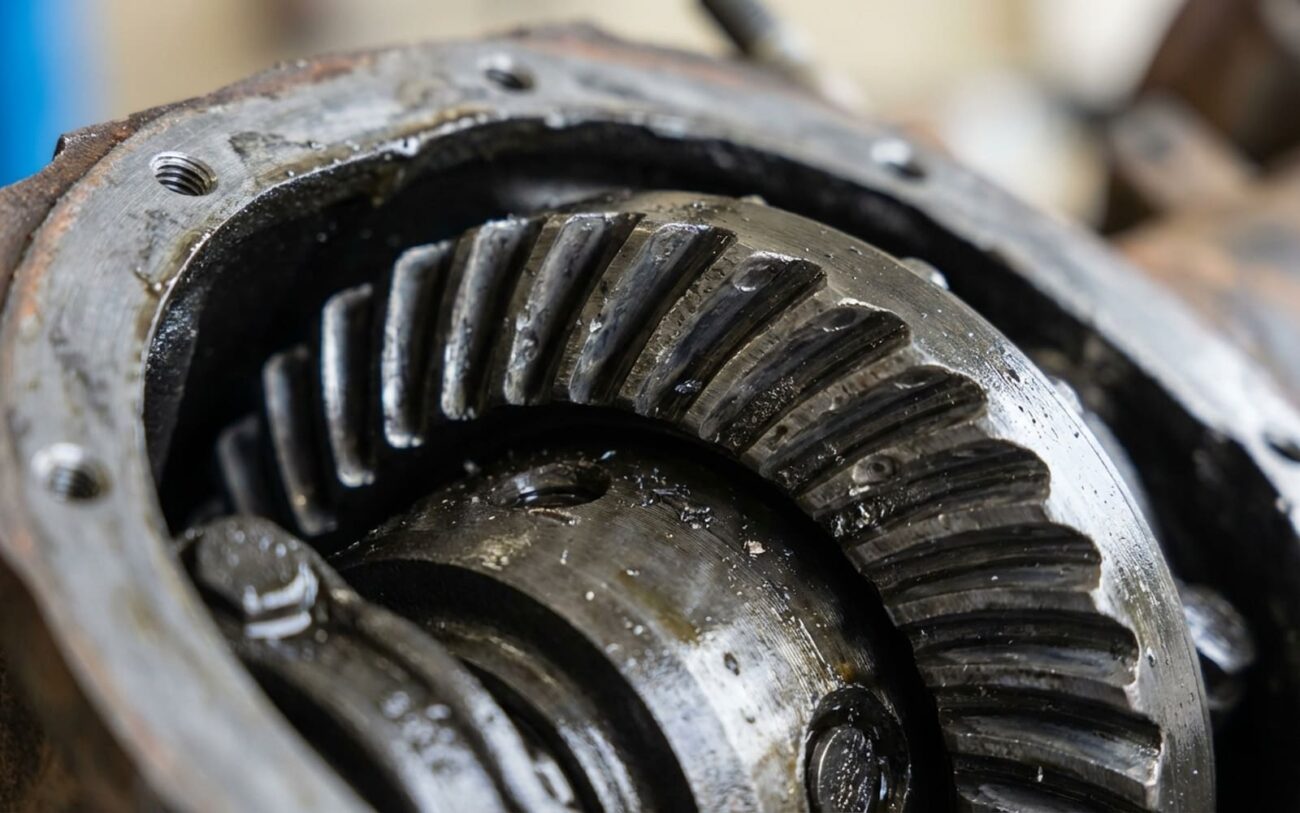
Alright, let’s talk about that whine from the back of your rig. If you’re hearing a high-pitched hum that gets louder the faster you go, and it sounds like it’s coming from right under your rear seat, your vehicle’s trying to tell you something important. That’s usually your rear differential speaking up, and it’s not happy.
The dead giveaway here? This noise is tied directly to your road speed, not the engine RPM. You can rev the engine all you want in neutral or park, and that whine will disappear. But the second you start rolling, it comes right back, getting louder as your speed climbs. That, my friends, is the classic signature of worn-out or damaged ring and pinion gears. Another big clue I look for is how it changes with load: if the tone shifts when you lift off the throttle to coast versus when you’re accelerating, you’ve almost certainly got a compromised gear contact pattern. This isn’t just normal wear and tear; it’s damage that’s only going to get worse.
Pinpointing the Whine: Differential or Something Else?
Now, while a speed-sensitive whine from the rear usually screams “differential gears,” it’s not always that simple. Other components can fool you. I’ve seen plenty of worn wheel bearings, failing transmission output shaft bearings, or even a bad carrier bearing inside the differential itself that can make a similar hum. The trick is figuring out exactly where the noise is loudest and how it behaves.
In the shop, my go-to method for this is systematic testing. We get the vehicle safely up on a lift, run it under load (carefully, of course), and then use a mechanic’s stethoscope or even a long screwdriver pressed against the ear to pinpoint the sound. It’s old school, but it works. Here’s a quick rundown of how I differentiate the usual suspects:
| Symptom | Likely Suspect (Differential) | Common Mimics (Other Components) | How I Confirm It |
|---|---|---|---|
| Whine tied to vehicle speed | Worn ring and pinion gear tooth surfaces—usually from fatigue or an improper mesh that’s gotten worse over time. | Worn rear wheel bearings, a failing transmission output shaft bearing, or a bad tail housing bushing. |
Lift the vehicle and run it under load. Use a stethoscope: if it’s the gears, the whine will be loudest right at the differential housing. Wheel bearing noise will peak at the hub and might change if you apply lateral load (like turning the wheel by hand). Transmission noise will be strongest at the transmission’s tail housing. |
| Whine changes with load (accelerating vs. coasting) | Incorrect ring and pinion gear tooth contact pattern—this is common with worn gears or a differential that wasn’t set up right from the start. | Pinion bearing preload failure or worn carrier bearings. These don’t make gear noise directly, but they let the gears move out of alignment. |
This one usually means cracking open the differential. I’ll check pinion bearing preload with an inch-pound torque wrench. Then, I’ll apply gear marking compound to the teeth to see the actual contact pattern. Worn gears will show deep, uneven wear. Bearing issues will cause a shifted pattern or excessive backlash. |
Why Those Gears Call It Quits
Not every differential whine means the gears are completely shot, but when they are, there’s a reason. These ring and pinion gears are precision-cut, hardened steel components. They’re designed to transfer a ton of power smoothly. When they fail, it’s rarely just one thing that goes wrong.
Material fatigue is a huge factor. Every time you hit the gas, especially hard, those gear teeth take a beating. Over thousands of miles, this causes micropitting—tiny cracks and surface spalling on the hardened face of the gear. Once that starts, it’s a downhill slide. The surface gets rough, and then the noise starts.
Then there’s abrasive wear. If the differential fluid isn’t changed regularly, it gets contaminated. We’re talking metal particles, clutch debris if you’ve got a limited-slip, and even moisture. That grit acts like sandpaper, slowly but surely grinding down the precise profile of the gear teeth. I’ve personally seen cases where old, sludged-up fluid turned a perfectly good gear set into a whining mess in less than 10,000 miles. It’s a real shame, and it’s completely preventable.
Impact Damage & Factory Flaws
Hard launches, wheel hop, or even aggressive clutch dumping can shock load those gears, leading to chipped or cracked teeth. And sometimes, the problem isn’t even your fault. I’ve seen specific models, like some performance vehicles from the early 2000s, that had known gear machining inconsistencies right from the factory. There are documented service bulletins out there for certain model years citing “inadequate gear tooth contact patterns” straight off the assembly line. That’s not just me speculating; that’s repair history.
It’s also important to understand what isn’t the primary cause of gear whine. Low fluid or degraded oil will lead to lubrication failure and eventually gear damage, but the initial noise from just low fluid is usually more of a howl or growl, not that clean whine. And worn pinion or carrier bearings? They don’t make gear noise directly. What they do is let the gears move out of alignment, and that quickly destroys the tooth contact pattern. So, while the bearings aren’t the gears themselves, they’re often the root cause of the gear’s demise.
Your Options: From Patch-Up to Proper Fix
This Is Not a DIY for the Faint of Heart
Let me be absolutely clear: a full ring and pinion replacement is not a bolt-in job. This isn’t like changing brake pads. It demands meticulous adjustment of gear backlash, pinion bearing preload, and carrier bearing preload. Get these settings wrong—even by a few thousandths of an inch—and you’re looking at instant noise, rapid wear, or a catastrophic failure. I’ve seen it happen more times than I can count when someone tries to cut corners.
The Only Real Fix: Ring & Pinion Replacement Specialist Required
The “Band-Aid” Option: Thicker Fluid Emergency Only
Making Sure the Repair Actually Holds Up
Putting in new gears is only half the battle. If you don’t break them in correctly, you’re just asking for another premature failure. After assembly, you absolutely must follow a strict break-in procedure. For the first 500 miles, drive gently. Avoid any hard acceleration, don’t tow anything, and stay away from sustained high speeds. Vary your speed frequently to allow for even wear across the gear surfaces. This helps the gears seat properly and prevents localized hot spots that can lead to noise and damage.
Post-Repair Checks I Always Do
-
Road test the vehicle under real driving conditions. There should be absolutely no whining under acceleration or coasting at any speed. A quiet differential is a healthy one.
-
After a 30-minute highway drive, I’ll use an infrared thermometer to check the diff housing temperature. It should be no more than 50°F above ambient air temperature.
-
If it’s significantly hotter than that, you’ve got friction building up—likely due to incorrect preload or binding bearings. Don’t put more miles on it; recheck your setup immediately.
What This Repair Is Going to Cost You
Let’s be honest: this is a major repair. There’s no getting around that. But knowing the potential costs upfront helps you make a smart decision for your vehicle and your wallet.
| Repair Type | DIY Cost (Parts & Tools) | Shop Cost (Parts & Labor) | Success Rate | Major Risk if Done Wrong |
|---|---|---|---|---|
| Ring & Pinion Gear Replacement | $400–$800 | $1200–$2500 | 95%+ (Specialist) <50% (DIY) |
An incorrect setup leads to rapid wear, often total destruction of the gears, carrier, and bearings—sometimes within just a few hundred miles. You’ll be doing it all over again. |
Be brutally honest with yourself about your skills here. This job leaves almost no room for error. If you’re even a little unsure, paying a specialist is almost always cheaper than having to replace a completely destroyed gear set because of a botched DIY job. Also, take a hard look at your vehicle’s value. If the repair cost is pushing 40% or more of what the car is worth in fair condition, a used replacement differential might make more sense. Swapping in a complete, tested unit from a trusted salvage yard can cut down on labor time and overall cost. Just make sure to inspect the mileage and history if you can. It’s not a guaranteed fix, but it’s a calculated alternative that I’ve seen work well on older trucks and performance cars where complete differentials are readily available.
How to Keep This From Happening Again
Prevention starts and ends with good maintenance. Always use the gear oil viscosity and specification called for by your vehicle manufacturer. This is especially critical if you have a limited-slip differential. Those units often require a specific friction modifier to prevent chatter and ensure smooth operation. Fluids like GM’s 88890124 or Toyota’s GL-5 75W-90 LS are formulated for specific friction characteristics, and using the wrong oil can lead to noise, shudder, or premature failure.
My Maintenance Best Practices
Change that fluid regularly. Don’t just follow the “normal” service interval in your owner’s manual—especially if you tow, drive aggressively, or live in a hot climate. Stick to the severe service schedule, which is typically every 30,000 miles. I also recommend checking the fluid level at the fill plug every 12 months or during your regular oil changes. While you’re under there, look for any signs of leaks at the differential cover, the pinion seal, and the axle seals. Even a small seep allows moisture and debris to get in while letting that protective fluid slowly escape.
