Tires Shredded After a Control Arm Job? Here’s What Went Wrong.
You just spent good money on a new control arm, maybe even new tires, and now you’re looking at a tire that’s bald on one side after only a few hundred miles. Sound familiar? I see this story play out in my shop constantly. It’s frustrating, and it’s almost always preventable.
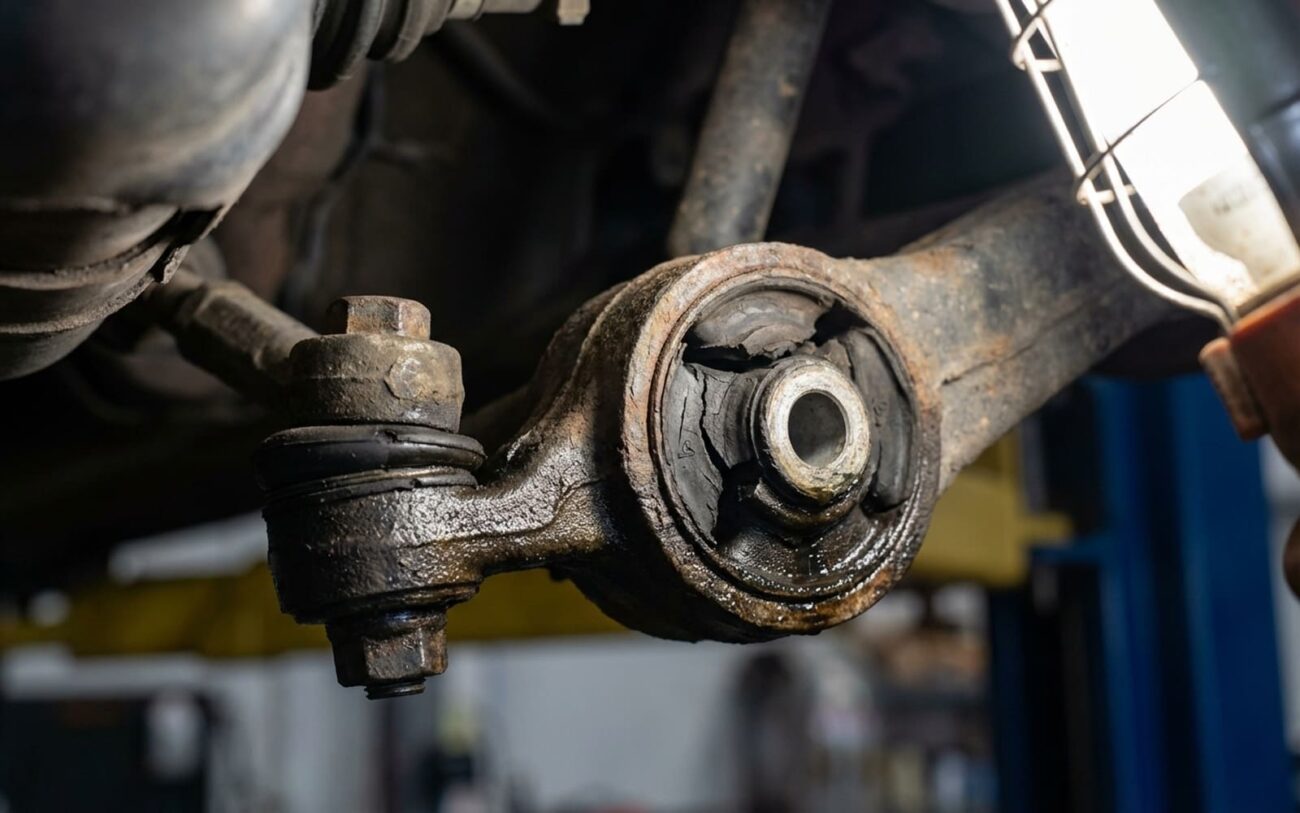
That fresh control arm, meant to fix a clunk or tighten things up, has likely thrown your wheel alignment completely out of whack. And when that happens, your tire isn’t rolling straight; it’s dragging sideways down the road, literally scrubbing itself to death. It’s not just about a ruined tire, either. That constant sideways scrub puts a ton of stress on your wheel bearings, your CV joints, and even other suspension components. What started as a simple control arm replacement can quickly snowball into a much more expensive repair if you don’t address the alignment immediately.
GEOMETRY MONITOR
Toe Error: 1.25°
What You’ll See (and Feel): The Warning Signs
When your alignment’s off, your car will tell you. The most obvious sign is that rapid, uneven tire wear, usually on one edge. But pay close attention to the type of wear:
-
Inner or Outer Edge Wear: This is classic camber or toe trouble. If the top or bottom of the wheel is leaning too far in or out, it’s riding on its edge.
-
Cupping or Scalloping: You’ll feel this as a wavy pattern across the tread blocks. Often, this means you’ve got a toe issue combined with a worn-out strut that isn’t keeping the tire firmly on the road.
-
Feathering: Run your hand across the tread. If it feels smooth one way and sharp the other, that’s feathering. It’s a dead giveaway for incorrect toe.
Beyond the tires themselves, you might notice the car pulling to one side, or your steering wheel might be crooked when you’re driving straight. Sometimes, you’ll even hear a low humming or roaring from the front end – that’s the tire screaming for help.
Watch for these mimics:
- A sticking brake caliper can cause a pull identical to a toe issue.
- Radial tire pull (a manufacturing variation) can create steering drift.
- Worn ball joints or strut rod bushings may allow movement under load.
Confirming the Problem: It’s All About the Numbers
Look, you can’t eyeball this stuff. I don’t care how experienced you are; you need a professional four-wheel alignment machine. We’re talking about fractions of a degree here. A good machine, like a Hunter or John Bean, gives us precise measurements and lets us compare side-to-side.
We’re looking at three main angles:
| Angle | The Effect | What It Measures |
|---|---|---|
| Toe | Rapid Feathering | This is the big one, the tire killer. It’s whether your front wheels are pointing slightly inward (toe-in) or outward (toe-out) relative to each other. Even a small error here means the tires are constantly scrubbing sideways. Think of it like walking with your feet angled instead of straight ahead – you’re dragging your shoes. |
| Camber | Inner/Outer Edge Wear | This is the vertical tilt of the wheel. If the top of the wheel leans in, that’s negative camber, and it’ll eat the inner edge. If it leans out, positive camber, it’ll chew up the outer edge. |
| Caster | Steering Pull | This angle affects steering stability and how the wheel returns to center. If it’s off, you’ll feel it as a pull or wandering, but it usually doesn’t cause rapid tire wear on its own like toe or camber. |
The Common Screw-Ups I See
This is where things often go sideways, even in shops. I’ve seen techs rotate tires and tell a customer, “It’s just a bad tire,” when the real problem is uncorrected geometry. Or they’ll skip the alignment entirely, claiming, “We didn’t touch the tie rods.” That’s just plain wrong. Anytime you disconnect a control arm, you’ve changed the wheel’s pivot point. The old alignment settings are now garbage, even if the new part looks identical.
Here’s a quick rundown of what I typically see go wrong, and how to spot it:
| Symptom | Likely Cause | Other Mimics | Definitive Test |
|---|---|---|---|
| Fast inner/outer tire wear | Incorrect toe or camber setting; bolts not torqued at ride height. | Defective bushing, bent strut, or sagging spring. | Full alignment measurement. Bent parts show non-adjustable readings. |
| Vehicle pulling to one side | Incorrect caster or toe imbalance between sides. | Radial tire pull, brake drag, or mismatched pressure. | Swap front tires side-to-side. If pull switches, it’s the tire. |
| Steering wheel off-center | Uneven toe adjustment or failing to center wheel during alignment. | Steering column reassembled out of phase. | Check if toe is balanced while the steering wheel is physically centered. |
The Real Reasons Your Tires Are Dying
Let’s be clear: the new control arm itself usually isn’t the problem. It’s almost always about how it was installed, or what was completely skipped afterward. Here are the top reasons I see this issue:
Bolts Tightened at the Wrong Suspension Height
Skipping the Alignment Altogether
Using Low-Quality or Incorrect Parts
Disturbing Adjacent Components
Uncovering Pre-Existing Issues
The Fix: Get It On the Rack
Professional Intervention Required
Let me be absolutely clear: you cannot eyeball suspension geometry. This isn’t a DIY job for your driveway. You need a shop with a proper alignment rack and a technician who knows how to use it.
If It’s Just Misalignment Professional Only
If It’s Uncorrectable Professional Only
How to Know It’s REALLY Fixed
Don’t just take their word for it, and don’t rely on “it feels better.” You need objective proof:
-
The Printout: Demand a “before and after” alignment printout. All your adjustable angles should be in the “green” zone. If they can’t provide one, walk away.
-
The Test Drive: The car should track perfectly straight on a flat road, and your steering wheel should be dead level. No pull, no wander.
-
The Follow-Up: For the first month, check your tires weekly. Run your hand across the tread. It should feel smooth and even, not feathered or worn on one edge.
What’s This Going to Cost? (And Why It’s Worth It)
Alright, let’s talk money. Nobody likes unexpected costs, but this isn’t one to cheap out on.
Alignment Correction
Standard shop rate for a 4-wheel alignment. This is non-negotiable after any suspension work.
Control Arm & Align
Includes labor and parts for one side plus the mandatory alignment.
Bent Knuckle Repair
Required if the structural components are bent. Fixing it correctly is crucial for safety and tire life.
The Economics of Alignment
Think of it this way: a $150 alignment that saves you $800 in new tires is a no-brainer. Don’t let a small saving now lead to a much bigger bill later.
Preventing This Headache Next Time
Proactive Maintenance Steps
-
Ask for Specs: Always confirm the shop uses the exact factory alignment specifications for your vehicle’s year, make, and model. Don’t let them use generic settings.
-
Inspect Regularly: After any suspension repair, get in the habit of inspecting your tires weekly for the first month. Early detection saves tires.
-
Get the Printout: Always ask for and keep the alignment printout. It’s your proof that the job was done right.
-
Steering Wheel Check: If your steering wheel is even slightly off-center after the repair, take the car back immediately. That’s a sign something isn’t right.
