When Your Haldex Starts Acting Up: The Symptoms I See
After more than two decades wrenching on VWs and Audis, I’ve learned to spot a failing Haldex coupling from a mile away. It rarely just quits; it gives you warnings. And trust me, you want to catch these early.
The most common complaint I hear? “My all-wheel drive feels like it’s gone missing.” You hit a slick spot – wet pavement, light snow, maybe some gravel – give it some throttle, and only the front wheels spin. The rear axle just sits there, doing nothing. That’s not how an AWD system is supposed to work. It means the Haldex isn’t sending torque to the back, effectively putting you in a permanent front-wheel-drive mode. This is the classic, dead giveaway that something’s wrong.
Another telltale sign is a clunk or a sudden, harsh grab from the rear end. This usually happens when you accelerate from a stop or during a slow roll. Instead of a smooth, seamless engagement, you get a slip, then a sudden thump as the rear clutch pack finally bites. It’s unsettling, especially in performance models like a Golf R or TT Quattro, where you expect that seamless power delivery.
Sometimes, it’s intermittent. The AWD might work fine when the car is cold, then drop out completely after 10 or 15 minutes of driving. Or it engages randomly – sometimes strong, sometimes weak, sometimes not at all. This kind of on-again, off-again behavior often points to something heat-sensitive, like internal wear or an electronic fault that only shows up once things warm up.
Slip: HIGH
Diagnosing the Haldex: Don’t Just Guess
Just because the AWD isn’t working doesn’t automatically mean the Haldex coupling itself is shot. This is where most people, even some less experienced techs, go wrong. There are several components in the system that can mimic a failed clutch pack, and misdiagnosing it means you’re throwing money at the wrong problem. Before you even think about tearing into the coupling, you need to rule out the simpler stuff.
Step 1: The Initial Visual & Mechanical Checks
If you’re getting that clunking sensation, don’t jump straight to the Haldex. I always start with the basics. Get the car on a lift and check for worn engine or transmission mounts. Bad mounts can allow excessive driveline movement, making a normal engagement feel like a harsh thump. While you’re under there, check the driveshaft center bearing and all the CV joints for play or damage. A failing driveshaft or worn CVs can produce similar thumps and vibrations. A quick inspection here can save you a lot of headache and expense.
Step 2: The Essential Scan Tool Diagnosis
This is non-negotiable. Without a proper factory-level scan tool like VCDS or ODIS, you’re flying blind. You need to:
-
Check for Fault Codes: Always start here. Even if the check engine light isn’t on, there might be stored codes in the AWD control module that point directly to a pump issue, a faulty pressure sensor, or a module communication error.
-
Command the Haldex Pump: Your scan tool lets you activate the pump directly. Listen for it. Does it hum? Does it sound weak? If it doesn’t run at all, you’re looking at a pump, wiring, or control module issue, not necessarily the clutch pack itself.
-
Monitor Live Data: This is where you get the real story. Watch the clutch pressure, pump current, and system temperature in real-time.
-
If the ECU is commanding high pressure (say, 15-20 bar) but the actual pressure sensor reads low, and you know the pump is running and the filter isn’t completely clogged, then you’re almost certainly looking at an internal hydraulic leak. That’s a strong indicator of worn clutch plates or a failed piston seal inside the coupling.
-
If the pump current is high but pressure is low, it could be a failing pump struggling, or a severely clogged filter.
-
If the pump isn’t running at all, check power and ground, then suspect the pump itself or the control module.
-
The Diagnostic Challenge
“Intermittent failures are the toughest to nail down. Is it thermal expansion causing clutch plates to drag? Or is the controller overheating and shutting down?”
Step 3: The Test Drive with Data Logging
For those intermittent issues, a prolonged data log during a test drive that reproduces the fault is absolutely essential. If you see the clutch pressure drop off when the unit gets hot, but the pump current remains normal and no fault codes appear, then the problem is almost certainly inside the coupling body. We’re talking degraded friction material, worn piston seals, or internal bore wear. This is how you confirm it’s the coupling itself, and not just an external component.
Why Haldex Couplings Fail: The Internal Breakdown
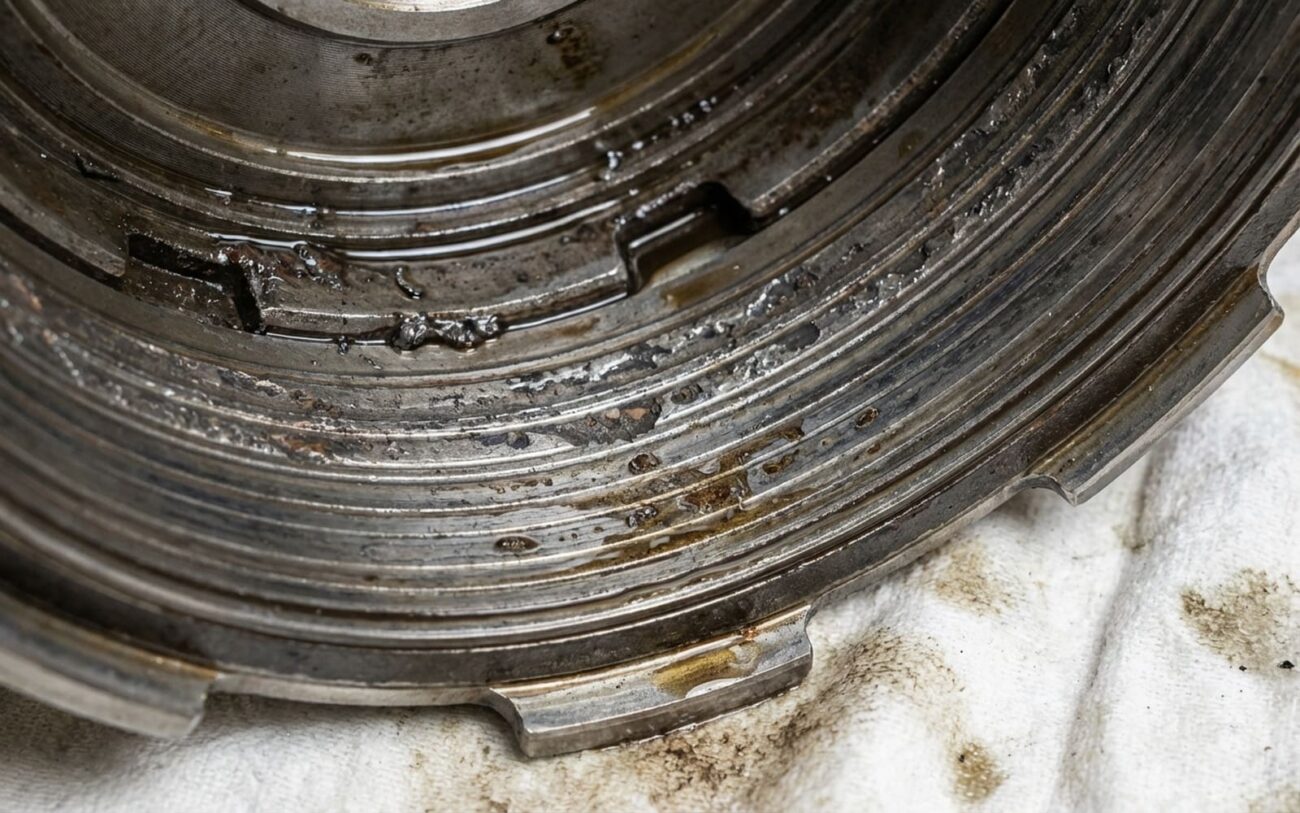
So, once you’ve pinpointed the coupling itself, what’s actually going wrong inside that sealed housing bolted to the rear differential? The primary culprit, in my experience, is clutch pack wear. Inside, you’ve got a stack of friction plates and steel separators. They’re designed to wear, but over time, they just wear out. This reduces the clamping force and, critically, the unit’s ability to transfer torque to the rear wheels. This wear accelerates dramatically when you skip fluid and filter services.
But it’s not just wear; contamination is the real enemy here. As the Haldex fluid degrades and the filter clogs with microscopic clutch debris, it turns into sludge. This gunk can cause the clutch plates to stick, bind, or simply fail to engage smoothly. In severe cases, I’ve seen the internal bore where the clutch piston slides get worn or corroded. When that happens, hydraulic pressure leaks past the piston seals, meaning even if your pump is running perfectly, the clutch can’t build enough pressure to lock up properly. That’s when you lose your AWD.
Important Distinction:
It’s crucial to understand what isn’t a coupling failure. A failed Haldex pump, a faulty control module, or a wiring issue are electrical or external mechanical problems. They prevent the coupling from working, but the clutch pack itself might be perfectly fine. Same goes for a simple leaking output shaft seal – that’s just a seal replacement. These are often lumped under “Haldex failure,” but they’re distinct repairs. Don’t let someone tell you the whole unit needs replacing for a $50 seal.
And let me be clear: according to factory service guidelines and everything I’ve seen in the shop, the root cause of premature internal wear in Haldex couplings – especially the Generation 5 units – is almost always neglected fluid maintenance. If you’re not changing that fluid and filter, you’re running on borrowed time.
Your Repair Options: From Simple Service to Full Replacement
Once you’ve got a solid diagnosis, your next steps become clear. There are three main repair paths, and realistically, only one is truly DIY-friendly for most experienced home mechanics.
This Isn’t Backyard Mechanics
Internal Haldex work demands specialized tools, press equipment, and a surgically clean environment. I’ve seen too many DIY attempts fail because of a speck of dirt or an improperly torqued bolt. Missteps during reassembly can lead to immediate, catastrophic mechanical failure.
Fluid and Filter Service DIY Feasible
Clutch Pack Overhaul Professional Only
Complete Assembly Replacement Professional Only
Verifying the Fix: Don’t Just Assume It Worked
Never, ever assume a repair worked just because everything is bolted back together. Validation is absolutely critical, especially with complex, electronically integrated systems like the Haldex. Skipping this step is asking for trouble down the road.
For Fluid and Filter Service:
After you’ve completed the “Pump Basic Setting” with your scan tool (which, again, is mandatory), take the vehicle for a test drive. Find a loose surface – gravel, wet pavement, or even a grassy hill works well. Accelerate both gently and firmly. The rear axle should engage smoothly, without any delay, clunking, or slippage. If you have live data access, keep an eye on the clutch pressure. It should rise proportionally with your throttle input, typically showing between 5 and 25 bar under normal driving conditions when AWD is needed.
For Clutch Pack Overhaul or Complete Replacement:
This requires more rigorous validation. After reassembly and refilling, run all calibration routines via your scan tool. Then, perform a controlled stall test on a lift: with the brakes firmly applied, gently apply throttle in gear. You should feel and hear the driveline load up, indicating clear torque transfer without any slipping. This confirms mechanical engagement. Finally, monitor the unit closely for leaks over the next few drives. Any drip from the coupling or output shaft means a seal wasn’t installed correctly, and you’ll need to go back in.
The Cost Reality: When to Consider Your Options
Let’s talk money, because that’s often the deciding factor. Repair costs for a Haldex system can vary wildly, and the decision to proceed should always factor in your vehicle’s current value and overall condition. Here’s a realistic breakdown based on what I see in the shop, including parts and labor:
| Repair Type | DIY Parts Cost | Shop Cost (Parts & Labor) | Typical Success Rate | Secondary Risk/Consideration |
|---|---|---|---|---|
| Fluid & Filter Service | $100–$150 | $250–$400 | 95% (if contamination is the sole issue) | May only be a temporary fix if early-stage clutch wear is present. |
| Clutch Pack Overhaul | $400–$600 | $1200–$2000 | 80% (highly dependent on housing condition) | High risk of premature failure if the internal bore is compromised. |
| Complete Replacement | $1500–$2500 | $2500–$3500 | Near 100% (with proper installation and calibration) | Minimal, assuming correct calibration and no other driveline issues. |
Here’s my rule of thumb after 20 years: if the estimated repair cost approaches 40% of your car’s current market value, you need to pause and consider the bigger picture. Replacing a Haldex coupling on an aging Golf R or TT Quattro is a significant investment. You’re not just fixing one part; the differential, driveshaft, and other related components are also wearing out. Sometimes, it makes more sense to put that money towards a newer vehicle, especially if the car has other deferred maintenance or high mileage.
Keeping Your Haldex Healthy: Prevention is Key
Preventing Haldex coupling failure is actually quite simple, but it’s often overlooked. The single most effective thing you can do is service the Haldex fluid and filter every 3 years or 30,000 miles. And yes, I mean regardless of what your vehicle’s factory maintenance schedule might say. Manufacturers often push these intervals too far to claim “lower maintenance costs,” but in my experience, it’s a recipe for premature failure.
My Haldex Maintenance Checklist
-
Always use only VW/Audi Haldex oil G 060 175 A2. Generic ATF is not a substitute and can damage seals and clutch materials.
-
Perform the pump basic setting with a scan tool after every fluid change. This is critical for proper operation.
-
Check for stored fault codes in the AWD control module at every oil change. Catching a pending code early can save you a major repair.
-
Listen for grinding or binding during tight turns at low speed. These are often early warning signs of internal issues.
Pro Tip for Longevity
Catching issues early means you can often fix it with a simple fluid and filter change instead of a costly overhaul. That small investment in proactive maintenance can genuinely extend the life of your Haldex system for years. Don’t cheap out on this one.