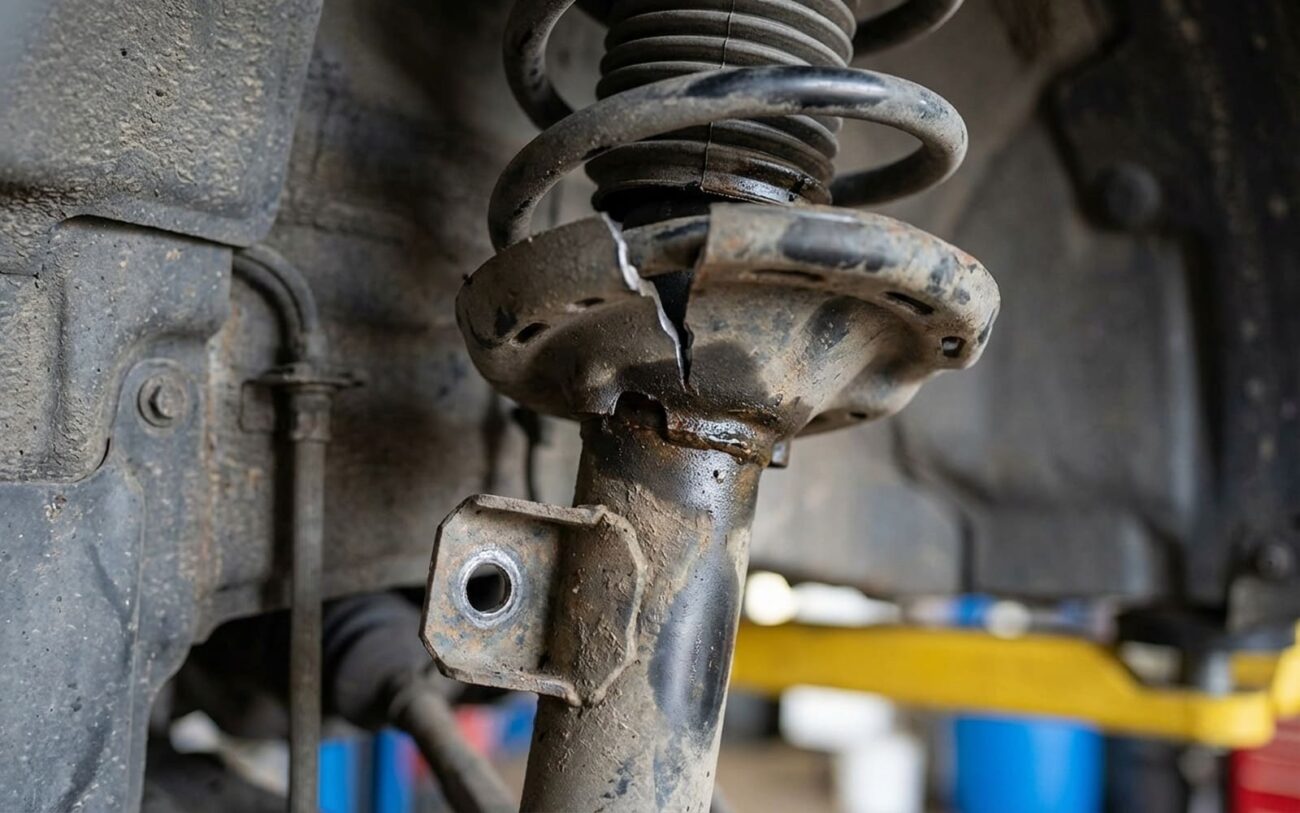
Alright, let’s talk about that “new shock” harshness. You’ve just shelled out good money for new shocks or struts, and now your car rides like a brick on wheels. Every little crack in the pavement feels like you’re hitting a pothole, and you’re thinking, “Did I just make things worse?”
Trust me, you’re not imagining it. That jarring, unforgiving ride, where every road imperfection punches right through the chassis and into your backside, is a real issue. And no, you absolutely should not “just get used to it.” What you’re experiencing is what we call excessive ride harshness, specifically impact harshness. It means your suspension isn’t doing its job – it’s not absorbing energy. Instead, it’s just transmitting every single vibration and shock directly into the cabin and the car’s frame.
In my 25+ years turning wrenches, when this kind of harshness shows up immediately after a shock or strut replacement, the new components themselves are almost always the problem. It’s a common story, and it’s usually down to one of a few things:
- The shocks might have the wrong internal valving, making them too stiff.
- You could have a piston that’s seized up from a factory defect.
- If you got a preassembled strut, the spring might be mismatched – either too stiff or too long for your specific vehicle.
I’ve seen more than a few “direct-fit” struts that were labeled correctly but came with a spring rate meant for a heavy-duty truck, not a compact sedan. If your car now sits noticeably higher than it did before – like it’s standing on its tiptoes – that’s a huge red flag right there.
SUSPENSION ANALYZER
Delta: +45% Stiffness
The Concept
“Incorrect ride height changes suspension geometry, limits travel, and kills ride comfort.”
First Steps: Rule Out the Usual Suspects
Before you start tearing everything back apart and blaming those new shocks, we need to rule out other culprits. A lot of things can mimic a harsh ride, and it’s easy to get tunnel vision. I’ve seen plenty of cases where the new shocks were fine, but something else was binding or seized up.
Here’s what I typically check first:
- Tire Pressure: Seriously, check it. Overinflated tires are a free way to make any car ride like a wagon.
- Seized Strut Mount Bearing: If the strut mount bearing is seized, the spring can’t rotate freely when the wheel turns. This causes binding and a harsh, clunky feel.
- Worn Control Arm Bushings or Ball Joints: If these are binding or completely shot, they won’t allow the suspension to move smoothly.
- Worn Sway Bar Links: Less common for harshness, but they can contribute to a general feeling of looseness or clunking.
| Symptom | Likely New Shock/Strut Cause | Common Non-Shock Causes | Best Diagnostic Test |
|---|---|---|---|
| Harsh ride on all surfaces, especially sharp impacts | Incorrect damping rate, seized piston, or internal valve failure | Wrong spring rate/length, overinflated tires, seized strut mount, worn control arm bushings |
Disconnect the lower shock mount and manually compress the shock. A good shock should resist smoothly and consistently; a seized one will bind or move erratically.
|
| Elevated ride height, reduced wheel travel | Strut assembly with incorrect integrated spring (rate or free length) | Spring not seated properly, defective shock that won’t compress, preload error |
Measure ride height (from the center of the wheel to the fender lip) at all four corners. Compare these measurements to factory specifications.
|
Digging Deeper: When It Is the New Shock or Strut
Okay, so you’ve checked everything else, and it still points back to those new parts. Here’s what I’ve seen happen when the problem truly lies within the shock or strut itself:
Manufacturing Defects
Believe it or not, new parts can be bad right out of the box. I’ve encountered:
- Incorrect valve shim stacks: This is the internal magic that controls damping. If it’s wrong, the shock won’t absorb bumps correctly.
- Clogged or oversized piston orifices: These tiny holes control fluid flow. If they’re off, the damping is off.
- Contaminated fluid: Sometimes, manufacturing debris or incorrect fluid can cause issues.
I’ve seen aftermarket struts built with overly aggressive valving, creating a damping rate far outside OEM specs. Some manufacturers have even issued service bulletins acknowledging this – like certain replacement struts that caused excessive NVH (noise, vibration, harshness) due to faulty internal calibration. It happens.
Installation Damage
This one’s tough to admit, but sometimes the issue is caused during installation. If the shock’s piston rod gets nicked or bent during mounting – say, from being pinched between the knuckle or accidentally hit with a hammer – it can damage the rod seal or cause internal binding. That leads to either fluid leakage (which might not show up right away) or a shock that acts “frozen” and doesn’t compress smoothly. Even minor surface damage can compromise sealing and movement, causing that harsh ride.
The Wrong Part, Plain and Simple
This is probably the most common cause I see. Someone installed a “heavy-duty” or “towing” shock on a standard passenger car, or used a strut meant for a different trim level – like a sport package on a base model. Think about it: Bilstein, KYB, Monroe – they all offer multiple variants for the same make and model. A shock for a Ford F-150 with a Max Trailer Tow Package isn’t the same as one for the base XL. Pick the wrong one, and you’ll absolutely feel it in the ride quality.
But let’s be clear: if the original harshness was due to worn control arm bushings or a seized strut mount bearing, replacing the shock with another wrong shock won’t fix it. That’s a separate repair that still needs to be done.
The Fix: Getting Your Ride Back
Safety & Precision Warning
Suspension work isn’t just about unbolting and rebolting. It requires proper torque specs and specialized tools like spring compressors. Incorrect assembly can lead to component failure, loss of vehicle control, or serious injury. If you’re not confident, take it to a pro.
Full Assembly Replacement DIY-FEASIBLE / PRO-RECOMMENDED
Axle-Pair Replacement DIY-FEASIBLE
Non-Repairable Units REPLACE ONLY
Don’t Skip This: Post-Repair Validation & Alignment
Once you’ve installed the correct parts, don’t just assume the job’s done. You need to validate it. This step is critical to ensure you’ve actually fixed the problem and haven’t introduced new ones.
First, do a functional road test. The ride should feel compliant again – absorbing bumps without harshness, rebounding smoothly, and settling quickly after a dip. Listen for any new clunks, squeaks, or binding noises from the mounts. I always take the car over a known rough stretch of road or a few speed bumps. It should glide over them, not crash into them.
Then, measure. Check the ride height at all four corners using a tape measure from the center of the wheel to the fender lip. Compare these measurements to factory specifications; you should be within ±10 mm. If one corner is still off, something’s still wrong.
And finally, this is non-negotiable: get a full wheel alignment. Any front suspension work, especially strut replacement, disturbs camber, toe, and caster settings. Skipping the alignment will lead to uneven tire wear, poor handling, and potentially unsafe driving conditions. Don’t cheap out here – it’s part of the job.
Making the Call: Cost, Risk & Common Sense
When you’re looking at replacing shocks and struts, it’s not just about the parts and labor. You need to consider the bigger picture. Here’s a quick breakdown of what you’re looking at:
| Repair Type | DIY Cost (Parts) | Shop Cost (Total) | Success Rate | Secondary Risk if Failed |
|---|---|---|---|---|
| Replace all four shocks/struts with OEM-spec units | $400–$1,200 | $1,200–$2,500 | Near 100% (if correct parts used) | Repeating the same issue, accelerated wear on bushings/mounts, alignment drift, tire wear |
Now, be honest with yourself: if the total repair cost approaches 40% of your vehicle’s current market value, is this the best use of your funds? For older cars with other wear items – control arms, bushings, an engine that’s seen better days – this might be a pivot point. Sometimes, investing in a newer, more reliable vehicle makes more financial sense than sinking money into a full suspension overhaul, especially if you’re already dealing with a parts mismatch headache.
Prevention: Avoid This Headache Next Time
The best way to deal with this problem is to prevent it from happening in the first place. And it mostly comes down to one thing: part verification.
At the parts counter, never, ever rely only on make, model, and year. Always provide your VIN (Vehicle Identification Number). That 17-digit number tells the system your exact trim, engine, drivetrain, and factory suspension package. It’s the only way to guarantee you’re getting the right part with the correct spring rate and damping curve for your vehicle’s weight and intended use.
Best Practices
-
Always provide your VIN to ensure the spring rate and damping curve match the vehicle’s specific configuration.
-
Perform a low-speed test drive immediately after installation over speed bumps and rough sections. Don’t wait until you’re on the highway.
-
Pay attention to NVH (Noise, Vibration, Harshness). Any new harshness, clunking, or stiffness should be addressed right there in the shop lot.
Expert Tip
If you’re ever unsure about a part number, ask for a second opinion from another counterperson, or better yet, cross-reference the part number against an OEM parts catalog yourself. It takes a few minutes but can save you a huge headache later.
