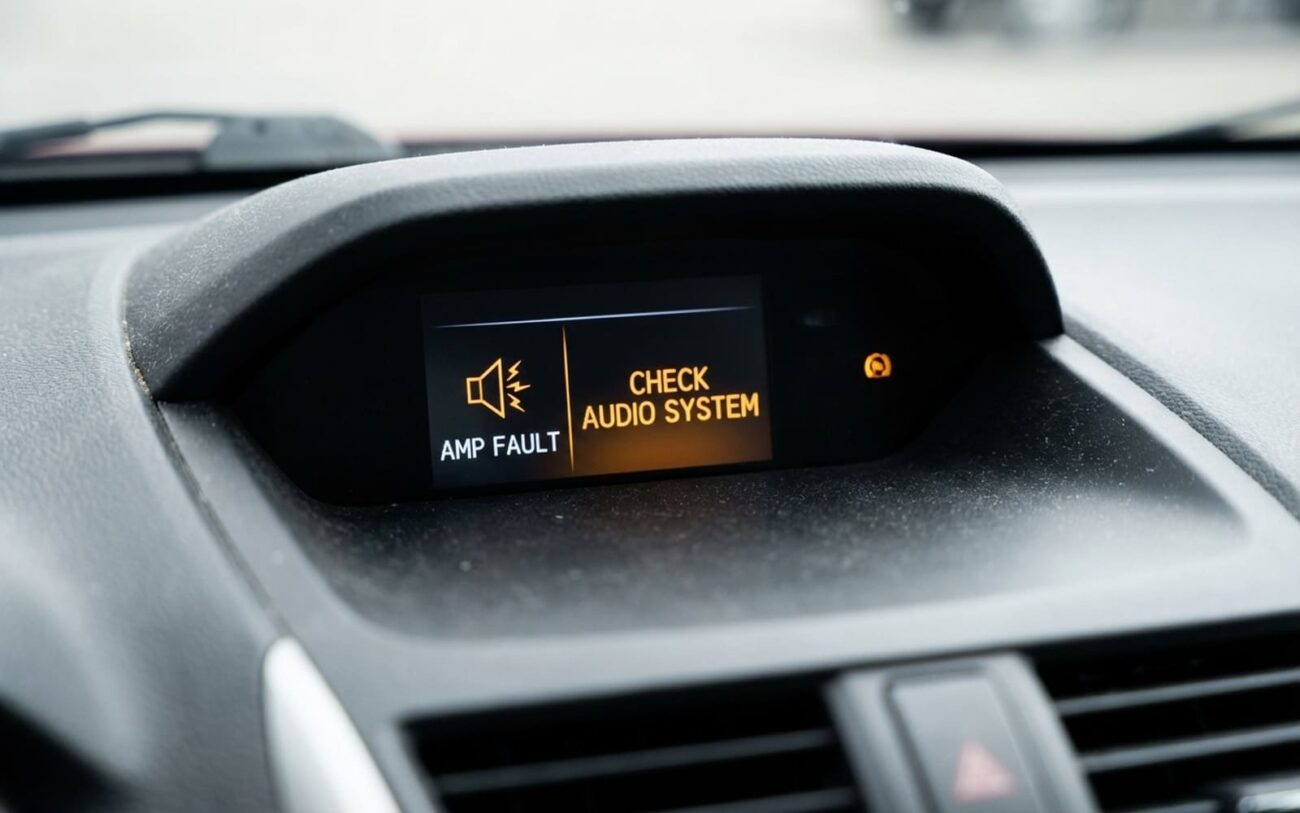
That Crackle When You Turn It Up? Let’s Fix It Right.
I’ve been knee-deep in car audio for over 25 years — from factory junk on dealership trade-ins to six-figure competition builds. One thing never changes: when someone says, “It sounds fine low, but crackles when I turn it up,” I already know where to start. And no, you don’t need to replace every component hoping it sticks. That’s how you burn cash and still have the same problem.
The crackle isn’t random. It’s a symptom with a source. Either something’s broken mechanically, or the signal chain is failing under load. My job — and yours — is to figure out which one without throwing parts at it.
What the Noise Is Actually Telling You
Listen carefully. That crackle, pop, or fuzzy breakup — it’s got patterns. You just have to pay attention.
If it only happens on one side — say, the front left — and especially if it flares up with bass or certain vocals, you’re likely dealing with a blown speaker. I’ve pulled apart thousands of door panels, and more than half the time, the cone’s torn, the surround’s dry-rotted, or the voice coil’s dragging in the gap. Once that happens, it doesn’t just sound bad — it loads down the amp.
Here’s what most people miss: a damaged speaker can kill an amplifier. Not because the amp is weak, but because physics doesn’t care. A shorted voice coil can drop impedance to 2 ohms or lower. That forces the amp to deliver more current than it’s designed for. Heat builds. Protection kicks in. Or worse — output transistors fry. I’ve seen brand-new amps fail in a week because they were driving a $30 door speaker with a shredded cone.
But if the crackle hits all speakers at once when you crank it — and it sounds like grit, not a mechanical thump — the problem’s upstream. That’s amplifier clipping. The amp can’t keep up with the signal demand, so it chops the waveform. You get distortion, heat, and eventually, thermal shutdown.
And if you hear a whine that rises with engine RPM? That’s not the alternator. That’s a ground loop or noise getting into the signal path — usually from RCA cables running too close to power wires or a poor ground on the head unit. Seen it a hundred times on aftermarket systems where someone skipped proper routing.
How I Diagnose It — No Guessing
I don’t replace anything until I test. Here’s how I isolate the fault.
| Symptom | Most Likely Cause | Other Possibilities | How to Confirm |
|---|---|---|---|
| Crackle in one speaker | Failed speaker (torn cone, burnt coil) | Corroded wiring, open circuit, bad amp channel |
Swap Test. Disconnect the suspect speaker. Hook up a known-good 4-ohm test speaker directly to the same wires. Play material that used to crackle. If it’s clean, the original speaker is dead. If the noise stays, check wiring with a multimeter — look for 3.2–4.0 ohms. Infinite reading? Open circuit. Near zero? Short. Still good? Then it’s the amp channel — but that’s rare unless the speaker was shorted first. |
| All speakers crackle at high volume | Amp clipping or power supply failure | Head unit preamp distortion, low voltage, ground loop |
Bypass the Amp. Use a line-level to speaker-level converter and connect a small test speaker to the head unit’s RCA outputs. Keep volume low. If the distortion disappears, the amp’s the problem. If it’s still there, check the head unit’s power and ground. Bad ground? That’ll feed noise into the whole system. (And yes, this matters — I’ve found grounds bolted to painted sheet metal more times than I can count.) |
| Distortion changes when you press the cone | Mechanical speaker damage | Nothing else — this is definitive |
Press Test. With the system off, gently push the cone in about 1/4 inch. It should move smoothly and return without scraping or binding. If it catches, rubs, or feels loose — the voice coil’s misaligned or the spider’s torn. That speaker’s done. Replacing it is cheaper than risking the amp. |
Why These Things Fail — And How to Stop It
Replacing parts without fixing the root cause is just temporary. Here’s what actually kills speakers and amps.
Speakers die from:
Age and sun exposure — especially foam surrounds on older door speakers. UV through the window dries them out, they crack, the cone wobbles, and the voice coil rubs. I see it every summer on vehicles parked outside. Heat’s another killer — running a 50W RMS speaker at 100W for hours melts the voice coil adhesive. And mechanical over-excursion? That happens when people turn bass boost to max and slam subwoofers with 120Hz and below. The cone moves too far, tears the spider, or detaches completely. Oh, and moisture — spilled drinks, rain through a sunroof, humidity. Corrodes the fine wire in the coil. Creates hot spots. Game over.
Amps fail because:
Heat first, electrical second. Mounting an amp in a sealed trunk enclosure with no airflow? That’s asking for cracked solder joints or thermal runaway. Electrolytic capacitors dry out over time — especially on factory units from the early 2010s. When they lose capacitance, ripple voltage gets into the signal. Sounds like noise or distortion. Output transistors blow from low impedance loads — like wiring two 2-ohm subs in parallel to hit 1 ohm on an amp not rated for it. Or from a shorted speaker. But a lot of “dead amps” I’ve tested were just starved for power — undersized wiring, loose ground, or a weak battery. Voltage drops below 11V under load? The amp can’t deliver clean power. It clips. Sounds like failure. Isn’t always.
How to Fix It — For Real
Replace the Speaker (If That’s the Issue)
Swap the Amplifier (If It’s Toast)
Did It Actually Work? Test It.
Don’t just turn it on and call it good. Verify.
For speakers: play 100Hz, 1kHz, and 10kHz test tones at 75% volume. Listen for distortion, buzzing, or rattles. Check DC resistance with a multimeter — should be within 0.4 ohms of rated impedance. 3.6–4.0 ohms for a 4-ohm speaker? Normal. 2.8? Partial short. 5.0? Open circuit.
For amplifiers: if you’ve got access to a scope, run a 1kHz sine wave into a 4-ohm dummy load. Look for clean waveform — no clipping at full output. No scope? Play dynamic music — jazz, classical, or well-produced rock — across the volume range. No crackling. No change in noise with engine RPM. If you still hear whine, recheck RCA routing. They should never run parallel to power wires. Cross at 90 degrees if they must intersect.
Cost vs. Value — Is It Worth Fixing?
| Repair Type | DIY Cost | Shop Cost | Success Rate | Risk if Wrong |
|---|---|---|---|---|
| Replace single aftermarket speaker | $50 – $200 | $150 – $300 | 95% if wiring’s intact | Wrong polarity or poor connection could damage amp channel |
| Replace factory amp with OEM unit | $300 – $800 | $500 – $1,100 | 98% when properly diagnosed | High cost if misdiagnosed — could replace a working amp while corroded wiring remains |
| Professional amp circuit repair | N/A | $100 – $300 | 70–85%, depends on fault | Risk of unrepairable damage — could still need full replacement |
Here’s my rule: if fixing the factory audio system costs more than 40% of the car’s value, just upgrade. Put in a decent head unit and a reliable aftermarket amp. You’ll get better sound, fewer issues, and modern features like Bluetooth and Apple CarPlay. On a $10,000 car, that’s $4,000 — and no one should spend that on audio. Sometimes the smartest repair is starting over.
Keep It From Happening Again
Prevent Repeat Failures
-
Set gain properly. I can’t stress this enough. Most people max out the gain, thinking it gives more volume. All it does is make the amp clip early. Use a multimeter and a 0.775V test tone to set it clean. Clipping sends DC-like voltage to speakers — and that kills voice coils fast.
-
Use high-pass filters. Block bass below 80–100 Hz from door speakers. Small cones can’t handle deep bass — it stresses the suspension and overheats the coil. For tweeters, use a low-pass filter. No point blowing $150 tweeters on a bass-heavy track.
-
Inspect monthly. Play a familiar track at startup. Listen for new buzzes or distortion. Look at speaker surrounds — dry rot shows up fast in humid climates. And if you’ve got aftermarket gear, make sure your battery and alternator can handle the load. A 150A alternator on a stock F-150 can’t support a 2000W system without voltage drops.
Bottom line: audio systems fail when they’re misused, poorly installed, or ignored. Fix the root cause, not just the symptom. And if you’re not sure — test before you replace. That’s how you save time, money, and headaches.
