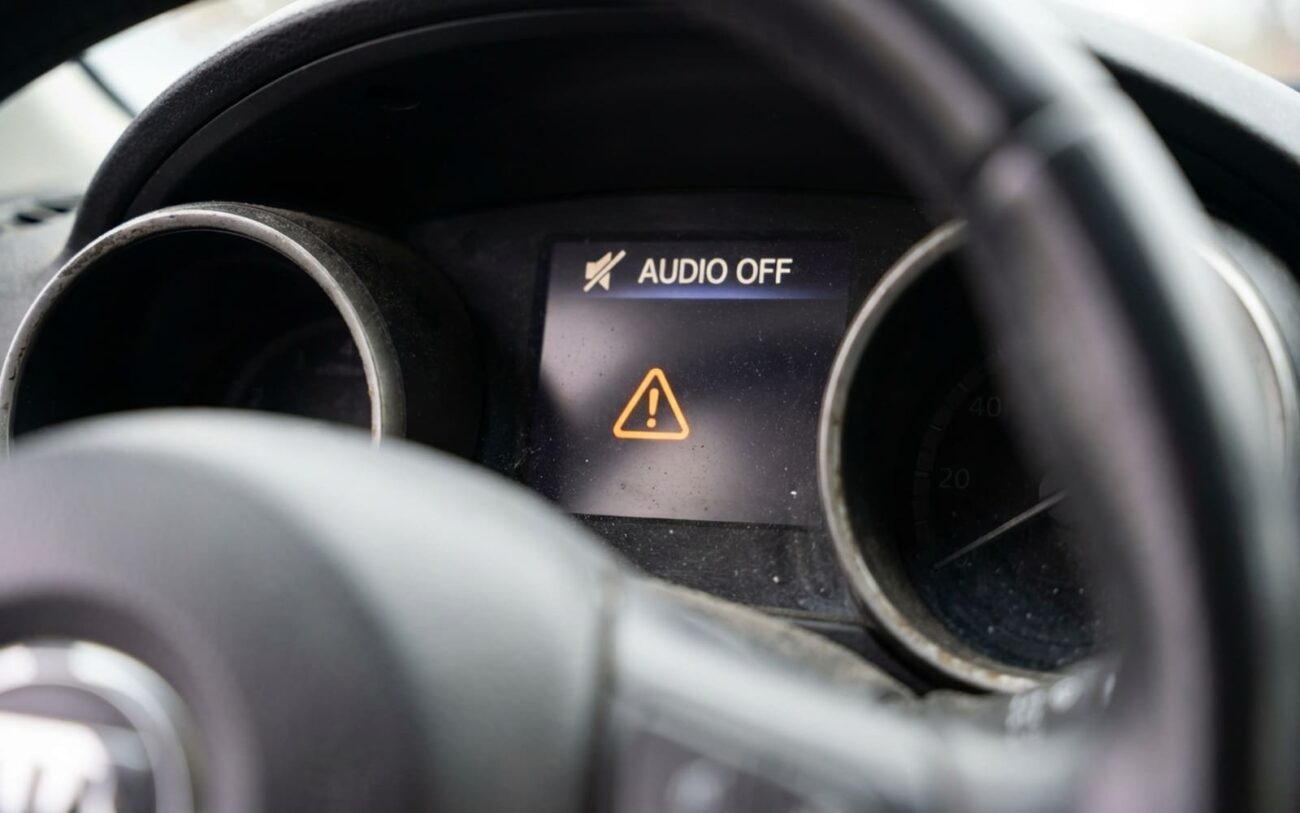
No sound from your car stereo but the screen lights up? That’s not a speaker problem. Not even close. I’ve worked on hundreds of these — from base-model Corollas to loaded-up BMWs — and when every speaker cuts out at once, you’re dealing with a shared failure point. Either the signal dies before it leaves the head unit, or something downstream kills it. Jumping to new parts won’t fix it. You need to follow the signal path like a detective.
Symptom First, Then Strategy
If the display works, Bluetooth pairs, and you can navigate menus, the head unit has power and logic. That rules out a dead battery or blown main fuse. But none of that means the audio stage is alive. Modern factory systems fail in sneaky ways — software glitches, corrupted settings, or amplifier shutdowns that don’t trigger warning lights.
And here’s what most people miss: a single broken wire in the door boot can mimic a total system failure if it’s on a shared ground or power line for the amp. I’ve seen a chewed-up wire in a driver’s door kill all sound on a 2018 Tacoma. Looked like a dead head unit — turned out to be a $12 solder job.
Diagnosis: Start Here, Not There
Don’t pull the radio yet. Don’t buy a new amp. Start with settings. I can’t tell you how many times I’ve found a system muted because the last Bluetooth call never un-muted it. Or the fader cranked all the way to the rear — and the owner had removed the back speakers months ago.
Reset fader and balance to center. Disable “mute on speed” or voice prompt overrides. If you’re still silent, it’s time to test.
Test 1: Is the Head Unit Outputting Signal?
You’ll need a digital multimeter (DMM). Set it to AC voltage (20V range). Pull the radio harness — gently — and locate the speaker wires. They’re usually paired: white/white-blue for front left, gray/gray-blue for front right, etc. Play a test tone or music. Probe across one pair.
If you see 1–10 V AC fluctuating with the audio, the head unit is working. The problem is downstream — wiring, amp, or network fault. If there’s zero voltage on any channel, the failure is in the HU’s internal amp, its power supply, or a software lockout.
Test 2: Does the Amplifier Have Power and Ground?
Many modern cars — especially Toyotas, Hondas, and German brands — use a separate amplifier, even in base audio systems. These amps often run on a digital bus like MOST (Media Oriented Systems Transport), and one break in the ring kills the whole system.
Check B+ and ground at the amp with your DMM. If power is missing, trace back to the fuse — often in the dash or underhood box. If power is good but no sound, scan for communication errors. A $50 OBD2 scanner won’t cut it. You need a scan tool that reads audio modules — like Autel, Snap-On, or dealer-level gear. Look for codes like “U0100 – Lost Communication with Radio” or “U0D00 – MOST Network Malfunction.”
Test 3: Is It a Wiring Break?
Speaker wires fail where they flex — door-to-body boots. Open the rubber grommet between the door and frame. Look for cracked insulation, green corrosion, or wires pulled apart from repeated opening and closing.
Test continuity with the DMM. Key off, speaker disconnected. Probe from the harness side at the door to the speaker terminal. Should be less than 1 ohm. If not, flex the harness while testing — you might catch an intermittent break.
Rodents love these wires too — especially in garages or rural areas. I once found a mouse nest in a Camry’s A-pillar with three speaker wires chewed through. Look for droppings, frayed insulation, or that faint ammonia smell.
Fix It Right: Location Determines the Approach
Not all repairs are equal. Some you can do in your driveway. Others need a pro with diagrams and patience.
Door Boot Repair — DIY-FEASIBLE
If the break is in the door boot, you’re in luck. Remove the door panel (screws behind caps and armrest), open the rubber boot, and inspect. Cut out the damaged section. Splice in 16-gauge stranded wire — same gauge as original. Solder, don’t crimp. Seal with heat-shrink tubing. Re-route the harness so it doesn’t kink at the same spot. I use a small zip tie inside the boot to hold a gentle loop — takes stress off the wires.
And yes, dielectric grease on the connector terminals. It doesn’t conduct, but it keeps moisture out. Do it every time.
Dash or A-Pillar Harness — PROFESSIONAL-ONLY
If the break is behind the dash or in the A-pillar, walk away unless you’re experienced. You’re digging through airbag wiring, ADAS sensors, and multiplexed data lines. One wrong move and you’re dealing with a SRS light or lane-keep assist failure.
Use a wiring diagram — factory, not generic. Trace the circuit with a tone generator and probe. Repair with heat-shrink butt connectors or solder, never electrical tape. And don’t forget: a battery disconnect before touching anything near the airbags.
Software or Settings Glitch — DIY-FEASIBLE
Try a factory reset in the audio menu first. If that fails, disconnect the negative battery terminal for 10–15 minutes. This clears RAM glitches in the head unit. Reconnect, wait for modules to initialize, then test.
If the problem returns, it’s not software — it’s hardware. But if it stays fixed, great. Just know: a battery reset may erase seat/mirror memory or radio presets. Program them back — don’t skip it.
Verify the Repair — Or It’s Not Done
Sound came back? Good. But don’t close the hood yet.
Check continuity across the repair — should be under 1 ohm. No voltage drop. Play a sweep tone or music and listen for balance. If one side is weak, you’ve got a partial connection or impedance mismatch.
For software resets, test over three ignition cycles. Turn off, wait 30 seconds, restart. If it fails on cycle two or three, it’s not a glitch — it’s a failing component.
And if your system uses RCA cables (aftermarket or amplified), check those connections. They loosen over time. Corrosion kills signal just like a broken wire.
When to Walk Away — And What to Do Instead
If the shop quotes $1,200 to fix a dash harness on a car worth $6,000, don’t do it. Install a new aftermarket head unit with a fresh harness. You’ll get better Bluetooth, Apple CarPlay, and reliability. Use a harness adapter — don’t splice into the factory loom unless you’re confident.
I’ve done this on half a dozen Explorers with failing factory radios. Total cost: $300. Result: better sound, modern features, and no more intermittent cuts.
One Last Thing
Torque matters. Amplifier terminals and factory connectors use tiny screws — usually 8–10 inch-pounds. Strip one, and you’re either chasing a loose connection or replacing the whole harness. Use a small torque screwdriver. I keep one in my diagnostics kit. It’s saved me three comebacks this year.
