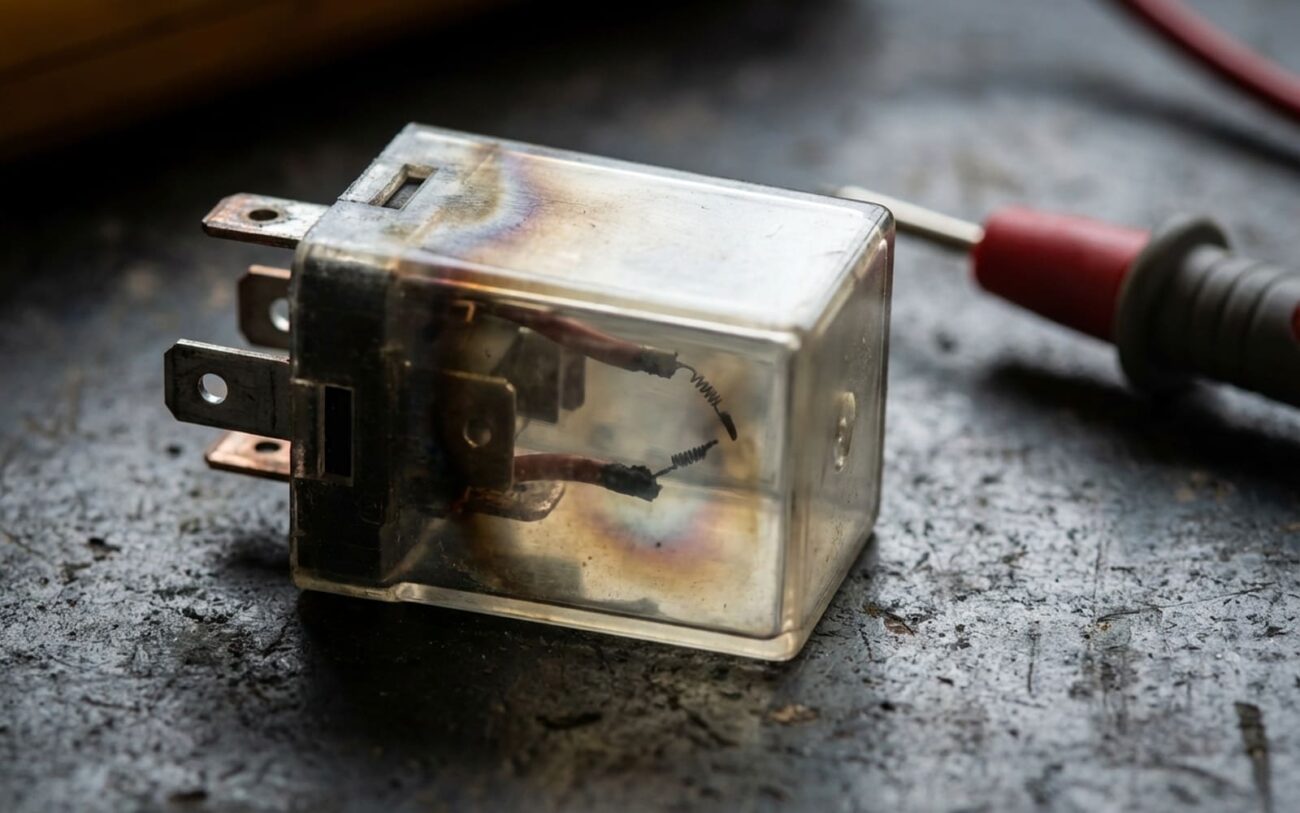
That Rapid-Click Turn Signal? Yeah, It’s Talking to You
When your turn signal starts clicking twice as fast, it’s not “being quirky.” It’s screaming at you. I’ve diagnosed this on everything from beat-up Civics to late-model Ram trucks, and here’s the truth: hyper flashing is a symptom, not the problem. It’s your car’s way of saying, “I’ve lost load on the circuit.” And that means something’s broken—or missing.
How I Diagnose It — Fast
I don’t guess. I watch the pattern. That tells me everything.
| Symptom | Most Likely Cause | Other Possibilities | How I Confirm It |
|---|---|---|---|
| One side flashing fast | Dead bulb (front or rear) | Corroded socket, loose bulb, wrong bulb type |
Check both bulbs on that side. Pull them, look for blackened glass or broken filaments. Test resistance: good bulb should read 0.5–3Ω. “OL” on the meter? It’s dead. Then check for power and ground at the socket with the signal on. No power? Trace the wiring. No ground? Check the chassis connection near the taillight housing. |
| Both sides flashing fast | Bad flasher relay or module | LED conversion without resistors, dual bulb failure, shared ground fault |
Verify all bulbs are good. If you recently installed LEDs, that’s your culprit 90% of the time. Swap back to incandescent or add load resistors. If the relay is plug-in, swap in a known-good one. Still flashing? Check the ground at the relay socket. On some GMs and Fords, a bad chassis ground near the BCM will mimic a dead relay. |
| No turn signals, but hazards work | Failed flasher relay or blown fuse | Bad turn signal switch, wiring in column, or BCM issue |
Check the turn signal fuse—usually 15A, labeled “TURN” or “HAZARD.” Then test for power at the flasher relay’s input. If power’s there, turn the signal on and check if the switch sends a ground signal to the relay. No signal? The switch or clockspring is bad. I’ve seen more than one column wiring harness chewed through by rodents—worth a quick peek. |
Why Stuff Fails — The Real Story
Bulbs don’t just “burn out.” They get cooked. I’ve pulled bulbs that looked fine but were open circuit. Why? Poor connection. Corrosion in the socket increases resistance, and that creates heat—right at the base. That heat travels up the filament and weakens it over time. It’s not the on/off cycling; it’s the bad contact doing the damage.
Flasher relays? Two types: old-school thermal and modern solid-state. The thermal ones have a bimetallic strip that bends when heated, breaking the circuit. Over time, the contacts pit or weld. I’ve seen relays that click rapidly because the strip heats too fast—usually from low resistance (like a missing bulb). But moisture or voltage spikes can kill them early.
Solid-state relays don’t have moving parts, but they’re not bulletproof. On 2018–2021 Toyota Camrys, I’ve replaced half a dozen BCMs because the internal flasher circuit failed—traceable to a cracked solder joint near the relay driver. And yes, a loose connector at the relay can mimic a dead module. Always check the easy stuff first.
How I Fix It — And When to Walk Away
Know Your Limits
Some fixes are $10 and 10 minutes. Others require OEM tools and deep system knowledge. Don’t waste time—or money—on guesswork.
Bulb Replacement DIY Feasible
Plug-in Flasher Relay DIY Feasible
BCM or Integrated Module Professional Only
And for the love of all things electrical—don’t tap a failing relay to get it working. I’ve done it. We all have. But that’s a band-aid on a severed artery. The contacts are degraded. It’ll fail again, and next time it might stick on and drain your battery overnight.
Did It Really Work? Test Like a Pro
Don’t just listen to the dash. Walk around the car. Check both front and rear signals. Watch the blink rate. It should be steady—about once per second. No flickering, no dimness.
If you replaced the relay, test hazards too. They often share the same module. On modern cars, scan for codes. Clear any lamp-out warnings. Some systems won’t reset until you do.
And if you went LED? Drive it for a few days. Some CANbus systems take 3–5 ignition cycles to relearn. If the hyper flash comes back, you need resistors. No way around it.
What’s This Gonna Cost?
Single Bulb
DIY. Shop labor adds $25–$75.
Plug-in Relay
DIY part cost. Shop: $80–$150 with labor.
BCM Module Replacement
Part: $200–$600. Shop: $500–$1200+ with programming.
If the BCM repair quote hits half your car’s value, it’s time to rethink. I’ve had customers spend $900 on a $3,000 car. Not smart. Sometimes the fix isn’t worth it.
How to Keep It From Coming Back
Long-Term Reliability Tips
-
Dielectric grease on every bulb base. Every time. It’s $3 a tube and prevents 80% of socket corrosion issues.
-
Test your signals weekly. Takes 10 seconds. Saves you from getting pulled over.
-
When one bulb fails, replace both on that side. They’ve lived the same life. The second won’t last much longer.
-
LEDs? Use load resistors or CANbus-compatible bulbs. No exceptions. Your BCM will thank you.
