Alright, let’s talk about that squeak you’re hearing after putting new brakes on. I’ve been turning wrenches for over 25 years, and believe me, this is one of the most common calls I get. Most folks think they messed something up, but usually, it’s not a disaster. It’s often just a few missed steps or a characteristic of the parts themselves.
The trick is figuring out exactly what kind of noise you’ve got and when it shows up. That tells me where to start looking. Is it a high-pitched squeal, or more of a metallic grind? Big difference there.
Squeal vs. Grind: What Your Brakes Are Telling You
Most of the time, what you’re hearing is a high-frequency squeal. It’s usually loudest during light braking, especially when you’re slowing down from low speeds or coming to a complete stop. This kind of noise is annoying, no doubt, but it’s rarely a safety issue. It’s often just a vibration between the brake pad and the caliper, or sometimes the rotor itself. Certain pad materials, like semi-metallics, are more prone to this because of the harder metal particles in them. But don’t jump to conclusions just yet; sometimes a bent dust shield or even worn suspension bushings can mimic this sound. We’ll get to that.
Here’s a good clue for the non-serious squeaks: if the noise tends to fade away after you’ve made a few firm stops, or after the brakes warm up, you’re probably in decent shape. That’s often a sign that the pads just need to be properly “bedded-in” to establish an even transfer layer on the rotor. If it disappears with a few heat cycles, great. But if it sticks around, or if you start feeling a vibration through the pedal, then we need to dig a little deeper.
My Diagnostic Process: What I Check First
Before I start pulling things apart, I always run through a mental checklist. The goal here is to figure out if the noise is truly from the new brake components or if it’s just mimicking something else, like a worn suspension part. Misdiagnosing this is a quick way to waste time and money, and I’ve seen it happen plenty.
Here’s how I break it down:
High-Pitched Squeal Under Light Braking
This is the classic “new brake” squeal. My first thought goes to the pad-to-caliper interface. Are the anti-squeal shims missing or installed incorrectly? Are the contact points on the pad backing plate dry? Sometimes it’s just the pad material itself – those high-metallic or semi-metallic compounds can be noisy, especially when cold. But I also quickly check for external mimics: I’ll spin the wheel by hand and listen closely, looking for a bent dust shield that might be just barely rubbing the rotor. I’ll also give the suspension components a quick once-over, looking for really worn control arm or sway bar bushings. If the noise stops when I apply light brake pressure over bumps, that points me directly to the pads.
Metallic Grinding at Startup or Low Speed
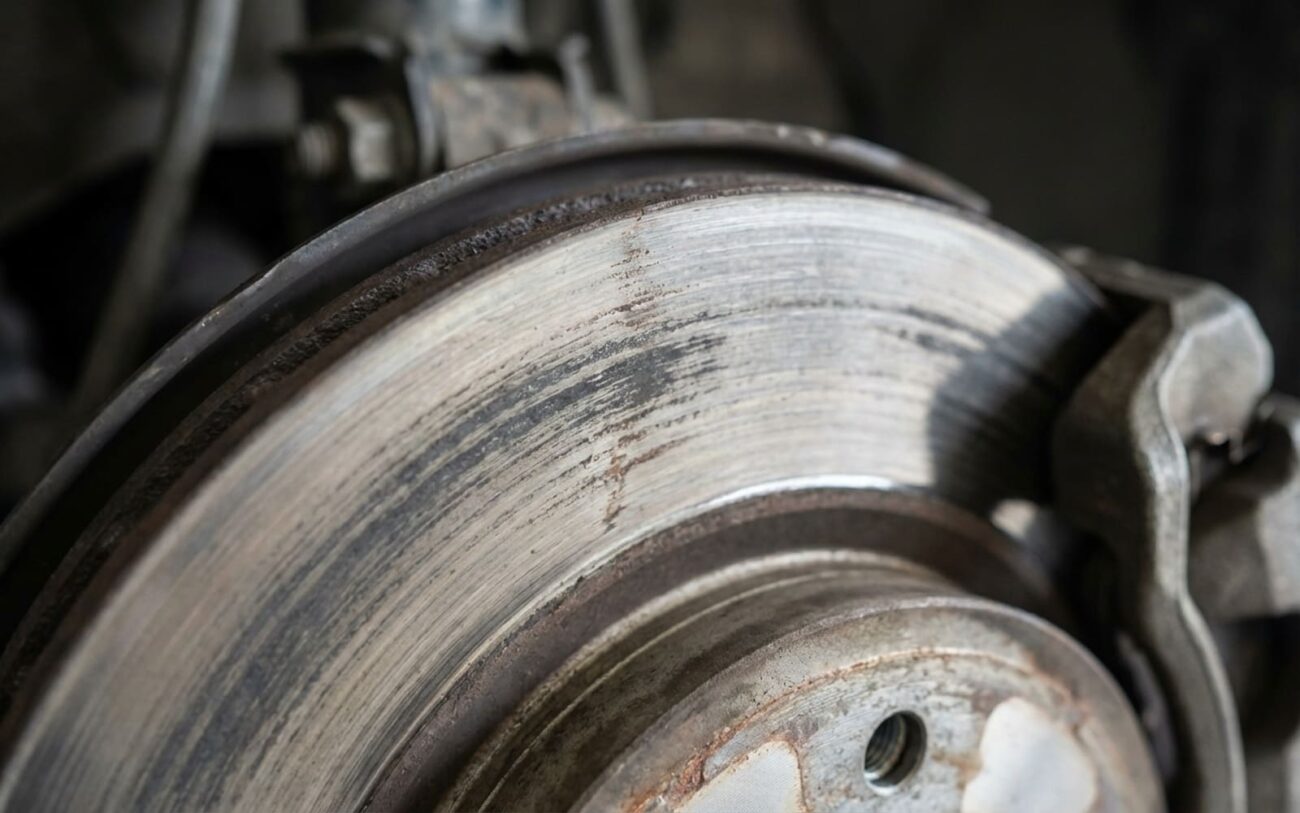
Remember, this is the serious one. I immediately suspect a bent wear sensor dragging on the rotor. Or, sometimes, a new rotor comes with an anti-corrosion coating that wasn’t properly cleaned off before installation. That stuff bakes onto the rotor surface and can cause a nasty grind. I’ll spin the wheel freely and inspect the rotor face for any deep scoring or obvious contact marks. I’m also looking for foreign objects – a small stone or piece of road debris can get lodged between the rotor and the dust shield and make a terrible racket.
Noise Changes or Increases with Heat
If the squeal gets worse as the brakes warm up, or changes character, I’m thinking about a few things. First, improper bedding-in can definitely cause this. The pads aren’t laying down an even transfer layer, and that creates hot spots and noise. Semi-metallic pads are notorious for thermal noise. But I also consider sticking caliper slide pins – if the caliper isn’t floating properly, it can cause uneven pad wear and noise as things heat up. And, of course, a pre-existing warped rotor from prior overheating won’t magically fix itself with new pads; it’ll just make the new pads noisy too.
The Concept
Think of new brakes like a new pair of shoes—they might squeak until they’re broken in, but if there’s a nail in the heel, no amount of walking will fix it. You gotta find that nail.
Critical Installation Steps I Never Skip
Assuming we’ve ruled out external factors like suspension wear, most post-installation squeal comes down to three things: pad material, rotor prep, and installation quality. I’ve seen it time and again.
First, always clean new rotors. Every single one. They come with a thin, oily anti-corrosion coating from the factory. If you don’t remove that with a good brake cleaner before installation, it bakes onto the rotor during use, creating uneven friction and noise. I spray them down until no residue remains, no exceptions.
Second, proper lubrication is key. I apply high-temperature brake lubricant to the pad ears, the back of the pad where it contacts the caliper piston or bracket, and especially the caliper slide pins. If those pins aren’t moving freely, you’re going to have problems.
And third, don’t forget the hardware. Anti-squeal shims and anti-rattle clips are there for a reason. If they’re missing, bent, or worn out, you’ll get noise. I always check the torque on all caliper bracket and slide pin bolts – typically between 20-35 ft-lbs, but always check your vehicle’s specific specs.
Important Distinction:
A sticking caliper piston or seized slide pin is a caliper problem, not a pad problem. Similarly, a warped rotor from prior overheating won’t magically fix itself with new pads. If the rotor is warped, it needs to be replaced or machined.
My Approach to Fixing It: From Simple to Serious
Systematic Correction: My Shop Steps
Once I’ve narrowed down the likely cause, I follow a pretty standard sequence. Start with the easiest, least invasive fixes and work your way up. Here’s how I tackle it:
Clean and Re-Bed DIY-FEASIBLE
Lubricate and Check Hardware DIY-FEASIBLE
Component Replacement PROFESSIONAL-ONLY IF UNCERTAIN
Brake Quiet Compound LAST-RESORT
After the Fix: Validation & Prevention
Never, ever skip the test drive after you’ve worked on brakes. After cleaning and bedding, I’m looking for at least an 80% reduction in noise, and absolutely no new brake pedal pulsation. After lubrication or hardware correction, I’ll drive the vehicle in a quiet area and make multiple light stops, then a few firm ones. I listen for any return of the squeak over three separate drives – sometimes it takes a bit for the noise to come back if the fix wasn’t quite right.
I also use a couple of tools to help me out. A mechanic’s stethoscope is great for pinpointing exactly where the noise is coming from – you can listen to different parts of the caliper and rotor. An infrared thermometer is even more useful: after a normal drive, I’ll check the temperature of each caliper. If one side is more than 50°F hotter than the other, that’s a pretty strong indicator that a caliper may be sticking, or something isn’t moving freely. It’s a quick, non-invasive way to spot trouble.
My Prevention Checklist for Silent Brakes
These are the non-negotiables in my shop:
-
Clean every rotor, every time. Even if it’s “new” out of the box. Use brake cleaner until no residue remains.
-
Lubricate all contact points. Pad ears, piston contact point, and slide pins need high-temp grease. Don’t be shy, but don’t get it on the friction surfaces!
-
Inspect and replace hardware. Anti-rattle clips, shims, and springs are wear items. If they look tired, replace them.
-
Torque to spec. Always use a torque wrench on caliper bracket and slide pin bolts. Overtightening or undertightening can cause problems.
-
Bed the pads properly. Follow the manufacturer’s break-in procedure. This is crucial for long-term, quiet performance.
For the first 100 miles after any brake work, pay close attention. Is the noise only when cold? That’s likely pad material. Only under light pressure? Probably vibration. If it changes with heat or goes away after a few stops, it’s probably not serious. But if it’s constant, pulsing, or getting worse, don’t wait. Re-inspect it early. Catching issues early makes them easier—and cheaper—to fix.
Cost, Risk & My “70% Rule”
When it comes to brakes, sometimes you have to weigh the cost of chasing a small noise against the cost of just doing the job right the first time. Here’s a look at the typical costs and success rates I see in the shop, along with the potential risks if things go sideways:
| Repair Type | DIY Cost (Parts) | Shop Cost (Est.) | Success Rate | Secondary Risk |
|---|---|---|---|---|
| Cleaning & Re-bedding | $10–$15 | $100 | 40%–60% | Rotor glazing, noise persists. |
| Lubrication of Hardware | $10–$20 | $150–$300 | 80%–85% | Cross-contamination of friction surfaces. |
| Pad Replacement (with old rotors) | $80–$150 | $300–$500 | 70% | Compatibility issues with old rotors, continued noise. |
| Full Pad & Rotor Set | $250–$400 | $500–$800 | 90%–95% | Installation errors (torque, cleaning). |
My “70% Rule”
Here’s a piece of advice I’ve lived by for years: for older vehicles, if the repair cost of chasing a noise or replacing just one component approaches 70% of what a full OEM-spec brake job (pads and rotors) would cost, just do the full replacement. You’ll save yourself headaches, avoid callbacks, and get much better long-term performance and peace of mind. It’s often cheaper in the long run.
