That Whistle After a Cabin Filter Change? Yeah, I Know That One
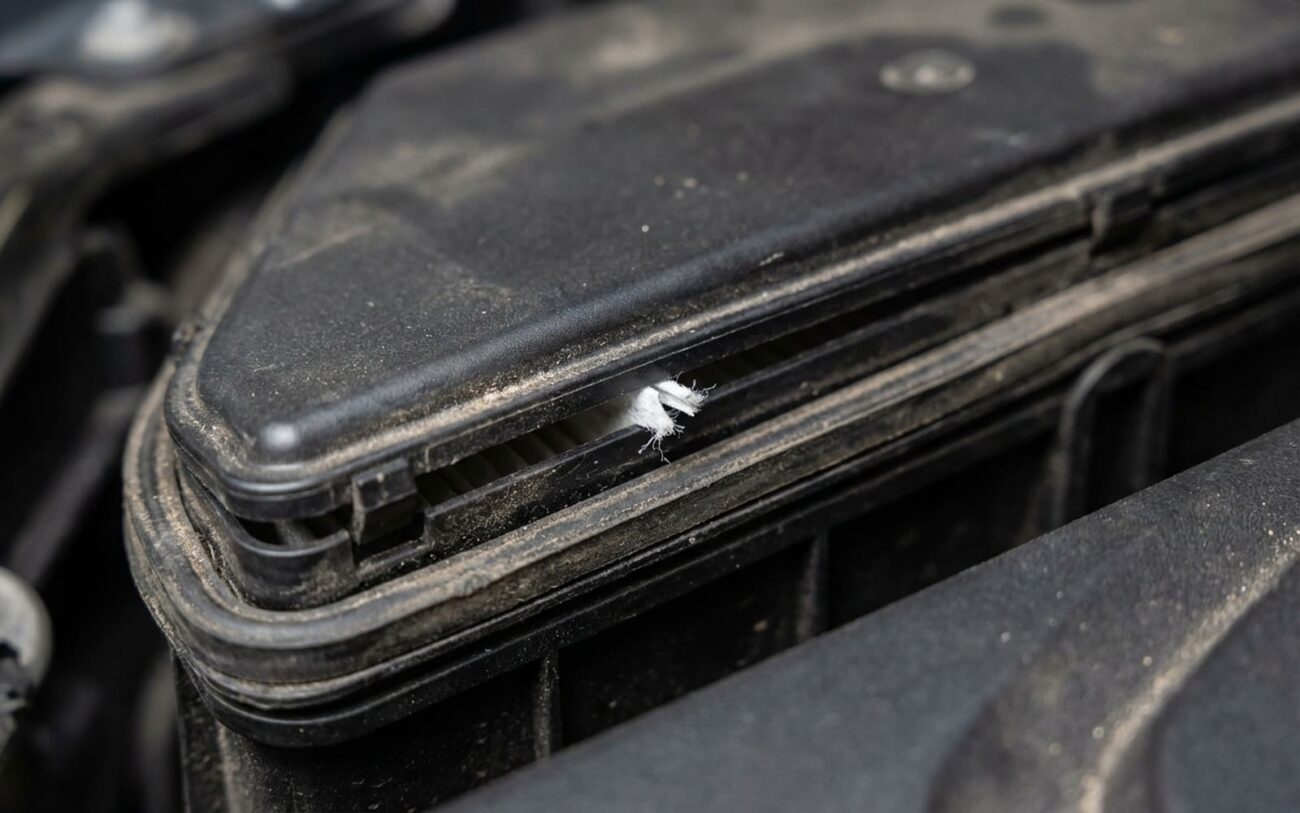
Let me stop you right there — if you just swapped your cabin air filter and now there’s a high-pitched whistle coming from the passenger side, especially when the fan’s on high, I’ve seen this more times than I can count. It’s not magic. It’s not some mysterious HVAC gremlin. It’s almost always an air leak around the filter housing. Simple as that.
The blower motor doesn’t care where it pulls air from — it just pulls. When the filter housing isn’t sealed right, it starts sucking air through the gap instead of through the filter. That creates turbulence. Turbulence makes noise. That’s your whistle. And yeah, it’s annoying, but worse? It defeats the whole point of having a filter. Dust, pollen, road grime — all of it bypasses the media and blows straight into the cabin. Plus, the motor works harder, which over time can shorten its life. Not catastrophic, but why let it drag on?
First, Confirm It’s Not Something Else
Before you start pulling panels, make sure you’re not chasing the wrong noise. I’ve had customers come in convinced it’s the filter, only to find out the blower motor was failing or a duct had collapsed. So take 60 seconds to rule out the look-alikes.
If the whistle changes pitch with fan speed — louder on high, gone on low — it’s likely airflow-related. Clean, consistent tone? Classic leak. But if it’s a rattle, buzz, or grinding, stop. That’s mechanical. Could be a failing motor, loose trim, or even a rodent-chewed wire vibrating (yes, really — seen it on a 2018 Camry).
| Symptom | Most Likely Cause | Other Possibilities | How to Confirm |
|---|---|---|---|
| Whistling from footwell after filter change | Filter not seated or housing cover not latched | Torn blower motor seal |
Pull the filter out and run the fan on high. If you feel air pulling around the housing edges, the seal’s blown. A quick smoke test — commercial machine or a vapor pen — will show exactly where it’s leaking. |
| Reduced airflow + whistle | Filter installed backwards or too dense | Clogged fresh air intake (leaves in cowl) |
Remove the new filter. If airflow returns and the whistle stops, the filter’s the issue. If not, check the cowl under the wipers — I’ve pulled out whole bird nests from there. |
| Whistle changes with fan speed | Air leak near housing | Clogged evaporator drain |
Find the evaporator drain (rubber tube through firewall). Pour a little water down it. If the noise changes or stops, it was blocked. If not, go back to the filter housing. |
What Actually Went Wrong in There
I’ve opened up hundreds of these housings. The number of times I’ve found a cracked case? Maybe three. And all of them were on 15-year-old cars with sun-damaged plastic. So don’t assume the housing’s junk. It’s almost always user error — and that’s good news, because it means it’s fixable.
Filter in backwards? Happens all the time. Every filter has airflow arrows. So does the housing. They need to match. On most cars, the arrow points toward the HVAC box — not the cabin. Get it wrong, and the air hits the media at a bad angle, creates turbulence at the seal, and boom — whistle. Plus, it increases resistance, making the blower work harder.
Housing cover not sealed? Super common. That foam gasket on the cover? It collects dust, leaf bits, old gasket scraps. If it’s not clean, it won’t seal. And if you pinch it when closing the cover — which is easy to do — it’s game over. I’ve seen techs force the cover shut, thinking “close is close,” but one folded edge kills the seal.
Broken latches? Yeah, those plastic tabs are brittle. Especially on older Toyotas, Hondas, and Fords. Push too hard, and they snap. Once one’s broken, the cover can’t seal — no matter how much you press. And forget glue or zip ties. That’s not a fix. It’s a joke.
Cheap aftermarket filter? Some are undersized. Not by much — maybe 1–2mm — but under high airflow, that gap sings. I had a customer bring in a filter labeled “exact fit” for his 2020 RAV4. Measured it. 3mm short on one side. No wonder it whistled.
How to Fix It — For Real
Re-seat or reorient the filter DIY-FEASIBLE
Clean or replace the gasket DIY-FEASIBLE
Replace the housing DIY-FEASIBLE to PROFESSIONAL-ONLY
Temporary tape fix TEMPORARY
Test It Like a Pro
Don’t just turn the fan on and call it good. That’s how you miss stuff.
Leave the glovebox or lower panel loose. Run the blower through all speeds — 1 to max. Switch between fresh air and recirc. Listen. The whistle should be gone at every setting. If it’s not, go back. Don’t snap the trim in yet.
Still not sure? Do a smoke test. I use a vapor pen — the kind people use for vaping — and gently puff smoke into the cowl intake. Any leak will show up instantly. No smoke? Good. Snap it all back together.
What’s This Gonna Cost?
| Repair Type | DIY Cost | Shop Cost | Success Rate | Risk if It Fails |
|---|---|---|---|---|
| Re-seat/Reorient Filter | $0 (unless you damaged the filter) | $30–$60 labor + filter | Very High | None — just try again |
| Clean/Replace Gasket | $0–$50 (for new gasket) | $50–$100 + gasket | High | Leak persists; dust/moisture enters |
| Replace Housing Assembly | $75–$300 (OEM or quality aftermarket) | $150–$400 (labor + part) | Near 100% (if installed right) | Overtightening or misalignment can damage new housing |
How to Never Deal With This Again
Prevention Tips
-
Always check the arrows on the filter and housing. Every. Single. Time.
-
Wipe the gasket and sealing surface clean with every filter change. Debris builds up — I’ve seen it.
-
Close the cover slowly. Press each corner. Listen for the clicks.
Pro Tip
After you’ve reassembled, but before you snap the glovebox or trim back in, turn the blower to max. Listen. If there’s a whistle, catch it now. Fix it while everything’s still open. That one habit has saved me — and my customers — hours of frustration. A properly sealed cabin filter isn’t just about clean air. It’s about keeping the whole system working like it’s supposed to.
