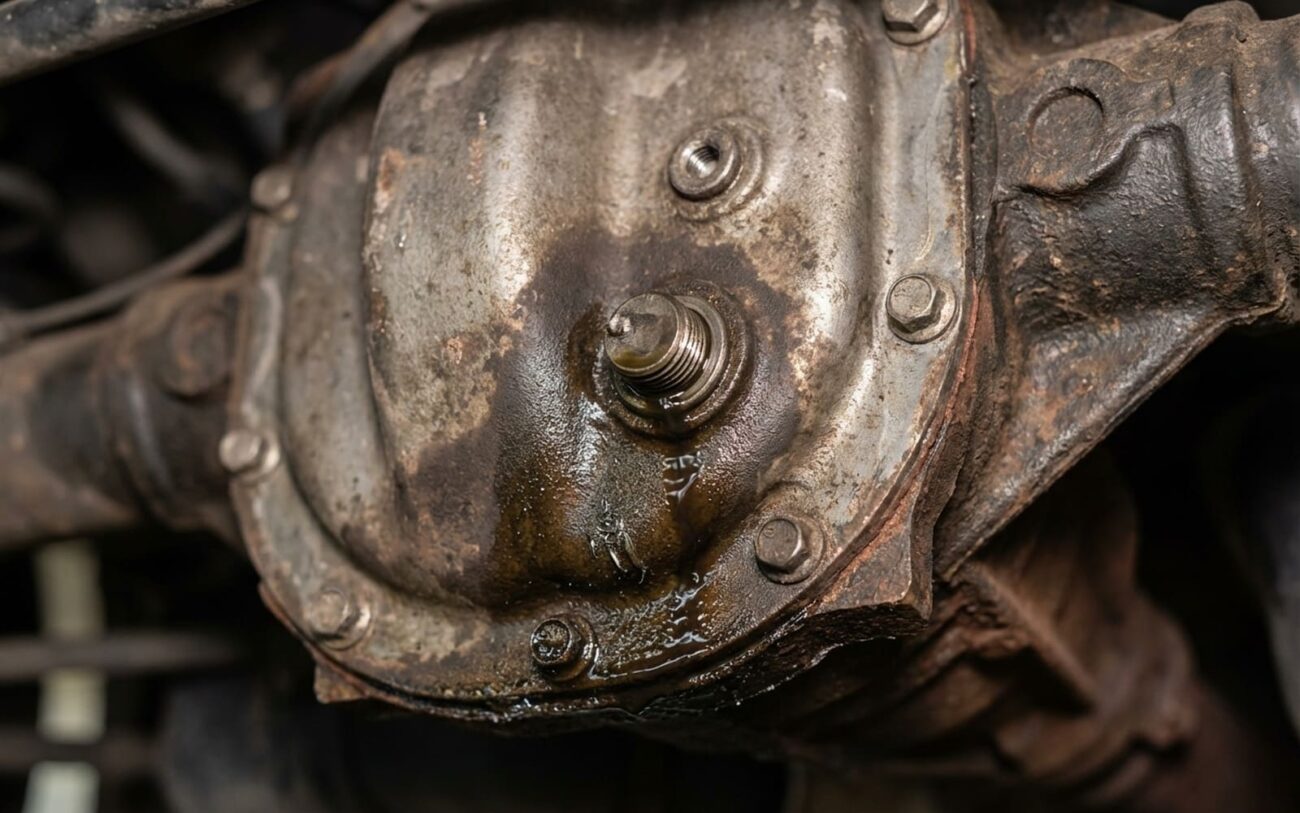
That New Whine After a Diff Service? Here’s What I See
You just had your differential oil changed, right? Maybe you did it yourself, maybe a quick lube place did it. And now, out of nowhere, there’s this new noise. A whine, a howl, something that definitely wasn’t there before. Believe me, I’ve heard this complaint more times than I can count in my 25+ years. And no, it’s not in your head. That sound is coming straight from inside your differential carrier—what most of us call the “pumpkin”—that big metal housing in the middle of your rear axle.
Now, this isn’t engine noise. You’ll notice it’s tied directly to your road speed, not your engine RPM. It’ll rise and fall as you speed up or slow down, usually loudest somewhere between 40 and 60 mph. The real tell, though, is how it changes character when you’re on the gas versus when you’re just coasting. That shift in pitch or intensity? That points a big finger right at the gears or bearings inside that differential unit. Sure, other things like wheel bearings, tires, or even a transmission tailshaft bearing can make similar sounds, but the pattern is key. If it reacts to throttle input and seems to be loudest right at the axle housing, you’re almost certainly looking at a differential problem.
First Things First: Is It Really the Differential?
Before you even think about cracking open that differential cover, you absolutely have to confirm the noise source. Trust me, I’ve seen too many folks chase their tails, replacing parts that had nothing to do with the actual problem. A systematic approach here saves you a ton of time, money, and headaches. Your goal is to pinpoint if the noise is truly coming from inside the differential’s gears or bearings, or if it’s just mimicking something else.
| Symptom | Likely in Differential Carrier | Common External Mimics |
|---|---|---|
| Whine or howl proportional to vehicle speed | Ring and pinion gear wear, incorrect fluid viscosity, or improper gear backlash | Wheel bearing failure, tread noise from unevenly worn tires, transmission tailshaft bearing |
| Whine increases under load (acceleration) or coast (deceleration) | Incorrect gear contact pattern or worn pinion bearings; often worsened by wrong fluid | Driveshaft U-joint wear (usually a clunk or shudder), exhaust contact with chassis |
| Noise appeared immediately after differential fluid service | Wrong gear oil type (GL-5 vs GL-4), missing friction modifier, or contamination | Debris dropped during fill, over-tightened cover distorting housing, or disturbed axle seal |
In my shop, the most reliable way to really nail down the source is a good old-fashioned road test, preferably with another tech riding shotgun. We’ll often use chassis microphones, or even just a long mechanic’s stethoscope, pressing it against the differential housing, along the axle tubes, and at the wheel hubs. A true differential whine will be loudest right at the “pumpkin” and stay pretty consistent when you’re driving straight. Wheel bearing noise, on the other hand, almost always gets louder or changes character when you turn—a left turn loads the right wheel bearing, and a right turn loads the left.
The throttle-coast test is pure diagnostic gold. Find a steady speed where you hear the noise, say 50 mph. Now, gently accelerate, just enough to put a little load on the drivetrain. Listen to the whine. Then, lift completely off the throttle while staying in gear, letting the vehicle coast. If that whine changes pitch, intensity, or even disappears between drive and coast modes, you’re almost certainly dealing with a gear-related issue inside the differential. Tire hum, exhaust drone, or even a bad transmission bearing just won’t react that way. And here’s a big one: if the noise started the very same day you had the service done, your first move should be to check that fluid. Drain a small sample into a clean, clear container. Does it look right? More importantly, does it feel right? And does it match the OEM specification exactly—not just “gear oil,” but the correct viscosity, API rating, and any specific additive chemistry, like for a limited-slip differential?
The Root Cause: Why a Simple Oil Change Can Create a Big Problem
It feels totally backward, doesn’t it? You do a routine service, something that’s supposed to be good for the vehicle, and suddenly you’ve got a new problem. But in my experience, after seeing this play out for decades, the root cause almost always falls into one of two main categories.
1. Pre-existing Wear That Old Oil Was Masking
This is probably the most common scenario, especially on higher mileage vehicles. Over thousands of miles, your gear oil breaks down. It gets contaminated with microscopic metal particles, and it starts to form a kind of sludge. This sludge, believe it or not, can actually act as a dampener, filling in tiny wear patterns on gear teeth and bearing races, effectively quieting things down. When you drain that old, worn-out oil and flush it with fresh, clean fluid—especially a new oil with good detergents and the correct film strength—you’re washing away that “cushion.” All of a sudden, those worn surfaces are making direct contact again, and the noise that was always there, just muffled, becomes glaringly obvious. The underlying wear was already present; the fluid change just revealed it.
2. The Wrong Fluid, Plain and Simple
This one is completely preventable, and I see it far too often. Not all gear oils are created equal, and they are absolutely not interchangeable. If someone uses a fluid with too low a viscosity—say, a 75W-90 when the unit really needs a heavy-duty 75W-140—that thinner oil film can’t maintain proper separation between the hypoid gears under load. What happens? You get metal-on-metal contact, accelerated wear, and an immediate, noticeable whine. I’ve also seen GL-5 gear oil used in older differentials or manual transmissions that specifically call for GL-4. GL-5 has extreme pressure (EP) additives that can be corrosive to yellow metals, like the brass or bronze synchronizers or clutch packs found in some older limited-slip differentials (LSDs), especially in certain GM or Japanese units. It just eats them alive. And speaking of LSDs, if you have a clutch-type unit and someone skips the friction modifier, or uses an aftermarket additive that isn’t formulated correctly, you’ll get chatter, binding, and often a low-frequency groan or whine, particularly when you’re turning corners.
A Quick Clarification:
Just to be clear: a leaking pinion seal or a seeping cover gasket? That’s not a gear failure. A noisy axle bearing out near the wheel? That’s not a ring-and-pinion issue either. We’re focusing specifically on the internal components—the ring and pinion gears, the pinion bearings, the carrier bearings, and the backlash settings—all the stuff housed right inside that differential carrier.
The Fix: What We Do About It
Alright, so you’ve done your diagnostics, and you’re pretty sure the noise is coming from inside the differential. Now what? Your repair path really depends on what we find once we get that cover off and inspect things. In my shop, it usually boils down to one of three realistic outcomes.
Path A: Simple Fluid Correction (No Mechanical Damage)
This is Where it Gets Professional
The next two repair paths aren’t for the average DIYer. They require specialized tools, a clean workspace, and a very high degree of precision. Setting gear backlash or pinion preload incorrectly can lead to catastrophic failure—and usually within just a few miles down the road.
Path B: Pre-existing Wear Exposed Professional Only
Path C: Severe Internal Damage Professional Only
Verifying the Repair: How We Know It’s Done Right
Once any repair is done, especially on a differential, validation is absolutely critical. You can’t just slap it back together and assume it’s fixed. We need to confirm it.
For a simple fluid correction (Path A), it’s pretty straightforward. Drive the vehicle for 15-20 miles to get that new oil warmed up and flowing properly. The whine should be completely gone. At most, you might hear a very faint, almost imperceptible hum, but it should never get louder or change character with driving conditions. And obviously, no new noises should pop up.
Now, for a full rebuild or a replacement carrier (Paths B and C), the verification process is much more involved and precise. Any good mechanic will tell you, the critical step is checking the gear tooth contact pattern. We use a special marking compound on both the drive side (when accelerating) and the coast side (when decelerating) of the ring gear. The pattern needs to be centered on the tooth face—not too high or low, and not favoring the heel or toe of the tooth. Backlash must be spot-on within OEM specifications, measured with a dial indicator. Pinion preload, whether set with a collapsible sleeve or a shim pack, has to be precisely within spec. And finally, after all that, a thorough road test under various conditions—drive, coast, and even “float” (neutral coast)—should produce absolutely no audible whine. If it does, something’s still off, and we go back in.
The Bottom Line: Cost and How to Avoid This Mess Next Time
Let’s talk about what this might set you back. These numbers are rough estimates, of course, and can vary wildly depending on your vehicle, your location, and who’s doing the work. But this should give you a general idea.
| Repair Type | DIY Cost | Shop Cost | Success Rate | Secondary Risk |
|---|---|---|---|---|
| Fluid Correction | $50–$150 | $200–$400 | High | Continued wear if misdiagnosed |
| Re-Gear & Bearing | N/A | $1,500–$2,500 | Medium-High | Rapid noise return if setup is off |
| Replacement Carrier | $500–$1,500 | $2,000–$3,500 | Very High | Low (if sourced correctly) |
My “40% Rule” for Customers
Here’s a rule of thumb I always share with my customers: if the estimated repair cost starts to creep past 40% of your vehicle’s current market value (in “Fair” condition, not showroom new), it’s time to seriously consider if that money wouldn’t be better spent as a down payment on a different, more reliable car. A $3,000 differential repair on an older truck that’s only worth $5,000 is a tough pill to swallow. Sometimes, the most economical choice isn’t to fix it at all.
How to Prevent This Mess Next Time
Prevention, as always, is far cheaper than repair. And when it comes to differentials, it all starts and ends with using the right fluid—no exceptions, no shortcuts, no “close enough” substitutions. Your differential was engineered for a very specific oil: the correct viscosity, the right API rating, and the exact additive package. Don’t guess, don’t assume.
-
Always, and I mean always, consult your owner’s manual or a reliable service database for the exact fluid specifications. It’ll say something like “75W-140 GL-5 with friction modifier”—follow it to the letter.
-
After any differential service, pay close attention for a day or two. Listen for anything new. A new noise isn’t normal, and it’s a sign something’s wrong.
-
After a long drive, do a quick “heat check.” Carefully touch the differential housing. It should be warm, but not so hot that you can’t comfortably keep your hand on it for a few seconds. Excessive heat is a red flag for friction and wear.
-
If you do a lot of stop-and-go driving, tow heavy loads, or take frequent short trips, follow your vehicle’s “severe service” maintenance schedule. Those conditions are brutal on differential fluid.
