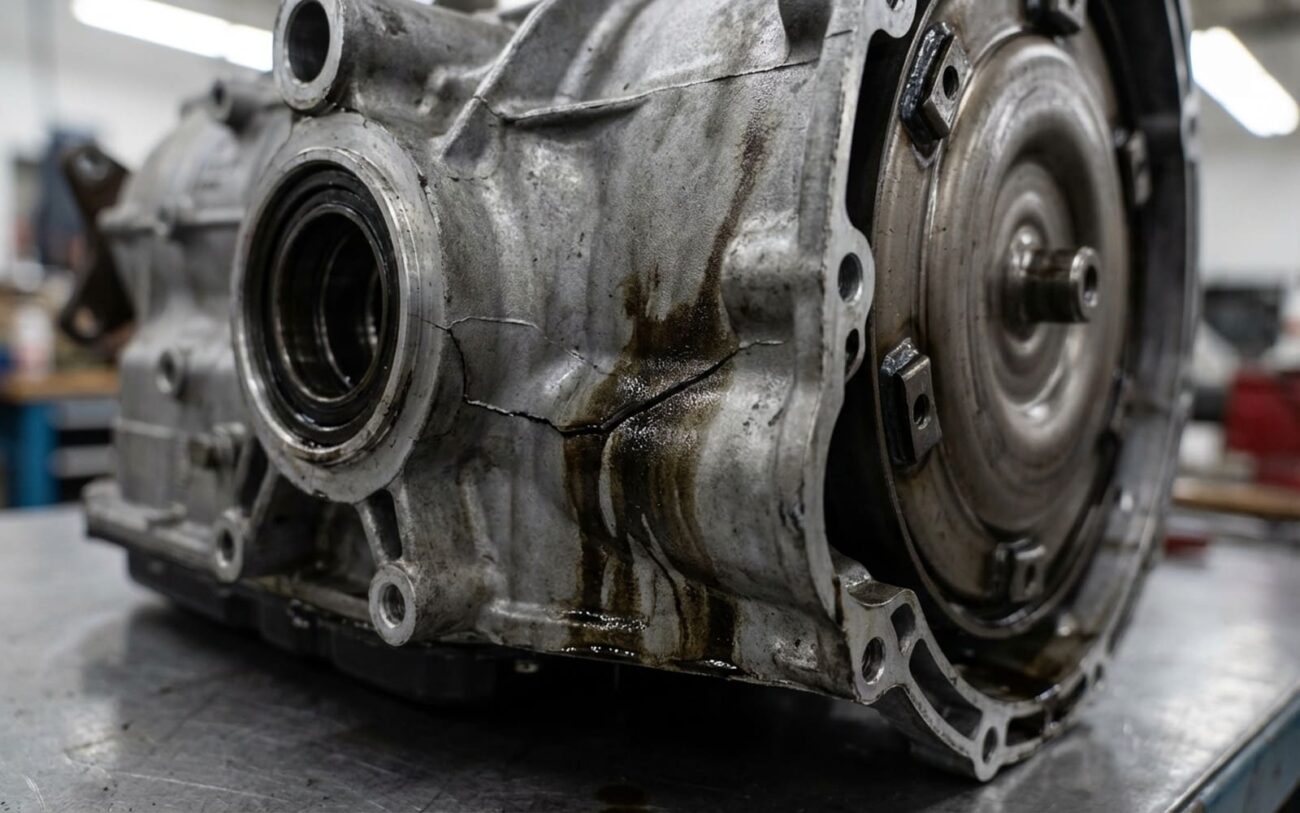
Early Automatic Transmission Failure: What I’ve Learned in 25 Years
Alright, let’s get straight to it. If you’re reading this, your transmission is probably acting up, or you’re worried it might be. Maybe you’re feeling a shudder when you hit the gas, or you’ve heard the horror stories about certain models dropping transmissions way too soon.
I’ve been turning wrenches for over 25 years, and believe me, I’ve seen it all. From simple solenoid issues that just need a quick swap, to full-blown internal meltdowns that leave a puddle of metal shavings in the pan. The truth is, while most modern automatics are pretty solid, some units just earned a bad reputation. I’m talking about the Ford 6F35, the GM 6T40, and their close cousins. These are the transmissions that consistently show up in my shop with the same recurring problems.
Slip: 420 RPM
Look, not every single one of these transmissions is going to fail. But if your car has one, you absolutely need to know what to watch for. Catching these problems early can be the difference between a relatively minor repair and a complete, wallet-draining replacement.
What to Watch For: Common Symptoms & What They Mean
Spotting these problems early can save you thousands. The symptoms usually start subtle, then get worse as internal damage progresses. And here’s the kicker: some transmission issues can feel a lot like something else, like a bad engine mount or a faulty sensor. So, knowing the difference is key.
The “Clunk” When Shifting into Gear
If you get a harsh, jarring “clunk” when you shift from Park into Drive or Reverse, that’s a big red flag. It feels like the transmission slams into gear instantly, with no delay, just a solid impact. When I see this on a Ford 6F35, it often points to a broken reaction sun shell or a damaged forward clutch assembly. But hold on — don’t jump straight to a transmission rebuild. A failed engine or transmission mount can cause a nearly identical sensation because the whole powertrain is shifting abruptly. Always check those mounts first; it’s a much cheaper fix if that’s all it is.
The Dreaded Gear Ratio Flare
This is a common complaint, especially during the 2-3 shift. You hit the gas, the engine revs spike, but the car just doesn’t accelerate like it should. It feels like a momentary loss of drive, like the transmission is slipping. Think of it like a runner trying to sprint on ice: their legs are moving fast, but they’re not actually going anywhere. On GM 6T40 transmissions, this often means a failed 2-3 clutch pack or a fatigued 3-4 clutch wave plate. But it could also be a sticking shift solenoid, low line pressure, or even a partially clogged internal filter.
The Fluid Doesn’t Lie
The most telling clue about internal damage is often the transmission fluid itself. If I pull the pan and the fluid is black, smells burnt, and has a metallic sheen to it, that tells me the clutch material is wearing down. But if I find heavy debris—chunks of brass, steel shavings, or large pieces of clutch material—on the magnet, well, that’s a full-blown failure. Those are pieces of disintegrating components. At that point, the damage is already done, and it’s usually extensive.
Is It Really the Transmission? Diagnosing the True Source
Before you even think about dropping the transmission, you absolutely have to confirm the problem is actually inside it. I’ve seen too many shops replace expensive internal components based on symptoms alone, only to find the real issue was something external and much simpler. Don’t fall into that trap.
| Symptom | Likely Internal Cause | Common External Mimics | Definitive Test |
|---|---|---|---|
| Harsh engagement into Drive | Damaged forward clutch assembly or broken reaction sun shell (6F35). | Failed engine/transmission mount or worn CV joints. |
Perform a fluid pressure test. Low pressure at idle in Drive indicates internal leakage. |
| 2-3 shift flare | Failed 2-3 clutch pack or worn 3-4 clutch wave plate (6T40). | Faulty shift solenoid, low fluid level, or TCM adaptation issues. |
Monitor TSS and OSS via scan tool. A flare shows TSS spiking while OSS stays flat. |
| No forward, reverse works | Broken forward sun shell (6F35) or torn forward clutch seals. | Faulty range switch (TRS) or TCM communication error. |
Test pressure at forward clutch apply port. Zero pressure confirms internal leak. |
Pro Tip: Check for External Leaks First
An external fluid leak—say, a cracked radiator end tank or a corroded cooler line—isn’t an internal transmission failure itself. But if it leads to low fluid, that’s a fast track to overheating and internal damage. So, always check the entire cooling loop and fluid levels before you start tearing into the transmission itself.
Known Weak Points: What Usually Breaks
When these transmissions fail early, it’s rarely a random event. There are well-known weak components, some due to design flaws, others to material or manufacturing issues. Knowing these helps ensure you fix the actual problem, not just the symptom.
On the Ford 6F35, the forward sun shell is a notorious failure point. I’ve seen plenty of service bulletins about these fracturing prematurely under normal driving conditions. For the GM 6T40 and 6T45, that 3-4 clutch wave plate is a frequent culprit behind those 2-3 shift flares. It’s a thin, spring-steel plate designed to cushion clutch engagement, and it just fatigues and collapses over time.
Another recurring headache is porosity in the valve body separator plate. We’re talking tiny voids in the aluminum casting that allow fluid to leak between circuits, messing with pressure control. This can mimic everything from a bad solenoid to weird TCM errors. The only real fix for this is a new or properly cast valve body.
The Fix: Repair Options & What It Takes
This is Professional Territory. Seriously.
Internal transmission repair is not a DIY job for the faint of heart. You need specialized tools like transmission jacks, clutch spring compressors, and precision dial indicators. And don’t even think about skipping torque-to-yield specs; ignoring them is a guaranteed way to get a repeat failure.
Valve Body or Pump Repair Professional Only
If you’ve got an internal but accessible defect—like a cracked pump body or porosity in a main fluid gallery—you’re looking at a complete teardown. The transmission has to come out, and you’ll replace the faulty casting. For a 6F35, those pump-to-case bolts need to be torqued to 18 ft-lbs in a crisscross pattern. And don’t forget to refill with Mercon LV, which is about 9.5 quarts.
Full Professional Overhaul Professional Only
For worn clutch packs or a failed wave plate in a 6T40, you’ll need an updated rebuild kit. Make sure it includes revised hard parts, like GM part 24256179. You’ll use a dial indicator to check endplay on the clutch packs, and you absolutely must follow the torque angle sequence exactly—for example, 15 ft-lbs plus an additional 30 degrees on some bolts. No shortcuts here.
Full Unit Replacement
When the damage is catastrophic—think shattered planetary gears or a cracked case—a rebuild just isn’t cost-effective, or sometimes even possible. In these cases, a remanufactured unit, like a Ford XL3Z-7000-RM, is usually the best path forward. These typically come with updated components and a warranty. Crucially, always replace the torque converter and thoroughly flush the cooler lines to remove any contamination. You don’t want old metal bits ruining your new transmission.
Proof’s in the Pudding: Post-Repair Validation
Look, a transmission job isn’t done just because the last bolt is torqued down. You’ve got to validate the repair. First, I always run a hydraulic pressure test across all clutch apply circuits. Pressures need to be within 5 psi of factory specs. Then, it’s time for a good road test with a scan tool to perform a full adaptive drive cycle. I’m monitoring turbine speed, shift adapts, and solenoid duty cycles, making sure everything is learning correctly. And finally, a critical step: re-inspect the fluid after about 500 miles. If it’s darkening or you see any new debris, that means contamination is still present, or something isn’t right internally.
The Bottom Line: Costs & Making the Right Call
When it comes to transmission work, cost is always a huge factor. You’re trying to weigh the repair against the value of the vehicle, and against the peace of mind you get from a reliable fix. Here’s a general idea of what you’re looking at, based on what I see in the shop:
Valve Body / Solenoid
This is the lower end. Typically shop cost installed. I’ve found about an 85% success rate if the internal wear is truly minimal and isolated to these components.
Complete Overhaul
This includes updated hard parts and all new clutches. For a professional rebuild, I’d say you’re looking at a 70-80% success rate, assuming the rebuilder is good and uses quality parts.
OEM Reman Unit
This is usually the highest reliability option, often 95% or better. It typically comes with a 3-year factory warranty, which is hard to beat for peace of mind. If you plan to keep the car, this is often the smartest money spent.
Keeping It Alive: Prevention & Monitoring
My Maintenance Checklist for You
-
Change that fluid every 30,000 miles. Seriously, ignore those “lifetime” fluid claims. Old, degraded fluid is the number one killer, leading to solenoid varnish and clutch wear.
-
Check your fluid monthly. It should be clear red, not dark brown. And if it smells burnt, you’ve got trouble brewing.
-
Listen for cold-start hesitation. Many transmission problems will show up first when the unit is cold and the fluid hasn’t fully circulated.
Pro Tip: Add an Auxiliary Cooler
For transmissions like the GM 6T40, adding an auxiliary transmission cooler can easily drop fluid temps by 20–30°F. It’s one of the best $150 investments you can make to significantly extend clutch life. Heat is the enemy, always remember that.
And that principle—heat is the enemy—applies across the board, even to electric vehicles. While we’re talking about transmissions here, the same idea holds true for EV battery packs. Whether it’s a transmission or a battery, proper thermal management is critical. Address symptoms early, before heat turns a minor issue into a major, expensive failure.
