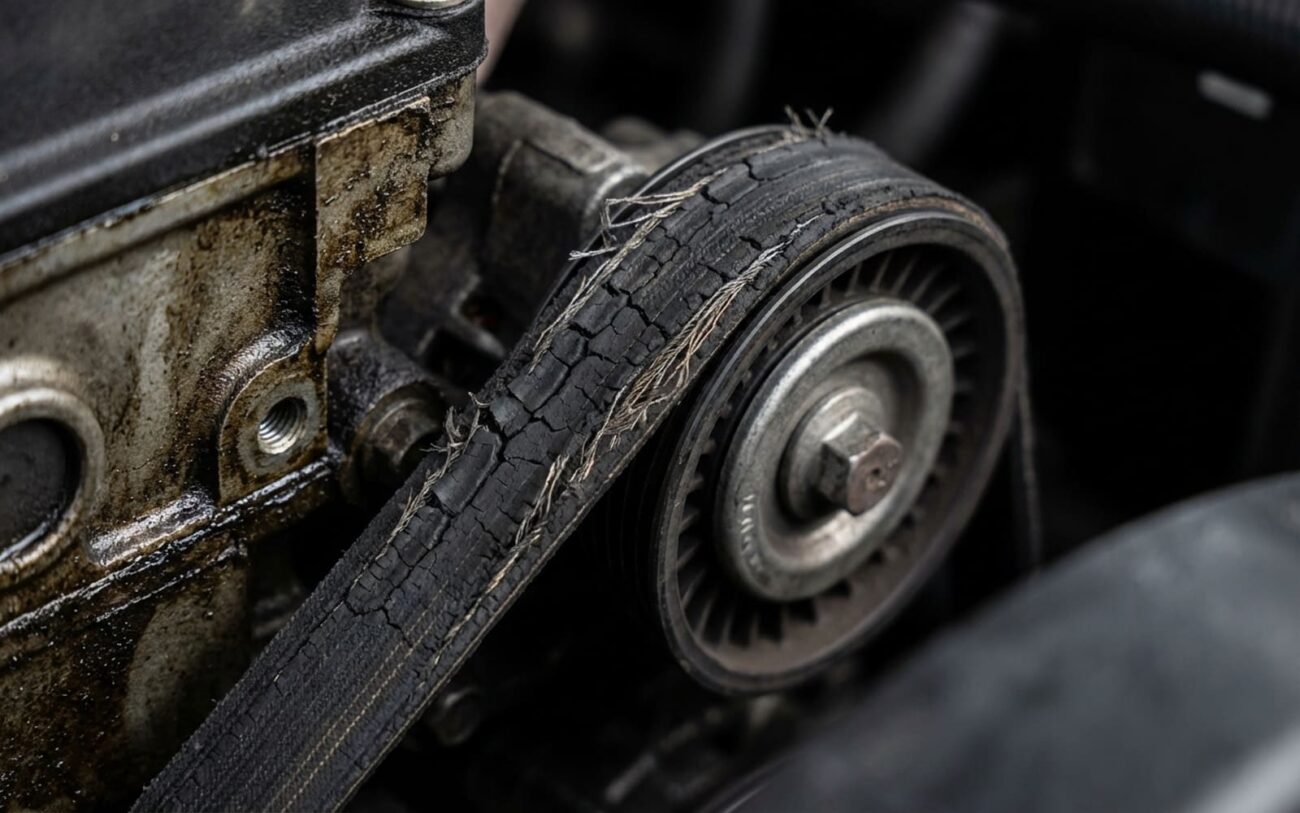
Alright, let’s cut to the chase. If your engine is making a noise that sounds like a banshee wail or a coffee grinder, and it gets worse when you rev it up or put a load on it – like going uphill – you’ve got a serious problem brewing deep inside. I’ve been wrenching on engines for over 25 years, and when a sound tracks directly with engine RPM, it’s almost always tied to the crankshaft or something bolted right to the block. That means we’re talking about an internal issue, not just a loose belt.
Symptom Spotting: What Your Engine’s Telling You
There’s a big difference between a high-pitched whine and a deep, guttural grind. A whine can sometimes point to worn gears or a bearing just starting to go. But a real grinding sound, especially when you hit the gas or climb a grade? That’s a red flag waving in your face. And if you’re also seeing low oil pressure – the warning light flickering at idle or under load – then you’re almost certainly looking at failing main or rod bearings. That’s the engine’s foundation crumbling.
Before it gets to that catastrophic grinding, there are usually earlier hints. One of the biggest tells is shiny, silvery flakes in your oil. If these little bits don’t stick to a magnet, you’re almost certainly looking at bearing material – aluminum, copper, tin, maybe some lead. That’s your engine eating itself from the inside out. Consistently low oil pressure, even after you’ve just changed the oil and filter with the right stuff, also screams internal trouble. It suggests excessive clearance in the main or rod bearings, or maybe even a crack bleeding off oil pressure internally. Sometimes, you’ll also pick up a rhythmic knocking under load, which is often a rod bearing starting to fail. The trick is figuring out if these symptoms are truly coming from inside the block or from an external component just mimicking the sound.
Diagnosis: Is It the Block or Just an Accessory?
Not every bad noise under the hood means the engine is toast. A lot of times, it’s an accessory driven by the serpentine belt – things that are a whole lot cheaper and easier to fix. The real challenge is pinpointing whether the noise is internal to the engine block or external. Get this wrong, and you’re either tearing down a perfectly good engine or ignoring a critical failure that’s going to cost you big time.
| Symptom | Likely Internal Block Issue | Common External Mimics | My Go-To Diagnostic Test |
|---|---|---|---|
| Whining/Grinding Noise | Worn main bearing bores, a scored cylinder wall, failing rod or main bearings. | A failing accessory bearing (alternator, idler pulley, tensioner), a worn water pump, a dying AC compressor, or a bad torque converter. |
First, use a mechanic’s stethoscope directly on the engine block. If it’s loudest there, that’s a clue. Then, safely remove the serpentine belt and run the engine for no more than 60 seconds. If the noise is still there, it’s definitely internal. |
| Metallic Debris in Oil | Bearing material from spun or severely worn bearings. aluminum, copper, tin, lead |
Could be steel debris from camshaft lobes, lifters, or timing chain guides; magnetic particles from general valvetrain wear. |
Grab a strong magnet and test the debris. Non-magnetic flakes are almost always bearing material. For absolute certainty, send an oil sample to a lab like Blackstone. They’ll tell you exactly what metals are floating around. |
| Low Oil Pressure | Excessively worn main bearings, a cracked internal oil gallery, or a damaged oil pump pickup tube. | A failed oil pump, a stuck-open pressure relief valve, a major external oil leak, or simply a faulty oil pressure sensor. |
Don’t trust the dash light alone. Install a mechanical oil pressure gauge directly into the block. You should see at least 10 psi per 1000 RPM, and it needs to hold steady. Compare to factory specs for your specific engine. |
Now, I’ve got to tell you, some symptoms can overlap. A knocking noise from the top end, for example, might sound scary, but it could be valvetrain wear or incorrect valve clearance, not a bottom-end catastrophe. That’s a different animal entirely. You can read more about that here: Engine Knocking Noise from Top End: Causes and Fixes. Also, if your oil pressure is low, it’s always worth ruling out top-end starvation, especially if you’re hearing a persistent lifter tick. More on that here: How to Tell if Your Camshaft Isn’t Getting Oil.
The Root Cause: When the Block Itself Is the Problem
If you’ve done your diagnostics and everything points to the block, then you’re dealing with a structural failure of the engine’s very foundation. This isn’t common, but when it happens, it’s serious. The block isn’t just a big piece of metal holding things together; it’s a precision-machined structure that keeps everything aligned, maintains oil pressure, and ensures cylinder integrity.
Sometimes, it’s a manufacturing defect. During the casting process, sand cores can shift, leaving thin or weak spots in cylinder walls or main bearing saddles. You can also get porosity – tiny voids in the metal – especially in aluminum blocks. I’ve seen this in certain Ford 4.6L and 5.4L V8s, where porosity near the rear main bearing cap would lead to chronic oil leaks and pressure loss. These aren’t really design flaws; they’re inconsistencies in the casting that can fail under stress, sometimes years down the road.
More often, block failure comes from thermal or mechanical stress that builds up over time. Severe overheating can crack a cylinder wall or a main bearing web, plain and simple. In high-mileage engines, repeated detonation (that pinging sound under load) creates shock loads that fatigue the metal around main cap bolts, eventually leading to cracks. And don’t underestimate corrosion from old or incompatible coolant. That’s a silent killer, especially in modern aluminum blocks with integrated oil coolers or thin coolant jackets. Over time, electrolytic corrosion just eats away at the metal, weakening critical areas until they fail.
Important Distinction:
It’s critical to understand what is not a block failure. A blown head gasket is a bad day, but it’s a sealing problem, not a structural one. A leaking rear main seal or oil pan gasket? That’s just a gasket or seal. These can be fixed without replacing the block itself. But if the casting is cracked, or the main bearing bores are worn out of round, then you’re looking at a much, much bigger problem.
Your Options: From Patch Job to New Engine
So, you’ve got block damage. What now? Your repair options depend entirely on the type, location, and severity of that damage. There’s no magic bullet here.
External Epoxy Patch Professional Only
Align Bore & Bearing Replacement Machine Shop Required
Short Block / Full Engine Replacement
Making Sure the Fix Actually Worked
After any repair, big or small, you absolutely have to verify it properly. I’ve seen too many people rush this step, only to have to do the whole job again – or worse, have a catastrophic failure on the road. Don’t let that be you.
For an external epoxy patch, you’ll need a cooling system pressure tester. Pressurize the system to the cap rating (usually 16–20 psi) and let it sit for at least 30 minutes. There should be zero drop in pressure. Then, run the engine through three complete heat cycles. Add UV dye to the coolant and inspect the repair area with a UV light. Any sign of seepage means the patch failed, and you’re back to square one.
For a short block or full engine replacement, validation is much more involved. Immediately after startup, connect a mechanical oil pressure gauge. The pressure must meet factory specifications at idle and across the RPM range. Listen extremely carefully for any abnormal noises – any whining, grinding, or knocking. After about 500 miles, send an oil sample for analysis. You’re looking for elevated levels of metals like iron, aluminum, or copper, which would indicate premature wear. Finally, perform a combustion leak test on the coolant to confirm the head gasket is sealing properly. Don’t skip these steps; they’re cheap insurance.
The Cost and the Tough Decision
Let’s talk real numbers and practicality. These aren’t cheap repairs, and you absolutely need to weigh the cost against the vehicle’s overall value. Sometimes, it’s just not worth it.
| Repair Type | DIY Cost (Parts Only) | Shop Cost (Parts & Labor) | My Expected Success Rate | Secondary Risk if Failed |
|---|---|---|---|---|
| External Epoxy Patch | $50 | $500–$1,000 | <50% Long-term (it’s a band-aid) | Overheating / Catastrophic Engine Damage |
| Align Bore & Bearing | N/A (Machine shop work) | $2,500–$4,000 | 80–90% (if done right) | Continued Oil Starvation / Engine Seizure |
| Engine Replacement | $2,000–$6,000 (for used/reman engine) | $6,000–$12,000+ | >95% (if quality engine & proper install) | Installation Errors / Warranty Issues on Replacement |
My “60% Rule”
Here’s how I tell my customers: If the total repair cost is going to exceed 60% of your vehicle’s private-party market value, the math rarely makes sense. You’re almost always better off putting that money towards a different, more reliable vehicle. Be honest with yourself – don’t let emotions drive an $8,000 repair on a $4,000 car. I’ve seen it happen too many times, and it rarely ends well.
How to Prevent This Disaster Next Time
Look, prevention is always the best repair. Most block and bearing failures don’t just happen overnight; they’re the result of small, ignored issues piling up over time. Here’s what I tell everyone in my shop:
-
Use the correct coolant, period: Exactly what your owner’s manual specifies. Mixing types or using those “universal” coolants can cause electrolytic corrosion, especially in aluminum blocks. This eats away at the metal from the inside out.
-
Stick to your oil change intervals: Don’t push it. If you tow, drive in heavy city traffic, or in extreme temperatures, follow the severe-service schedule. Your bearings rely on that precise oil film to prevent metal-on-metal contact.
-
Monitor your engine’s health: Every oil change, inspect your drain plug magnet. Cut open your oil filter and look for metallic glitter – especially non-magnetic flakes. This is your early warning system.
-
Fix detonation (spark knock) immediately: That pinging sound you hear under load isn’t just annoying; it’s literally hammering your pistons and block. It creates shock loads that lead to fatigue cracks over time.
And if you hear a constant lifter tick, don’t just turn up the radio. It could be an early sign of low oil pressure or restricted oil passages, which can lead to bigger problems down the line. You can learn more about that here: What to Do When Your Hydraulic Lifters Are Constantly Ticking.
