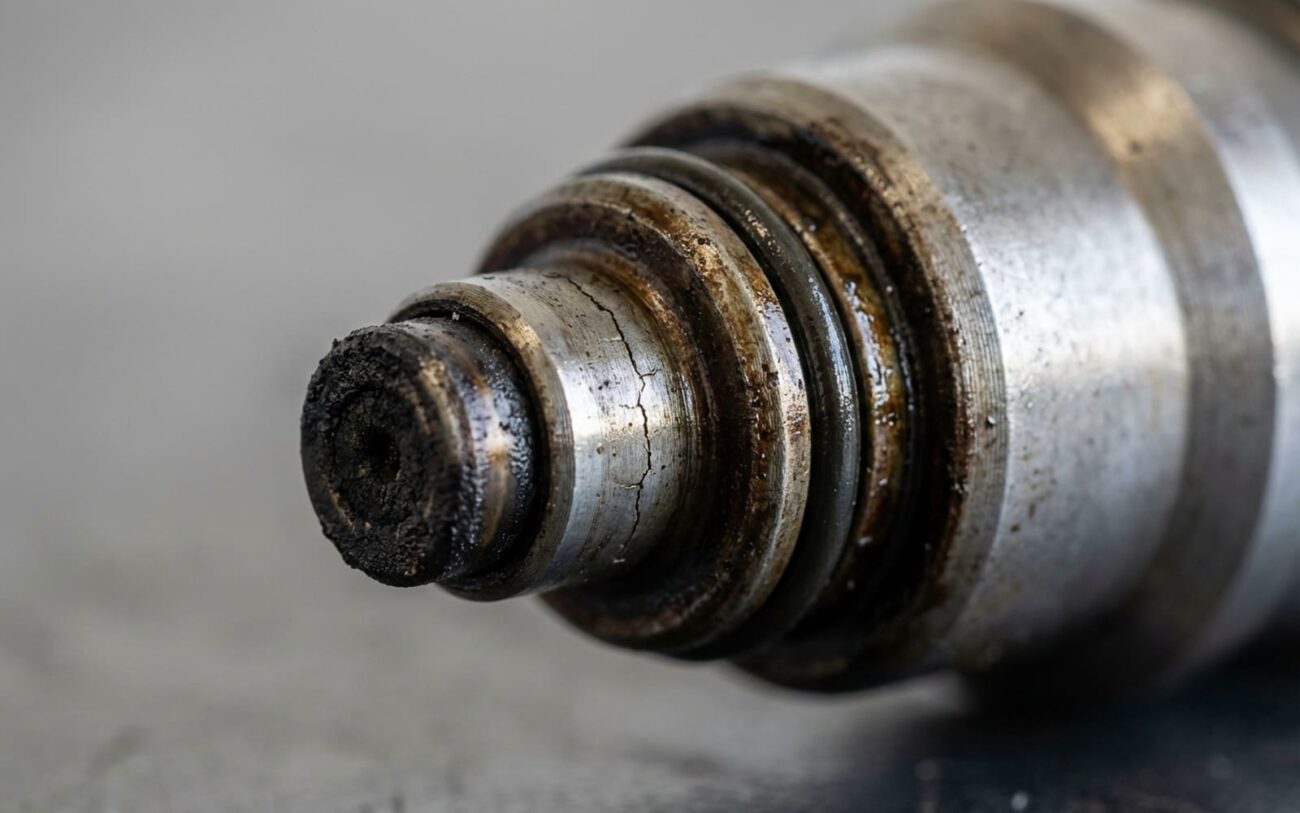
Fuel Rail Woes: Diagnosing Pressure Problems
Alright, let’s talk fuel rails. When that check engine light pops on and you hook up your OBD2 scanner, codes like P0087, P0088, or P0089 are pretty clear indicators: you’ve got a fuel rail pressure problem. But here’s the thing: those codes are just a starting point. They tell you what kind of pressure issue you have, not where the problem is hiding.
P0087? That’s low fuel rail pressure, meaning the actual pressure is below what the engine computer (ECU) expects. P0088 means the pressure is too high, often pointing to a stuck regulator or a blockage somewhere. And P0089? That’s the system struggling to maintain stable pressure, suggesting a control issue or a mechanical fault that’s causing fluctuations. I’ve seen all of them. The trick is, the fault could be in the high-pressure pump, the regulator, the sensor, a leaking injector, or even the rail itself. That’s why you can’t just throw parts at it; you need to dig into live data and do a proper physical inspection.
Delta: -420 kPa
Pinpointing the Problem: My Diagnostic Approach
When I see those fuel pressure codes, my first step is always the visual. The clearest sign of a failing fuel rail itself is a visible fuel leak coming right from the body of the rail. I’m talking about a crack or porous casting, not a leaky injector O-ring, a loose sensor fitting, or a bad line connection. Those are common, and much easier fixes.
To confirm a rail leak, I’ll thoroughly clean the entire rail with brake cleaner. Then, I’ll either crank the engine or use my scan tool to command the fuel pump on. With a bright flashlight and a small inspection mirror, I’m looking for any sign of fuel weeping. Even a tiny hairline crack will show itself. Sometimes, you won’t see a drip, but you’ll get a strong fuel odor in the engine bay. That usually means a tiny seep that’s evaporating instantly. If you combine that with a confirmed low pressure reading on your scan tool’s live data, the fuel rail jumps right to the top of the suspect list.
Now, you might also notice performance issues: hard starting, extended cranking, a rough idle, or a sudden loss of power under load. These happen because the injectors aren’t getting the right fuel volume without proper rail pressure. But be careful here. These symptoms overlap with dozens of other problems—a weak in-tank pump, a clogged fuel filter, or even just a bad sensor. On their own, they don’t prove you have a rail problem. You need those DTCs, especially P0087, and solid live data to really narrow it down. Don’t chase ghosts based on just a rough idle.
Ruling Out the Usual Suspects
Before I condemn a fuel rail, I always make sure I’ve ruled out everything else. I’ve seen too many techs jump to replacing the rail when the real issue was a $150 fuel pump or a sticky pressure regulator. This table is how I logically separate actual rail failures from the more common external causes:
| Symptom / DTC | Likely Fuel Rail Issue | Common External Causes | My Go-To Test |
|---|---|---|---|
| P0087 (Low Pressure) with no visible leak | Internal restriction or collapse within the rail (pretty rare, honestly) | Failing in-tank fuel pump, clogged fuel filter, faulty fuel pressure regulator, or a bad fuel pump control module. |
Connect a mechanical gauge to the test port. If pressure rises when I clamp the return line, the issue is downstream (likely the regulator). If it stays low, the problem is upstream (pump/filter). |
| P0087 or P0089 with visible fuel leak | A crack or porosity in the actual rail casting (metal or plastic). This is a definite rail problem. | Leaking injector O-ring, a bad seal on the fuel pressure sensor, or a loose fuel line fitting. |
Clean the rail thoroughly and pressurize the system. Use soapy water or a halogen leak detector. Bubbles or a positive reading directly from the solid body of the rail confirms a rail failure. |
| P0088 (High Pressure) | Internal blockage in the rail’s return passage (super rare, I’ve only seen a couple in 25 years). | A stuck fuel pressure regulator, a pinched or kinked return line, or a failed fuel pump control module. |
Disconnect the return line right at the rail. If the pressure drops, the blockage is in the rail or the return line itself. If it stays high, the regulator is almost certainly seized. |
Why Fuel Rails Fail: The Root Causes
So, you’ve confirmed it’s the rail itself. Now, let’s talk about why it failed. In my experience, it usually boils down to one of four things: material defects, fatigue, internal erosion, or good old impact damage.
First up, material defects. These are more common than you’d think, especially in aluminum or magnesium castings. You get porosity—tiny voids in the metal—that gradually allow fuel to seep under pressure. With nylon or composite rails, microscopic flaws from the molding process can become stress points over time. These aren’t always visible until the leak starts, which is why a good inspection is key.
Then there’s fatigue cracks. The rail is under constant pressure pulses and engine vibration every time the engine runs. Over years, that metal can just give out at stress points, typically near injector bores or mounting brackets. I’ve seen rails fail right where an injector is pressed in, especially in direct injection engines with their aggressive timing cycles.
Internal erosion or corrosion can happen, particularly in steel rails. This is usually due to contaminated fuel—water, debris, or even poor-quality ethanol blends—making its way past a clogged or missing fuel filter. Over time, this wears down internal passages, reducing flow or creating weak spots that eventually bulge or crack.
And finally, impact damage. This one’s pretty straightforward: a dropped tool, road debris, or improper handling during service can crack a rail instantly. Always give it a careful look after any front-end work or if someone’s been wrenching in that area.
A Note on Specific Models:
It’s worth mentioning that some models have known weak spots. For instance, certain 2011–2012 6.7L Power Stroke diesel engines had a pattern of cracks near the #7 injector cup. This was often due to casting stress. While I don’t have the TSB number memorized, I know there were service bulletins for certain model years addressing this. My point is, always check for known issues on your specific vehicle. And remember, leaks at injector O-rings, sensor seals, or regulator diaphragms are far more common and simpler to fix than a cracked rail body. Don’t confuse them.
Fixing It: Repair vs. Replace
Safety First, Always.
Your repair path depends on the rail’s material, the location of the damage, and your resources. There’s no one-size-fits-all fix. Working with pressurized fuel systems requires extreme caution. I’ve seen things go wrong, and it’s not pretty.
Metal Rail Welding Repair Professional Only
Temporary Epoxy Fix Last Resort
Full Rail Replacement
Proof It’s Fixed: Post-Repair Validation
You never, ever assume a repair is good just because you’ve bolted everything back together. Validation is absolutely critical, especially with fuel systems. Trust me on this one.
My Validation Checklist:
-
Static Leak Test: After everything’s reinstalled, cycle the key to run the fuel pump (engine off). Then, get in there with your flashlight and mirror and inspect for any leaks. I’ll often let it sit pressurized for a few minutes.
-
Dynamic Load Test: Start the engine. Let it run for at least 30 minutes, cycling through idle, moderate RPMs, and light load. This gets the system hot and pressurized under various conditions.
-
Data Monitoring: Keep your scan tool hooked up. Monitor the fuel rail pressure sensor live data. The actual pressure needs to track the desired pressure within about ±50 kPa. If it’s bouncing all over the place or way off target, you’ve still got a problem.
-
Final Inspection: After the dynamic test, do another visual inspection. I also like to use a halogen leak detector or an electronic fuel sniffer. These can pick up micro-leaks that your eyes might miss.
If you’ve installed a new OEM replacement rail, the process is a bit simpler but no less important. Clear all DTCs, make sure you’ve properly relieved fuel pressure before starting, and double-check every single connection. Start the engine and immediately monitor that fuel rail pressure sensor PID. The ECU should now see stable, responsive pressure. Then, take the vehicle for a good test drive, making sure to include acceleration, coasting, and idle to complete a full drive cycle. Confirm that check engine light stays off and no codes return.
The Bottom Line: Cost, Risk, and Making the Call
Look, at the end of the day, you’ve got to weigh the repair cost and risk against the vehicle’s value. Here’s how I break it down for my customers:
| Repair Type | DIY Cost (Parts) | Shop Cost (Total) | Success Rate | Secondary Risk |
|---|---|---|---|---|
| Metal Rail Welding Repair | $50 (epoxy, if you dare) / $300+ (TIG welding service) | $400 – $700 | 70% (Epoxy, maybe) / 95% (Proper TIG) | High: Fire hazard if not done right. |
| OEM Rail Replacement | $300 – $1,500 (parts only, depending on vehicle) | $600 – $2,200+ | 99% (if installed correctly) | Very Low |
There’s a real economic line here. As a rule of thumb I’ve used for years: if the repair cost starts to exceed about 40% of the vehicle’s current running value—and I mean what it’s worth to you as a functioning daily driver, not some trade-in or retail number—then it’s time to seriously reconsider. A $2,000 rail replacement on a car worth $3,000 is a tough pill to swallow, unless it’s a rare classic or has deep sentimental value. In those cases, I often recommend looking for a verified used rail from a reputable core supplier to cut down on parts costs. It’s not always ideal, but it can make the difference.
Keeping it Healthy: Prevention & Monitoring
Proactive Maintenance:
You can’t prevent every fuel rail failure—some are just manufacturing defects or fatigue that’s bound to happen. But you can definitely reduce the risk and catch problems early.
-
Use High-Quality Fuel: Always use fuel that meets your manufacturer’s specifications. Poor ethanol blends, especially, can accelerate internal corrosion in fuel system components over time.
-
Change Your Fuel Filter: Stick to the recommended service schedule for your fuel filter. A clogged filter lets debris get into the high-pressure system, which is bad news for everything downstream, including the rail.
-
Regular Visual Inspection: During routine oil changes or tire rotations, take a minute to scan for any signs of fuel residue, dark staining, or wetness around the fuel rail and injector bases. Even a faint smell of fuel should make you suspicious.
-
Monitor Live Data: If you have a scan tool, occasionally monitor your fuel rail pressure. Watch for slow pressure drops after you shut the engine off, or any erratic readings during idle. These can be early warnings.
