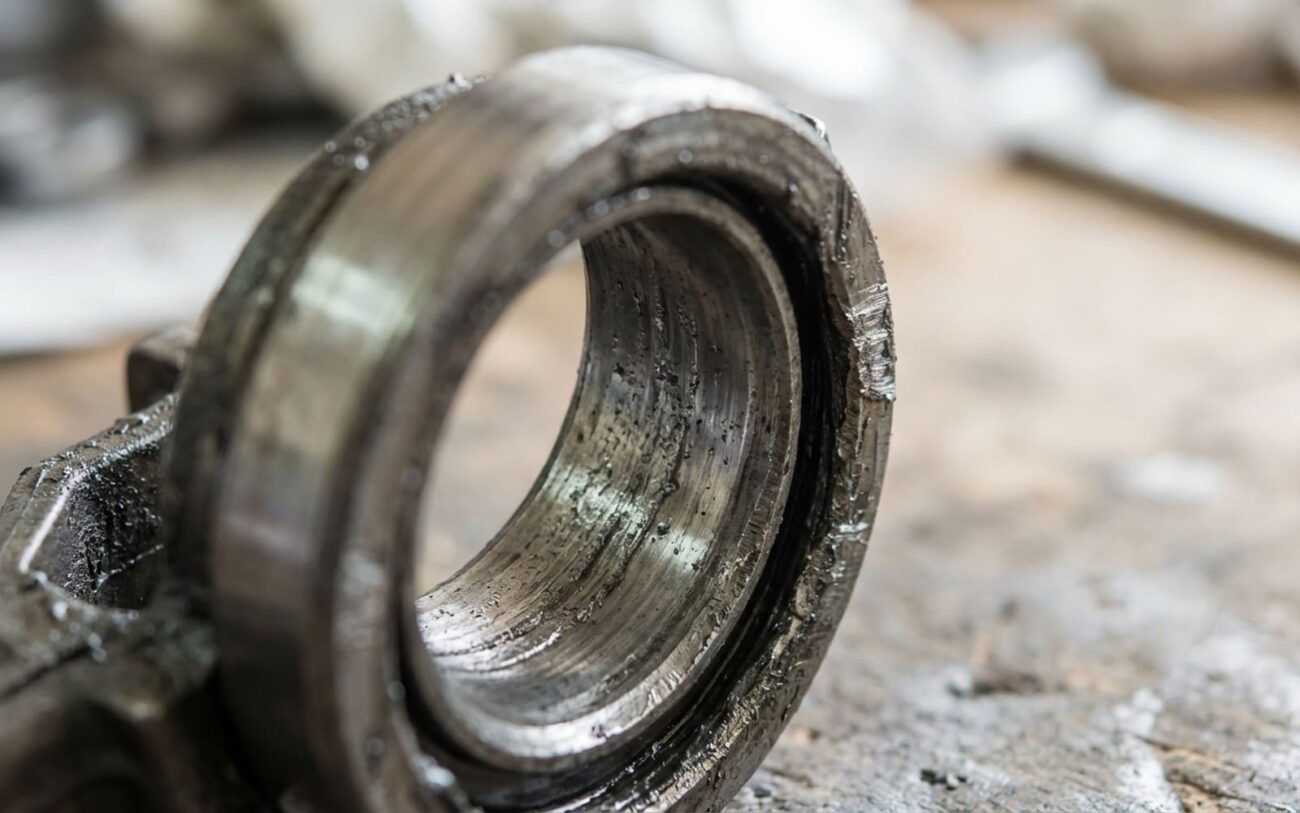
Alright, let’s talk about the clutch release bearing. In the shop, we call it a throw-out bearing. It’s a small part, but when it goes bad, it can make a whole lot of noise and, eventually, leave you stranded. After 25 years under the hood, I’ve seen countless clutch jobs, and diagnosing a bad throw-out bearing is one of those things you learn to spot pretty quickly – if you know what to listen for.
What I Look For: The Classic Symptoms
The release bearing has one critical job: it slides forward on the transmission input shaft sleeve when you press the clutch pedal, pushing against the pressure plate fingers to disengage the clutch. It only spins when your foot is on that pedal, but it’s under mechanical load the entire time. Because of that, the symptoms of failure are pretty specific and usually get worse over time.
The most common thing I hear is a noise that only shows up when the clutch pedal is pressed. You lift your foot, and poof, the sound’s gone. That’s the hallmark of a failing release bearing. The noise itself can vary – sometimes it’s a high-pitched whirring or a chirp, other times it’s a low, rumbling growl. These sounds come from worn-out internal rollers and races that just can’t handle the axial load smoothly anymore. I see this misdiagnosed a lot; drivers think it’s transmission noise, but if it’s tied directly to the clutch pedal, the release bearing is always my first suspect.
Another common complaint is a dry, metallic squeak or squeal right as the pedal starts to move, either down or up. Now, this isn’t always the bearing itself. Sometimes it’s just a lack of lubrication on the bearing’s sliding surface where it rides on the input shaft sleeve. But it can also come from a dry clutch fork pivot point or a sticky slave cylinder pushrod. The trick is to isolate exactly when and where that squeak happens.
Sometimes, instead of a noise, you actually feel it: a gritty vibration or pulsation right through the clutch pedal as you push it down. That’s not just wear, that’s a serious red flag. It often means the bearing’s internal cage has fractured or the rollers are spalling and breaking apart. At that stage, the bearing isn’t just failing; it’s actively disintegrating. You don’t want to ignore that.
The worst-case scenario? A complete loss of clutch disengagement. You press the pedal all the way down, but the car just won’t go into gear with the engine running. While this could be a failed pressure plate, a broken clutch fork, or even a hydraulic issue, if I see the clutch fork moving but the release mechanism isn’t responding, a collapsed or seized release bearing is a very likely culprit. At that point, it’s not just noise; it’s a full-blown functional failure.
Don’t Jump to Conclusions: Ruling Out the Usual Suspects
Just because you hear a noise from the bellhousing doesn’t automatically mean it’s the release bearing. There are a couple of other components in that same general area that can mimic the symptoms. The pilot bearing, which sits in the end of the crankshaft, and the transmission’s input shaft bearing can both produce similar sounds. Getting the diagnosis right means really paying attention to the specific conditions under which the noise occurs. Here’s how I break it down in the shop:
| Symptom | Likely in Release Bearing | Common External Mimics | How I Confirm the Source |
|---|---|---|---|
| Noise with pedal depressed | Bearing roller or cage failure under load | Pilot bearing failure, Transmission input shaft bearing wear |
My Test: I listen for noise ONLY when the pedal is down (bearing loaded) and it stops immediately when released. If the noise changes with engine RPM while the pedal is held down, I start thinking pilot bearing. |
| Squeak with pedal movement | Dry or worn bearing carrier sliding surface | Dry clutch fork pivot, Dry slave cylinder pushrod contact point |
My Test: I get an assistant to slowly cycle the pedal while I listen closely near the clutch fork. I’ll even try applying a little lubricant to accessible pivot points. If the squeak remains, then the problem is definitely internal. |
| Vibration through pedal | Severe internal roller damage or cage collapse | Warped pressure plate, Damaged clutch disc springs, Input shaft runout |
My Test: This vibration should only be felt during pedal travel, not during normal clutch engagement. If it’s a constant vibration, it’s something else. This symptom almost always requires pulling the transmission for a visual inspection. |
| Loss of disengagement | Collapse of bearing carrier or seized bearing | Broken pressure plate fingers, Hydraulic failure, Broken clutch fork |
My Test: First, I verify the hydraulic system is working correctly – check fluid level, look for leaks, bleed it if needed. Then, I check if the clutch fork is actually moving when the pedal is pressed. If the fork moves freely but the clutch still won’t disengage, then it’s almost certainly the release bearing or the pressure plate itself. |
Why These Bearings Give Up the Ghost
It’s not always driver error that kills a release bearing, though that certainly helps sometimes. Even with perfect driving habits, these components have inherent failure points. The most common cause I see is plain old mechanical fatigue. The internal rollers and races endure thousands of load cycles over the life of the clutch. Over time, microscopic stress cracks develop – what we call spalling – and that leads to noise, vibration, and eventually, total breakdown. This is especially common in high-mileage vehicles or those used a lot in stop-and-go city driving.
Heat and lubrication breakdown are another huge factor. The bearing comes packed with high-temp grease from the factory, but it sits right behind the clutch assembly, which can reach extreme temperatures during normal use. Over years, that heat degrades the grease, turning it into a dry, gummy residue or, worse, evaporating it entirely. Once that bearing runs dry, wear accelerates rapidly. I’ve seen this pattern repeatedly, especially in compact transverse engines where heat dissipation is already limited. Some manufacturers have even issued service bulletins for specific models – like certain Mazda3 and Hyundai models – where persistent chirping noises were traced directly back to inadequate factory lubrication in the release bearing.
The bearing also has to slide axially on the transmission input shaft sleeve. If that sleeve wears down or the bearing carrier’s inner diameter gets scored, it creates play and misalignment, which just piles more stress on the internal components. And don’t forget contamination: if the clutch fork boot or the front transmission seal is torn, fine clutch dust can get inside the bearing. That dust acts like sandpaper, accelerating wear like crazy. Once a release bearing starts making noise, the damage is irreversible. There’s no way to re-lubricate it or rebuild it in place; it’s done.
The Hard Truth: There’s Only One Way to Fix This
And when you’re in there, you never, ever replace just the release bearing. It’s standard practice – and just plain smart engineering – to replace the entire clutch assembly. A full clutch kit usually includes the clutch disc, pressure plate, release bearing, and almost always a new pilot bearing. Why? Because if the release bearing has failed, the other components have endured the same wear, heat, and mileage. Replacing only the bearing is asking for another failure in the near future, which means dropping the transmission all over again. That’s what we call a false economy.
While I’ve got the transmission out, I always take the opportunity to replace the pilot bearing (if it’s not part of the kit) and inspect the rear main seal. If your flywheel uses torque-to-yield (TTY) bolts, always use new ones; they’re designed for single use. I’ll resurface or replace the flywheel if it’s cracked, glazed, or warped. And don’t overlook the dual mass flywheel (DMF) if your vehicle has one; these can fail internally and should be checked very carefully for play or excessive grease leakage.
When putting it all back together, always use a clutch alignment tool to center the disc during installation. Misalignment is a sure path to clutch drag, vibration, or difficulty shifting. Torque the pressure plate bolts evenly in a star pattern, following the manufacturer’s spec – typically between 15 and 25 lb-ft, but always refer to the service manual for your specific vehicle. Incorrect torque can warp the pressure plate or cause uneven wear down the road.
No Temporary Fixes. Period.
And one more thing I need to drill home: there is no temporary fix for a bad release bearing. You can’t lubricate it, adjust it, or “drive carefully” to extend its life. Once it’s making noise, it’s on borrowed time. Keep driving, and you risk the bearing seizing and locking to the input shaft sleeve. That can break the clutch fork, damage the pressure plate fingers, or even score the transmission input shaft – adding hundreds, if not thousands, to the repair bill. Don’t do it.
Buttoning It Up: How I Confirm the Job’s Done Right
After all that work, the validation process is straightforward but absolutely critical. First, with the vehicle in neutral, the clutch pedal should feel smooth and consistent through its full travel – no sticking, no pulsation, and the correct amount of free play. Then, I start the engine and try shifting into every gear. You should be able to engage each gear smoothly, without any grinding or resistance.
Next, I take the car for at least a 15-minute test drive under normal driving conditions. I pay very close attention to what happens the moment I press the clutch pedal. There should be no return of that original noise – no whirring, chirping, or squealing. If the sound is gone and shifting is smooth, then I know the repair was successful.
If you still hear noise or feel vibration, don’t just assume it’s the same issue. It could be an improperly installed pilot bearing, a misaligned clutch disc, or even a lingering problem with the hydraulic system. I’d double-check the clutch fork travel and make sure the slave cylinder is fully extending and retracting properly.
Let’s Talk Money: The Real Cost of Cutting Corners
This is a major repair, and the economics matter. Labor is the biggest chunk of the cost, so replacing just the release bearing really saves you very little in the grand scheme of things. Here’s how I break down the options for my customers:
| Repair Type | DIY Cost (Parts) | Shop Cost (Parts & Labor) | Success Rate | Secondary Risk |
|---|---|---|---|---|
| Full Clutch Kit Replacement | $200 – $600 | $1,200 – $2,500 | >98% | Minimal, primarily from installation errors or contamination. |
| Release Bearing Only | $50 – $150 | $1,000 – $2,200 | ~80% | High risk of early failure from other aged components, requiring a second, expensive transmission drop. |
The numbers pretty much tell the whole story: replacing just the bearing saves you maybe $150 in parts, but it leaves you wide open to a much more expensive repeat repair in a year or two. The full clutch kit is the only logical choice for long-term reliability. And if the total repair cost approaches 40% of your car’s market value – especially on a high-mileage vehicle – it’s worth taking a hard look at whether that investment truly makes sense. Sometimes, the smarter move is to redirect those funds toward a more reliable vehicle.
Keeping It Off My Lift: How to Make Your Clutch Last
My Top Tips for Clutch Longevity
-
Don’t “ride the clutch.” Resting your foot on the pedal, even lightly, keeps the bearing engaged and wears it out fast. Keep that foot on the dead pedal unless you’re actively shifting.
-
Maintain your hydraulic system. A failing master or slave cylinder means incomplete disengagement, forcing the bearing to work harder than it should. Keep your fluid clean and full.
-
Perform regular, quick checks. Every few oil changes, just press the clutch pedal slowly with the engine off. Listen for anything gritty or chirpy. Catching it early can save you a bundle.
Prevention really starts with driving habits. The single biggest contributor to premature release bearing wear is what we call “riding the clutch” – that’s resting your foot on the pedal while driving. Even light pressure keeps the bearing engaged with the pressure plate, generating heat and wear over time. Train yourself to keep your foot on the dead pedal unless you’re actively shifting gears.
Also, make sure your hydraulic clutch system is in good shape. A failing clutch master cylinder or slave cylinder can cause incomplete disengagement, forcing the bearing to work harder and longer than it should. If you notice a soft pedal, low fluid, or slow engagement, get it looked at early. It’s a cheap fix compared to a full clutch job.
Finally, I always tell people to do regular checks. Every few oil changes, just press the clutch pedal slowly with the engine off. Listen and feel for any new noises or vibrations. A chirp or a gritty sensation is your early warning. Address it then, and you’ll avoid a seized bearing, a broken fork, or potentially even transmission damage.
For more on diagnosing related electrical issues that might mask as mechanical problems, see How to Fix Engine Misfires After Washing — Moisture in Fuel Injector Connectors.
